This article was co-authored by wikiHow staff writer, Travis Boylls. Travis Boylls is a Technology Writer and Editor for wikiHow. Travis has experience writing technology-related articles, providing software customer service, and in graphic design. He specializes in Windows, macOS, Android, iOS, and Linux platforms. He studied graphic design at Pikes Peak Community College.
There are 7 references cited in this article, which can be found at the bottom of the page.
This article has been viewed 44,789 times.
Learn more...
Are you considering replacing your router? If your router is more than 5 years old, has connection issues, or if you just want to improve your range and speed, it may be time to replace your old router. Don’t worry—you don’t need to be an IT expert to get your new router up and running. This wikiHow article teaches you how to replace your router with a new one.
Steps
Setting Up Your Router
-
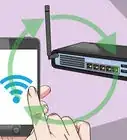
1Find the best location for your router. This is especially important if it is a wireless router. Find a location that is near the center of your house. This helps prevent "dead-zones" in your house where you have weak or no Wi-Fi.
- Keep in mind that walls and floors can impede a wireless signal and cause connection issues.
- Avoid putting your wireless router next to metal, concrete, or brick structures.
-
2Connect and extend the antennas. If you have a wireless router, be sure to connect the antennas and extend them upward. The antennas usually come detached in the box.Advertisement
-
3Connect an ethernet or coaxial cable to your internet wall outlet. Depending on what type of internet you have, you may receive internet through an ethernet port in the wall, or a coaxial cable port. Connect the proper cable to the wall outlet that you receive internet through.
-
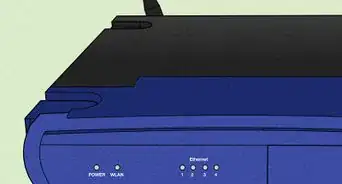
4Connect the ethernet or coaxial cable to your modem. Connect the cable that is plugged into your internet wall outlet to the "LAN" or "Internet" port on the back of your modem.
- If you received your router from your internet service provider, there is a good chance it may be a 2-in-1 modem and router combined into one device. In which case, connect the internet cable to the "LAN" or "Internet" port on your router.
-
5Connect your modem to your router. If you are using a modem that is separate from your router, connect an ethernet cable to one of the "WAN" ports on the modem. Then connect it directly the the "LAN" or "Internet" port on your router.[1]
- If you want, you can use your old combination modem/router device as a modem only. To do so, connect a computer to the old modem/router using an ethernet cable. Open a web browser and type the modem's IP address and log in. Look for the “IP Passthrough” settings on the modem's user interface. Switch the “Allocation Mode” settings to Passthrough, and set the “Passthrough Mode” box to “DHCPS-fixed.” Then, type in your new router’s Media Access Control (MAC) address below.
-
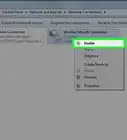
6Plug in the modem and router. Once everything is connected, use the AC adapter that came with your modem and router and connect them to your devices. Then plug them in. Start with your modem first, and then plug in your router. Wait until the green lights on the front of both devices turn solid with intermittent flashes. This indicates that the device is fully booted up.
-
7Connect the router to your computer. Connect an ethernet cable to one of the "WAN" ports on your router to an ethernet port on your computer.
- If you are using a laptop that does not have an ethernet port, you can purchase an ethernet-to-USB adapter.


Configuring Your Router
-
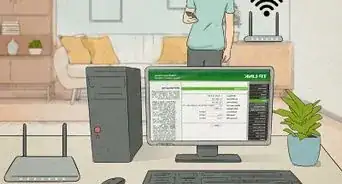
1Open a web browser and enter your router's IP address. Entering the IP address in the address bar opens your router's user interface in a web browser. The IP address is a little different on each router make and model. Consult the user's manual if you do not know your router's IP address.
- The default IP address is usually something like "192.168.1.1," "192.168.0.1," or "10.0.0.1."
- If you can't find your IP address, you find your IP address on Windows and Linux as well as Mac. It's the "default gateway" address.
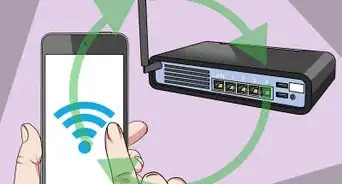
- Alternatively, some routers have a mobile app you can download and use to set up and configure your router without connecting a computer to your router.
- If your router came with any auto-configuration tools. Using these tools to set up your router may make things much easier.[2]
-
2Enter the username and password. Routers usually have a default username and password you can use to log in. Check the user's manual that came with your router to find out the default username and password. Use the default username and password to log in.[3]
- The default password is often simply "admin". The default password is often something like "admin," "password," "12345," "password1234," or simply left blank.
- If you don't know the password, you can reset the router to it's factory default settings. To do this, locate the reset button on the router and press and hold it for several seconds. You may need to use a pin or pointed object to press it.[4]
-
3Install any available firmware updates. With any piece of technology, it’s important to keep the software up-to-date. Scan your router's user interface for a page or section that’s related to firmware updates. Each router's user interface looks different. With some routers, you can set your device to update automatically.[5]
- Always restart your router afterward so the firmware updates can be applied to the system. To restart your router, simply unplug it for about 20 seconds and plug it back in.
-
4Make a new password for your router’s login. Scroll through the online interface to find your router’s logon page. Chances are, the default password is pretty easy to guess—use these password fields to update it to something more secure.[6]
-
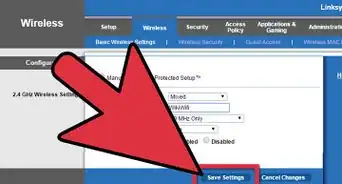
5Update your security settings to WPA2 encryption. Look for a “security” related option on the basic setup page for your router. Make sure your router is set to use "WPA2" encryption.[7] [8]
- "WPA2" stands for second-generation Wi-Fi Protected Access. This is one of the more secure encryption protocols for wireless networks.[9]
- Never use the Wired Equivalent Password (WEP) setting. It is an outdated format that is easy to hack.
-
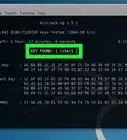
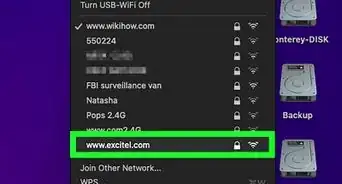
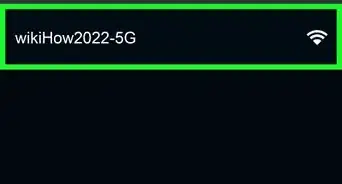
6Set a new Wi-Fi SSID and password. The SSID is the name of your wireless network. Scan the interface and look for "SSID," "Wi-FI name & password" or something similar. You can change the SSID to whatever name you want, or leave it as the default. Then you will need to set a new password that will be used to log in to your Wi-Fi password.
- Keep in mind that you will most likely need to give the Wi-Fi password to other people in your household and possible guests. Make sure you use a unique password that is not used for any other apps or secure accounts.
-
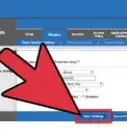
7Save your settings. Once you are finished setting up your router, look for the option to save your settings and click it. You can now log in to your Wi-Fi network using the SSID and password you have set up.


References
- ↑ https://www.pcmag.com/how-to/how-to-set-up-and-optimize-your-wireless-router-for-the-best-wi-fi-performance
- ↑ https://www.cisco.com/c/en/us/solutions/small-business/resource-center/networking/how-to-set-up-router.html#~router-setup-steps
- ↑ https://www.youtube.com/watch?v=8OPLiH_y3Rc&t=3m35s
- ↑ https://www.youtube.com/watch?v=8OPLiH_y3Rc&t=0m32s
- ↑ https://www.pcworld.com/article/474115/how-to-set-up-a-wireless-router.html
- ↑ https://www.youtube.com/watch?v=8OPLiH_y3Rc&t=4m7s
- ↑ https://www.youtube.com/watch?v=8OPLiH_y3Rc&t=4m29s
- ↑ https://www.pcworld.com/article/474115/how-to-set-up-a-wireless-router.html
- ↑ https://www.pcworld.com/article/474115/how-to-set-up-a-wireless-router.html
About This Article

1. Place your new router in a centralized location.
2. Connect the internet cable to your modem.
3. Connect your modem to your router.
4. Connect a computer to your router.
5. Open a web browser and enter the default IP address in the address bar.
6. Log in with the default username and password.
7. Change the default password.
8. Update the firmware.
9. Set a new SSID and Wi-Fi password.