This article was co-authored by wikiHow staff writer, Travis Boylls. Travis Boylls is a Technology Writer and Editor for wikiHow. Travis has experience writing technology-related articles, providing software customer service, and in graphic design. He specializes in Windows, macOS, Android, iOS, and Linux platforms. He studied graphic design at Pikes Peak Community College.
This article has been viewed 39,813 times.
Learn more...
Rooting your ZTE Android provides you with superuser access so you can install and remove the apps of your choice, including bloatware apps that came preinstalled on your phone or tablet. For older models running Android version 5.1.1 (Lollipop) and below, you can root your phone using Kingo Root or Framaroot. If you are using a newer phone model running Android version 6.0 (Marshmallow) or newer, you'll need to use Magisk Root, which will require you to unlock your bootloader. This wikiHow teaches you how to root an ZTE Android phone.
Steps
Using Magisk (Android 6.0 and Newer)
-
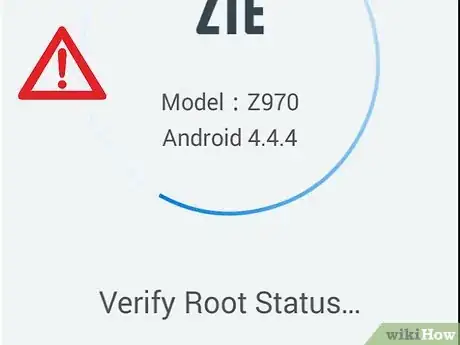
1Understand the risks of rooting your phone. Rooting your phone takes away many of the security features that Google has put in place. This puts your phone at greater risk of viruses and malware. Because of this, many apps and services don't work on rooted phones and tablets. Also, many carriers do not support rooting your phone and may deny access to their network. It's also very likely that rooting your phone will void the warranty for your phone. Continue at your own risk.
- Many mobile phone carriers do not allow you to unlock the bootloader on your phone. If you are unable to unlock the bootloader on your ZTE phone, it's likely you won't be able to root your phone.
-
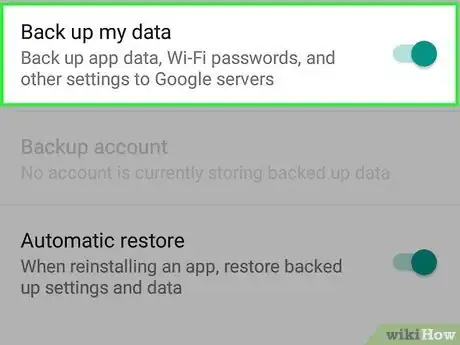
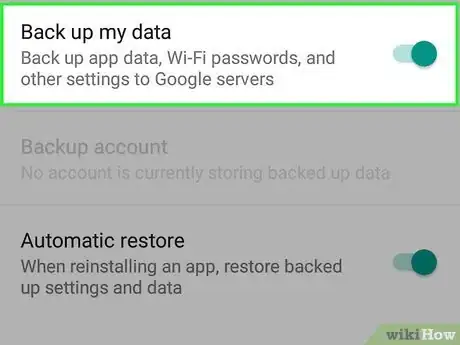
2Back up everything you want to keep on your phone. The process for rooting your Android phone requires you to flash a new recovery system onto your phone. This may wipe all data on your phone. Before you begin, be sure to transfer any photos and videos you want to keep to your computer. You can back up your account settings, app data, and other information to your Google Cloud account using thing the following steps:
- Open the Settings app.
- Tap the magnifying glass icon in the upper-right corner.
- Search the Settings menu for "Backup".
- Tap the Backup & Restore option.
- Tap Backup data.
- Tap Back up.
Advertisement -
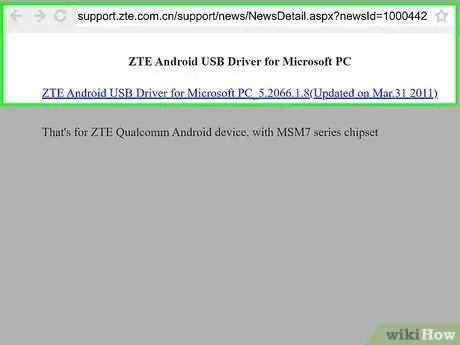
3Install your phone's USB drivers. You'll need the USB drivers for your Android phone to interface with your computer, especially if you are using a Windows computer. if you are using a Windows computer. You can download the drivers for a ZTE phone from here.
-
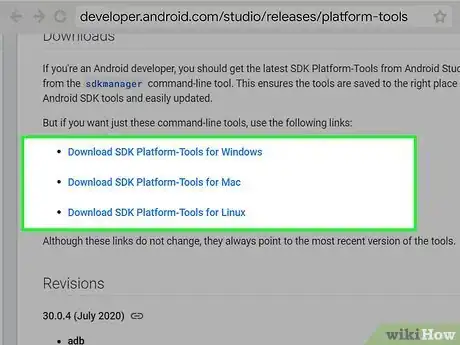
4Download and install Android SDK. Android SDK is a set of command-line tools that allow you to interface with your device using the command prompt or terminal. Use the following steps to download Android SDK tools.
- Go to https://developer.android.com/studio/releases/platform-tools in a web browser.
- Click the download link for the operating system your computer is using.
- Open the zip file in your web browser or Downloads folder.
- Extract the "Platform-tools" folder to your desktop or another location of your choice.
-
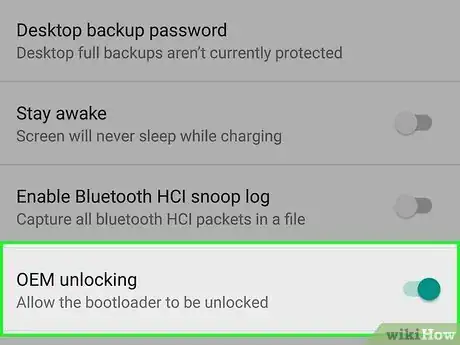
5Enable OEM unlocking and USB debugging on your phone. In order to interface with your phone on your computer, you'll need to enable OEM unlocking and USB debugging. Not all phones have OEM unlocking. If your phone doesn't have OEM unlocking, you may or may not be able to root your phone without it. Use the following steps to enable OEM unlocking and USB debugging mode.
- Open the Settings app in your Apps menu.
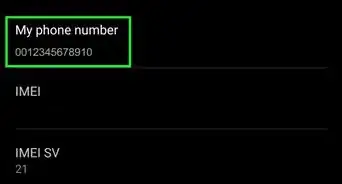
- Tap About phone.
- Tap Build number 7 times to unlock Developer Options.
- Tap the back button in the upper-right corner to return to the root Settings menu.
- Tap Developer Options.
- Tap the toggle switch to enable OEM unlocking (if available) and enter your passcode.
- Tap the toggle switch to enable USB debugging and enter your passcode.
-
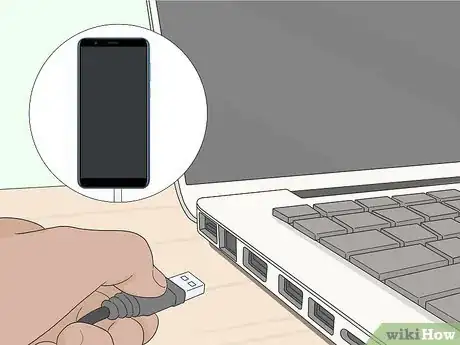
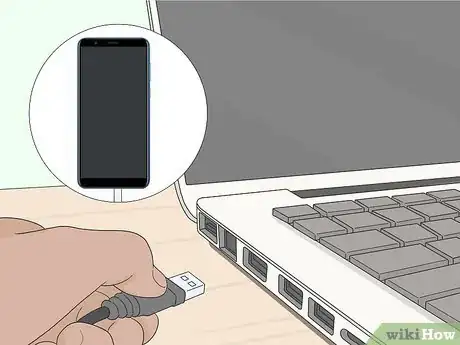
6Connect your phone to your computer. Use the USB cable that came with your phone to connect it to your computer.
-
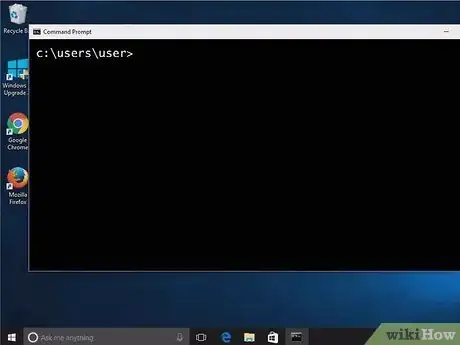
7Open the Terminal on Mac or "Platform-tools" folder in a CMD/Powershell window on Windows. If you are using a Mac, you only need to open the Terminal. On Windows, open the Platform-tools folder you downloaded and extracted, hold "Shift" and right-click any empty space. Then click Open Powershell window here.
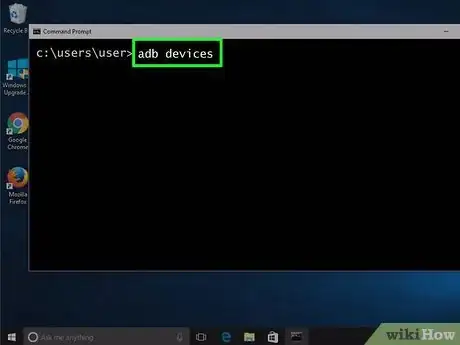
- To check if your phone is properly connected, type the command "adb devices". It should display your phone's serial number.
- To see if your bootloader is unlockable type the command "fastboot flashing get_unlock_ability". If it returns a code of "1", your phone's bootloader can be unlocked. If it returns a code of "0", your bootloader can't be unlocked and you will need to find an unofficial way to unlock your phone's bootloader.
-
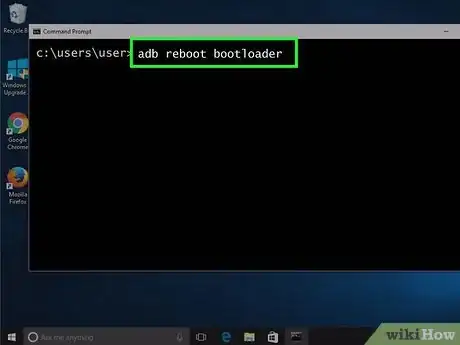
8Type adb reboot bootloader into the CMD or Terminal and press ↵ Enter. This will reboot your phone into the bootloader. Be aware that this will wipe all data on your phone so be sure that you have everything backed up before you do this.[1]
-
9Type fastbook oem unlock into the CMD or terminal and press ↵ Enter. This will unlock the bootloader on your computer.
- If your phone does not have OEM unlocking and you are unable to unlock your bootloader, you may not be able to root your phone.
-
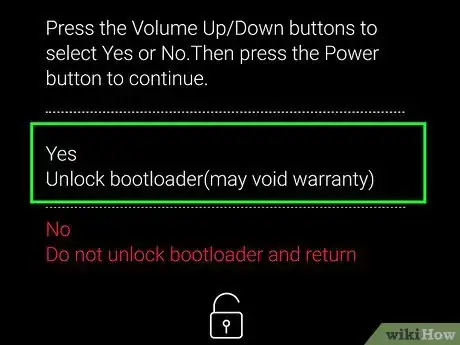
10Select the option to unlock your bootloader on your phone. Use the "Volume Up" and "Volume Down" keys to switch between the two options on your screen. Select the option to unlock the bootloader and press the Power button to select it.
-
11Download TWRP for your phone. TWRP is a custom recovery that allows you to install custom software on your phone, including the software needed to root your phone. TWRP is not available for all phone models. If you can't find a TWRP download on the official website, try doing a Google search for a TWRP download for your phone model or search xda-developers.com to see if one is available. Use the following steps to download TWRP for your phone model:
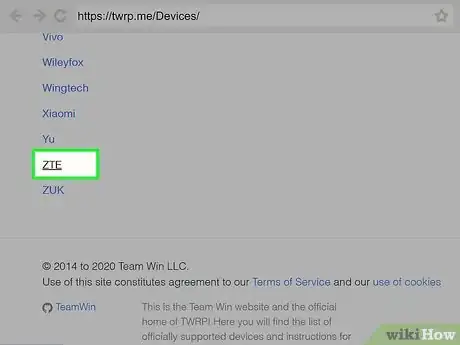
- Go to https://twrp.me/Devices/ in a web browser.
- Click ZTE.
- Click your phone's model.
- Click the download link to download TWRP for your phone.
- Download the latest ".img" file for TWRP.
-
12Download Magisk. Magisk is the utility that you will be using to root your phone. Use the following steps to download Magisk:
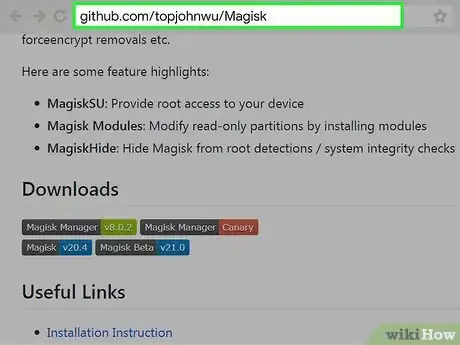
- Go to https://github.com/topjohnwu/Magisk in a web browser.
- Scroll down and click the latest version of Magisk below "Downloads".
- Save the zip file to your phone's internal storage where you can find it. You can transfer files using the USB connection.
-
13Boot your phone into fastboot mode and connect it to your computer. If your phone is not already in fastboot mode and connected to your computer use the same methods as before to put it in fastboot mode and use the USB cable to connect it to your computer. Open the Terminal or Powershell window in the Platform-tools folder and type "adb devices" and press "Enter" to make sure it is connected.
-
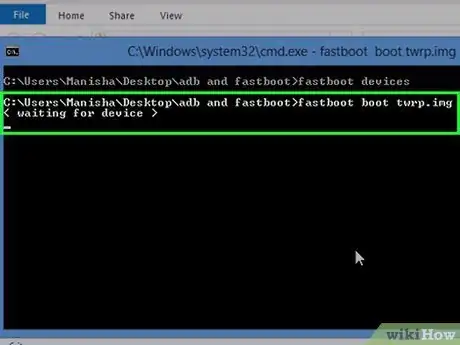
14Type fastboot boot and drag the TWRP image file into the window. This will give you the command to boot your phone into the TWRP custom recovery from the file on your computer. This will not install TWRP on your phone, but it will temporarily boot your phone into TWRP. When your phone boots TWRP, select "Keep read only" and swipe the arrows at the bottom to the right.
-
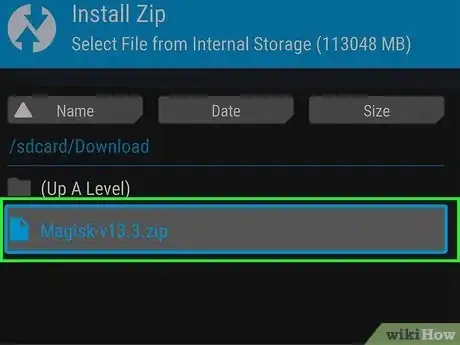
15Flash Magisks to your phone. Almost done. Once you flash Magisk to your phone it will reboot and then it will be rooted. Use the following steps to flash Magisk to your phone in TWRP.
- Tap Install.
- Browse to and select the Magisk zip file.
- Swipe to flash the Magisk file to your phone.
Using Kingo in Windows (Android 5.1.1 and Below)
-
1Understand the risks of rooting your phone. Rooting your phone takes away many of the security features that Google has put in place. This puts your phone at greater risk of viruses and malware. Because of this, many apps and services will not work on a rooted phone. Many carriers do not support rooting your phone and may deny access to their network. In most cases, rooting your phone will void the warranty for your phone. Continue at your own risk.
-
2Back up everything you want to keep on your phone. It's always possible that rooting your phone may not go according to plan. It's always a good idea to back up everything you want to keep on your phone, in case you need to restore your phone to its factory settings. Use the following steps to back up your phone:
- Open the Settings app.
- Tap the magnifying glass icon in the upper-right corner.
- Search the Settings menu for "Backup".
- Tap the Backup & Restore option.
- Tap Backup data.
- Tap Back up.
-
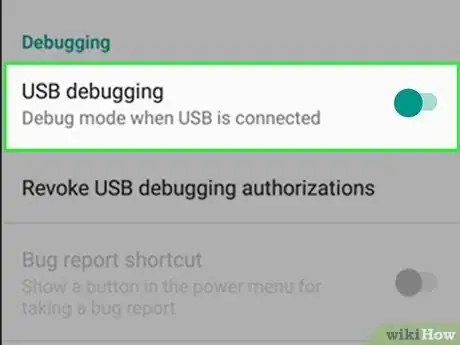
3Enable USB debugging on your phone. In order to interface with your phone on your computer, you'll need to enable USB debugging. Use the following steps to enable USB debugging mode.
- Open the Settings app in your Apps menu.
- Tap About phone.
- Tap Build number 7 times to unlock Developer Options.
- Tap the back button in the upper-right corner to return to the root Settings menu.
- Tap Developer Options.
- Tap the toggle switch to enable USB debugging and enter your passcode.
-
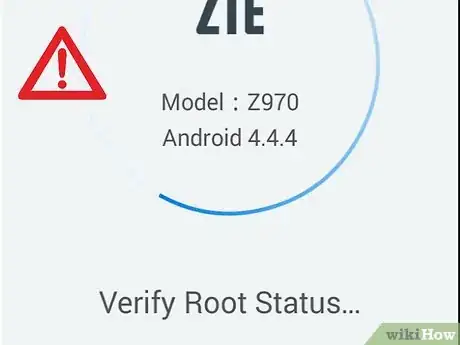
4Verify that your ZTE Android device has at least 50 percent battery life. This will help prevent your phone from powering down during the rooting process and causing data loss.
-
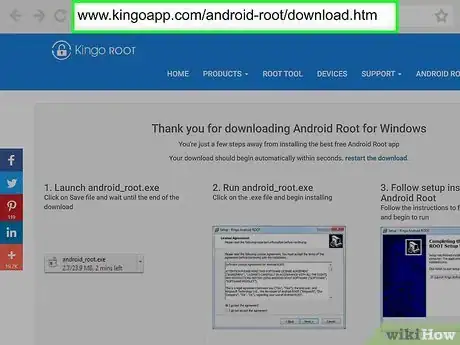
5Navigate http://www.kingoapp.com/android-root/download.htm on a Windows computer. The app will automatically start downloading to your Windows computer.
-
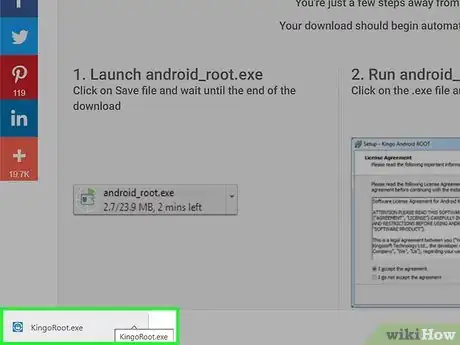
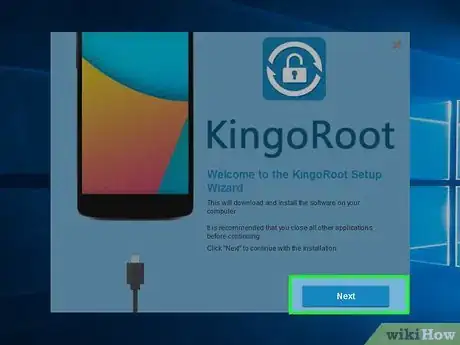
6Open the "KingRoot.exe" file in your web browser or Downloads folder. This opens the Kingo Setup wizard.
-
7Follow the on-screen instructions to install Kingo on your computer. When installation is complete, Kingo will launch and display its main interface.
-
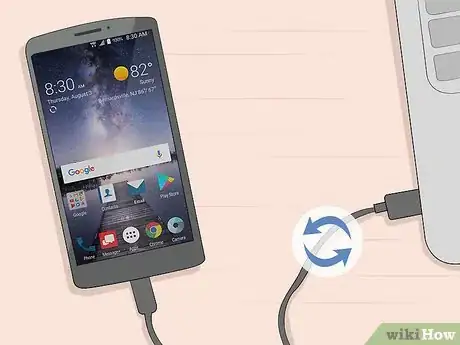
8Connect your ZTE phone to your computer using a USB cable. Kingo will take a few moments to recognize your device.
-
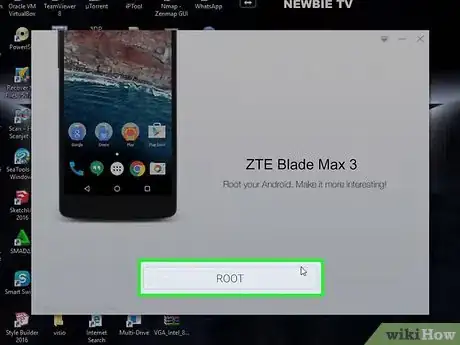
9Click Root after Kingo recognizes your ZTE. This will begin rooting your phone. Your device will reboot several times throughout the rooting process. Kingo will notify you when rooting is complete.
-
10Click on Finish when Kingo informs you rooting was successful. Your ZTE will reboot one final time, and the SuperSU app will display in the app tray.[2]
Troubleshooting
-
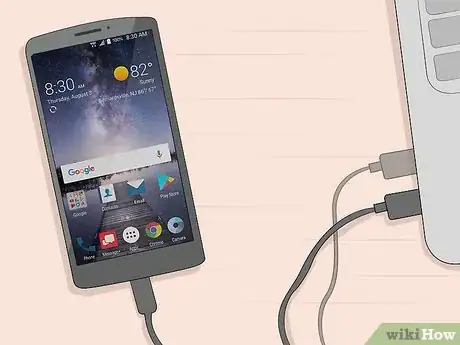
1Try using another USB cable or USB port on your computer. A faulty USB cable or port can often cause problems with your computer recognizing your device.[3]
-
2Try installing the latest drivers for your Android from ZTE’s website. You can download the latest drivers at https://www.zteusa.com/support_page/ if the device fails to root properly. Installing the latest software drivers ensures your phone is up to date and can help resolve problems associated with rooting.
-
3Check the screen of your phone when connected to your computer via USB. Verify pop-ups aren’t interfering with the rooting process. In some cases, your ZTE may prompt you to enable USB settings before your computer can recognize the device.
Community Q&A
-
QuestionFrsmaroot is not downloadable. It just takes you into a swamp of fake promotions and surveys.
 GabiCommunity AnswerMake sure you are downloading from the official website (not a mirror site) framaroot.net. Remove the () for link to work. if you keep getting these ads or redirects, I recommend using an Adblocker for your android device (blockada is a good one.) If the link does not work, try to look for another one. Make sure to virus scan your phone to detect any rogue apps or files that may be causing the "redirects".
