This article was co-authored by wikiHow staff writer, Darlene Antonelli, MA. Darlene Antonelli is a Technology Writer and Editor for wikiHow. Darlene has experience teaching college courses, writing technology-related articles, and working hands-on in the technology field. She earned an MA in Writing from Rowan University in 2012 and wrote her thesis on online communities and the personalities curated in such communities.
This article has been viewed 12,919 times.
Learn more...
ScanDisk is a Microsoft program that functions as a disk analysis and repair tool. So, if a collection of your files won't open, or a program is acting funky (like not running or suddenly closing), you'll probably want to run ScanDisk to figure out what's wrong as well as possibly fix the problem. This wikiHow article will teach you how to run ScanDisk on Windows 10.
Steps
-
1
-
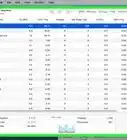
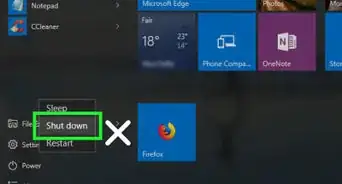
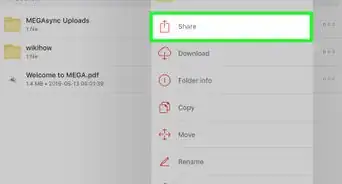
2Click This PC. It's in the panel on the left side of the window and will show you the drives on "This PC" on the right side of the window.Advertisement
-
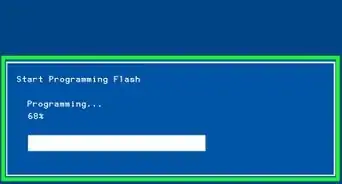
3Right-click the drive that you want to run ScanDisk on. A menu will pop up next to your cursor.
- You can't run ScanDisk on a folder, so you have to choose a drive that's listed under "Devices and drives.."
-
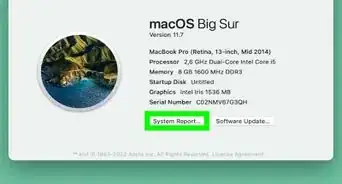
4Click Properties. Another window will open.
-
5Click the Tools tab. It's near the top of the window.
-
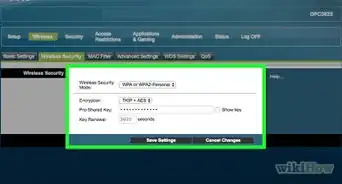
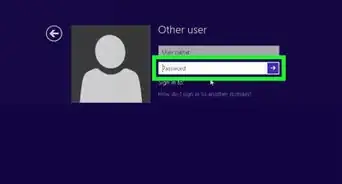
6Click Check. You'll see this in the "Error Checking" section next to an icon of a drive.
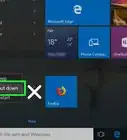
- Follow any on-screen instructions to continue, like allowing your computer to restart.[1]


References
About This Article

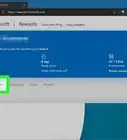
1. Open File Explorer.
2. Click This PC.
3. Right-click the drive that you want to run ScanDisk on.
4. Click Properties.
5. Click the Tools tab and click Check.