wikiHow is a “wiki,” similar to Wikipedia, which means that many of our articles are co-written by multiple authors. To create this article, 9 people, some anonymous, worked to edit and improve it over time.
This article has been viewed 239,249 times.
Learn more...
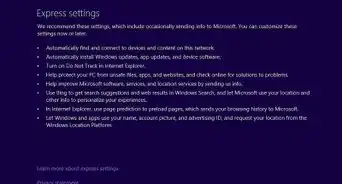
Adding a microphone to your computer can add a lot to what your computer can already do. Microphones vary by design, manufacturer, and user, so in order to find the best set up for you and your microphone on your computer, it is best to test your microphone and adjust accordingly. Fortunately, Windows 8 provides all the tools necessary to set up your microphone for you.
Steps
Plugging In Your Microphone Correctly
If you already know what kind of microphone you have and you've plugged it in correctly, click here to jump straight to the setup phase.
-
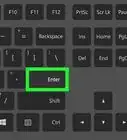
1Plug in a USB microphone or headset into one of your computer's USB ports. A USB port can usually be identified by its icon, which looks like a trident with an arrow, a circle, and a square.
-
2Plug in a microphone with a single audio connector straight into your computer's microphone jack. A microphone input will likely have a tiny microphone etched icon next to it and/or have a light red ring around it.Advertisement
-
3Pay special attention to a headset with two audio connectors. Usually, you'll plug either the light red connector or the one labeled as the microphone into your computer's microphone jack.
- The other connector may be plugged in to your computer's speaker output if you wish, but you may not want to if you already have speakers connected to your computer and do not wish for all your audio to come out of your headset.
-
4Look for a special input if you are using a headset that has a single audio connector and three black stripes on the plug. Your computer must have a special input that is labeled with either a headset or both a microphone and headphones in order to receive this connector. Adapters that convert these plugs to USB or two separate jacks do exist, but are usually purchased separately.
-
5Learn how to plug in a Bluetooth microphone or headset. If you are using a Bluetooth microphone, make sure that your computer has a working Bluetooth receiver, then follow the directions that came with your microphone or headset to connect it to your computer's Bluetooth receiver.


Setting Up Your Microphone
-
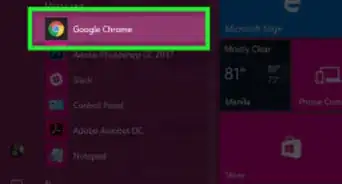
1Open the Start screen.
-
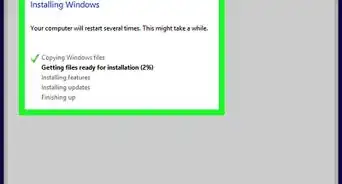
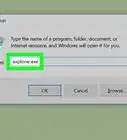
2Click the Search button and enter manage audio devices. Click on “Manage audio devices” in the results to open the Sound control panel.[1]
-
3Find your microphone. On the Sound control panel, click on the Recording tab. If you have correctly connected your microphone to your computer, your microphone will be listed here with a green check mark on the bottom right of its icon. If you see multiple connected devices, blow into the microphone you want to use and watch for green bars to react, indicating that mic is picking up the noise. Once you can confirm your microphone is listed here and picking up sound, you are ready to use your microphone.
-
4Troubleshoot a missing microphone. If you are sure that you have your microphone correctly connected to your computer, but you do not see it listed, right click anywhere on the list and select Show Disabled Devices. Right click and Enable any disabled Microphone or Line In, and test your mic again by blowing into it.[2]


Adjusting Your Microphone Levels
-
1Open the Sound control panel. After using your microphone for a while, you may want to increase or decrease the volume it picks up your voice with. This can be done within individual programs that use your mic, but if you find yourself consistently loud or quiet, you can adjust your microphone levels from the Sound control panel. On the Start screen, click the Search button and enter manage audio devices. Click on “Manage audio devices” in the results to open the Sound control panel.
-
2Go to your microphone properties. On the Sound control panel, click on the Recording tab, select your microphone and click Properties.
-
3Adjust your levels. In Microphone Properties, click on the Levels tab and move the slider to adjust your levels. Move it to the right to make your mic louder and move it to the left to make your mic quieter.


Community Q&A
-
QuestionWhat program do I install to use an NW 800 microphone?
 Community AnswerUsually new devices are automatically installed. This is called "plug and play."
 -
QuestionI'm blind, and I use a screen reader. How can I test whether my microphone is working? Is there an alternate method to the green bar test?Community AnswerThere is a program called Audacity that's free to use and is able to record your voice. You can use this to test the settings of your microphone.