X
wikiHow is a “wiki,” similar to Wikipedia, which means that many of our articles are co-written by multiple authors. To create this article, 10 people, some anonymous, worked to edit and improve it over time.
This article has been viewed 14,788 times.
Learn more...
AVID, or Achievement Via Individual Determination, is an elective class for middle and high schoolers. It helps prepare students for college by taking notes, asking questions, and communicating with other AVID students. In AVID, one of the most important things you will need is an organized, 4-inch binder. You will use it every day, not just for AVID, but for all your other classes as well. In this wikiHow, you will learn how to set up and keep an AVID binder.
Steps
Part 1
Part 1 of 3:
Gathering Supplies
-
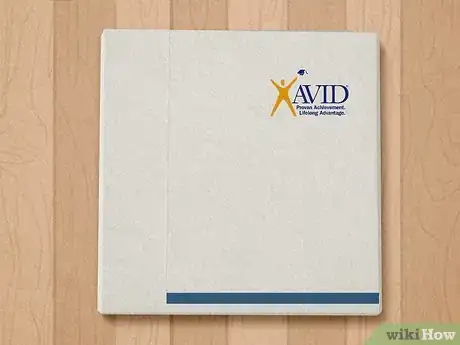
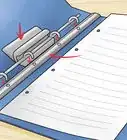
1Choose a binder. In AVID, you will be required to have a 4-inch binder. Color doesn't matter unless your AVID instructor asks for a specific color. Your AVID teacher will request to see your binder frequently to make sure it has everything in it and is properly organized and neat. Some AVID teachers will hand out a checklist for you to use.
-
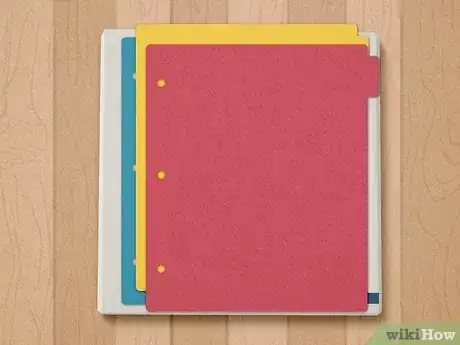
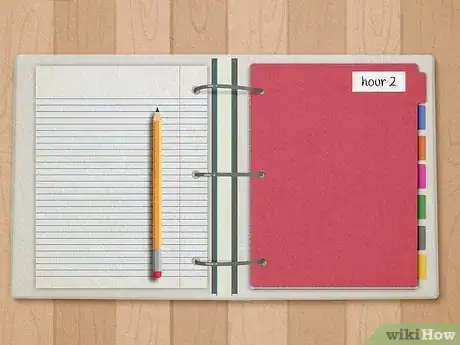
2Get some binder dividers. You will be requested to get two packages of colorful Binder Dividers. On the, you will be asked to write “Hour 1”, “Hour 2”, “Hour 3”, and so on. Don't write the specific class (i.e “Math”, “English”, or “History”) unless precisely asked to by your AVID teacher.Advertisement
-
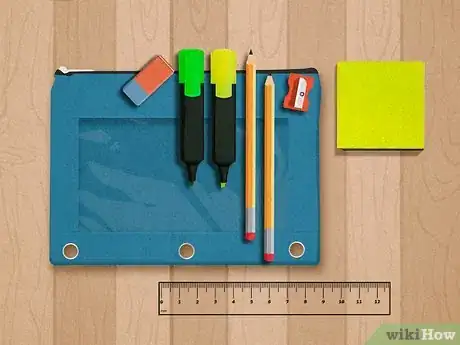
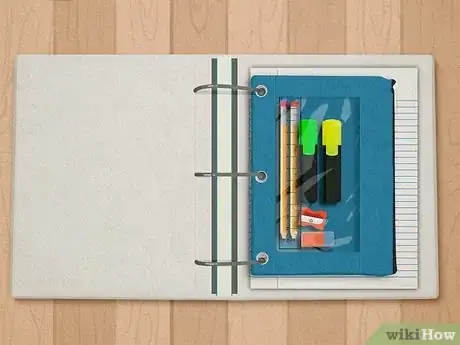
3Choose a pencil pouch. You will be required to get a three-hole pencil pouch that you can put into your 4-inch binder. Inside of it, you should have the following items:
- At least two sharpened pencils (or mechanical pencils)
- At least two pencils (color shouldn't matter unless your AVID teacher says otherwise)
- At least two colorful highlighters
- A hand-held pencil sharpener (if you have wooden pencils or colored pencils)
- An eraser (either a normal block one or a pencil topper)
- Sticky Notes
- Led (if you have mechanical pencils
- A calculator (optional)
- Ruler (optional)
- Index cards (optional)
- Colored pencils (optional)
- Loose-leaf paper (optional)
-
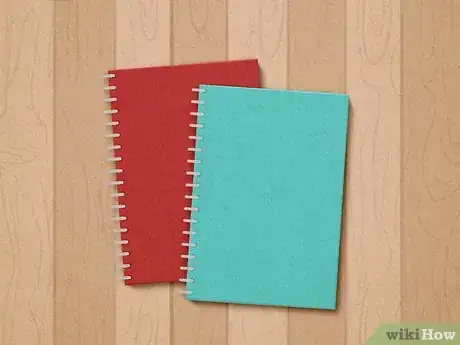
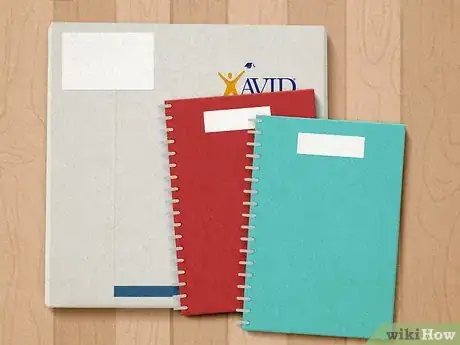
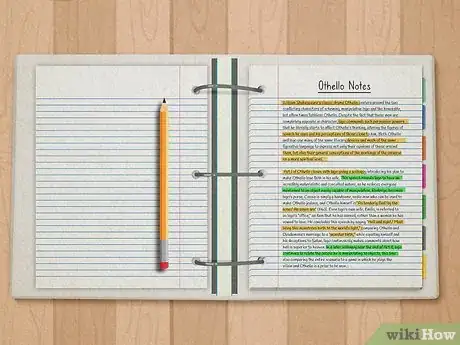
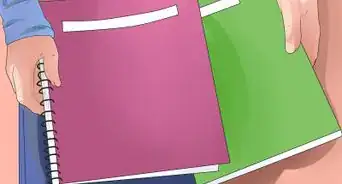
4Get multiple notebooks. You will need at least one specific notebook for AVID. Whether you use it for taking notes during Tutorials, takings notes for other classes or AVID assignments is up to you or your AVID teacher. On your AVID notebook, write your first and last name and grade. Sometimes your AVID teacher may ask to see your AVID notebook to make sure you are doing your work. You may also put your other school notebooks in it. If you do, put each of them in their specific binder divider.
-
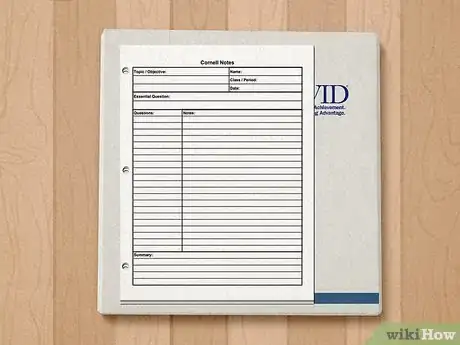
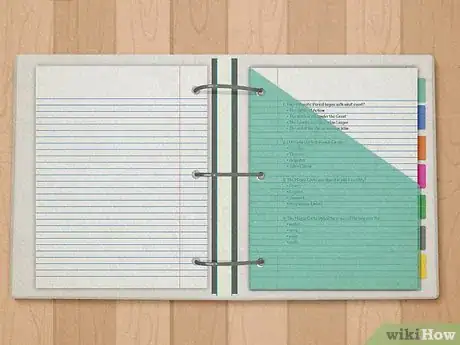
5Use Cornell note sheets. Your AVID teacher will provide you some AVID Cornell Note sheets. They are significant when taking notes (which is often). When you run out of them, it is your responsibility to ask your teacher for more. You will need to three-hole punch these, put them in a page protector, folder, or in the pocket of your binder. You sometimes may have to turn these in to be graded or looked over by your teacher.
-
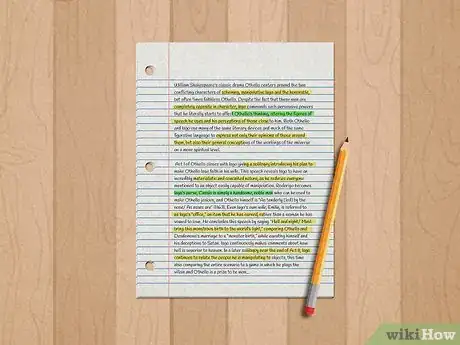
6Purchase loose-leaf paper. It's always a good idea to have some loose-leaf paper in your AVID binder. It's helpful when you want to take notes, write Tutorial questions down, and sometimes just doodle on. Your AVID teacher might not request you to get it, but there's no reason you shouldn't.
-
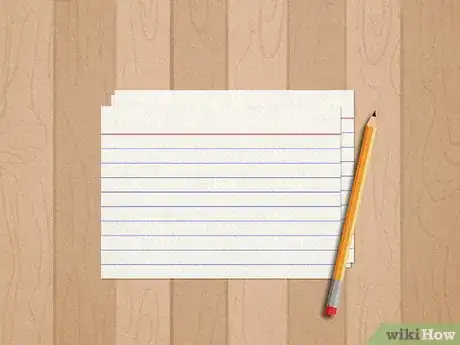
7Purchase index cards. Index cards, like loose-leaf paper, are not required (unless your AVID teacher says they are). But, they are extremely helpful when you just need to write a quick note or question.
-
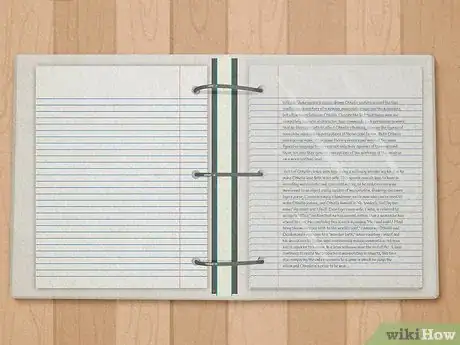
8Use page protectors. Page protectors are another supply that your AVID teacher may not require you to have. But, they are good for important notes, Tutorial Request Forms, and even supplies.
-
9Get a homework space. Your homework will go in one of your binder pockets, in a folder located in the back of your binder, or in a page protector. If you are confused on where to put it, ask your AVID teacher.
- Always write your homework down in your planner along with when it is due.
Advertisement
Part 2
Part 2 of 3:
Assembling Your Binder
-
1Label your supplies. Now that you have gotten all your supplies, it’s time to assemble your binder. Label everything that you can so you don’t lose anything. Pens, pencils, planners, folders, notebooks- everything.
-
2Add in the binder dividers. Add in each binder divider in order of hour (i.e “Hour 1”, then “Hour 2”, and so on). If you were asked to write the name of your class, do it in order of which class is first, second, third, and so on. Color does not matter.
-
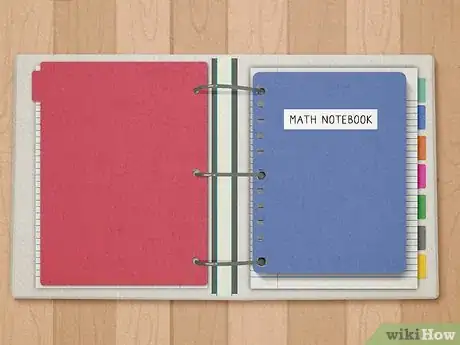
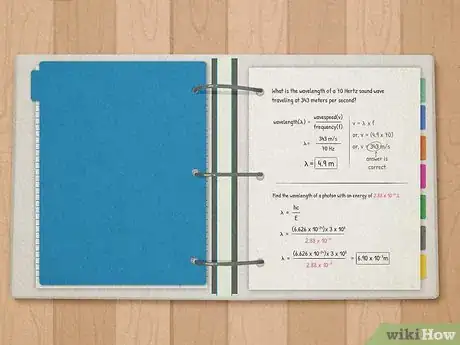
3Add in the notebooks. If you decide to put your class notebooks into your AVID binder, put them behind the divider they belong to (i.e Math notebook behind “Math” divider or “Hour 3”). If you also decided to have an AVID notebook, put it behind your AVID divider or in front of all the dividers. Wherever you put it, make sure you can effortlessly open your binder and get it.
-
4Add in your pencil pouch. Your pencil pouch should be in the way front of your binder (unless your AVID teacher says otherwise). Remember to catalog your supplies every week or so to make sure you have everything you may need. Another idea is keep any extra supplies (such as pencils, pens, crayons, markers, etc.) in you locker. That way, if you are at school and realize you don’t have any pencils in your pencil pouch, you can simply grab a few and not have to worry about not having anything to write with. It’s also good to have a few extra in case another student forgot their pen or pencil.
-
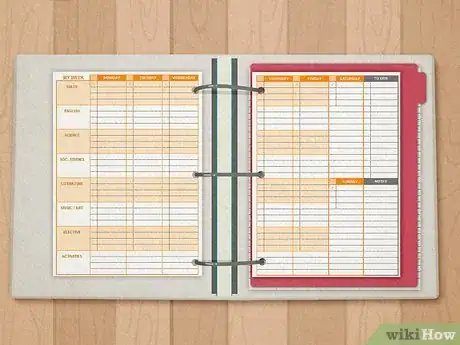
5Add in your planner. If your school provides you will a planner that can fit in your binder, put it behind your AVID notebook (if you have one), but above the dividers. Always use your planner to keep track of your assignments, tests, and anything else. Your teacher may do a “planner check” every so often to make certain you are utilizing your planner.
-
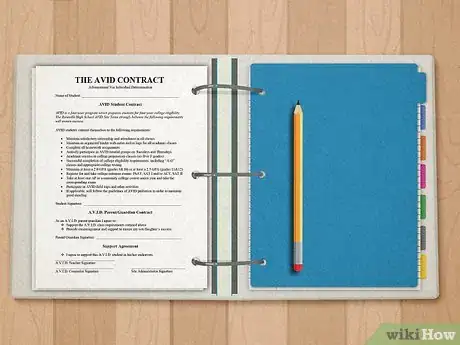
6Add in your AVID agreements. You will be given many AVID agreements. Keep all of them in your binder just in case you need them. You can keep them in a folder, page protector, behind your AVID binder divider, or wherever your AVID teacher asks you to put them.
- AVID agreements are important, so, be careful with them and read through them every so often so you don't forget them.
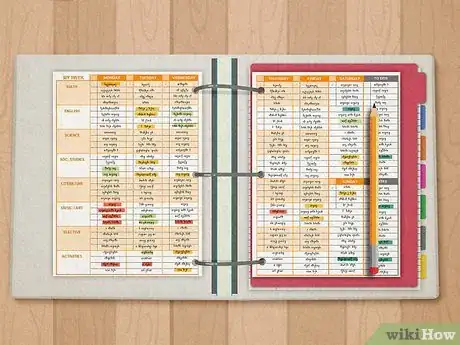
- It’s also a good idea to keep your schedule in your AVID binder (whether in a page protector, folder, or binder pocket) so if you forget your schedule, you have it right there for you.
Advertisement
Part 3
Part 3 of 3:
Keeping Your AVID Binder Organized
-
1Organize your binder. It is very important to keep your AVID binder organized. Your AVID teacher will check it frequently to make sure everything is organized. If it is not organized, you will not be following the “Binder Agreement” and you may get a warning.
-
2Organize your notes. Note-taking is a key part of AVID. You must keep all your notes organized and clean. Whenever you are done with your notes, put them behind their proper binder divider. Take at least 15 minutes per week to clean and organize your binder. Throw away old papers you do not need anymore, if a paper is in the wrong place, put it in the right place. Label all notes and papers with your first and last name, date, and class/period.
-
3Organize your Planner. If you were given a planner, use it for each class. If you have a “password” page, update it when necessary. As mentioned before, your teacher may have a “planner check”. Try not to make it seem like you have to use your planner, see it as a good way to keep track of all your assignments.
Advertisement
Warnings
- If you do not follow the AVID agreements (which you signed at the beginning of the school year), you may be kicked out of AVID.⧼thumbs_response⧽
Advertisement
Things You'll Need
- At least two sharpened pencils (or mechanical pencils)
- At least two pens
- An eraser (either a block one or multiple pencil toppers)
- Colored pencils
- At least two colorful highlighters
- Sticky Notes/Post-its’
- Calculator (optional)
- Index Cards (optional)
- Mechanical pencil led (optional)
- Ruler (optional; with three holes so you can put it into binder)
- Handheld pencil sharpener
- Cornell note sheets
- Binder dividers
- 4-inch binder
- Spiral-bound notebook(s)
- Three-holed pencil pouch
- Folder (with three holes for binder use)
- Pocket Protectors (optional)
- Three hole puncher (optional)
References
About This Article
Advertisement
