This article was co-authored by wikiHow staff writer, Nicole Levine, MFA. Nicole Levine is a Technology Writer and Editor for wikiHow. She has more than 20 years of experience creating technical documentation and leading support teams at major web hosting and software companies. Nicole also holds an MFA in Creative Writing from Portland State University and teaches composition, fiction-writing, and zine-making at various institutions.
This article has been viewed 19,405 times.
Learn more...
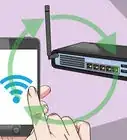
This wikiHow teaches you how to add a Netgear Wi-Fi Extender to your home wireless network. A range extender expands the range of your wireless network to parts of your home where signal is normally weak. For best results, set up your Netgear Extender about halfway between the wireless router and the affected area.
Steps
Using Wireless Protected Setup (WPS)
-
1Attach the included antennas to the router. You'll usually have to do this if you're setting up a desktop extender. If you have a wall extender, the antennas are already connected—just point them upward.
- If possible, complete the initial setup of your extender in the same room as your wireless router. Once the setup is complete, you can move it to the desired location.
- Use this method if your existing wireless router supports WPS. If you're not sure, check the router for a WPS button. The button may say WPS, Push n' Connect, PBC, Wi-Fi Simple Config, Quick Secure Setup (QSS). It also may have a padlock icon.
-
2Plug the extender into a power source. If you're using a desktop extender, use the power cable that came in the box to plug the unit into an outlet. If you have a wall extender, plug it directly into the wall outlet.
- If the power LED does not turn on, press the Power On/Off button to turn the extender on.[1]
Advertisement -
3Press the WPS button on your Netgear extender. It should look like a small padlock with curved lines radiating from its center. This tells the extender to start checking for the router's WPS signal.
-
4Press the WPS button on your wireless router. Once the extender and the router make the WPS connection, the extender's WPS LED light will turn solid green.[2]
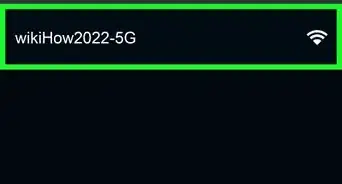
- If your router supports 5GHz and you want to extend that band as well, press the WPS button your extender again, and then also press the WPS button on your router.
-
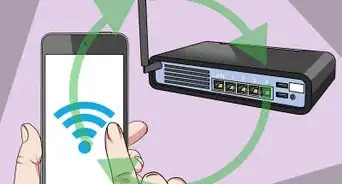
5Place the extender halfway between the router and the area with poor Wi-Fi. If you set up the extender in the same room as the router, unplug the extender and plug it back in at its new location. The permanent location of the extender still needs to be in the range of the router so it can receive a signal.
-
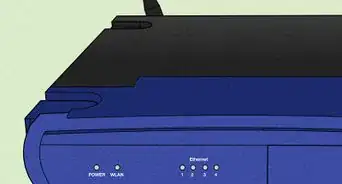
6Turn on the extender and check the lights. Depending on your model, you'll see either a light that looks like a router or "2GHz" and/or "5GHz" lights. As long as the light(s) are green or amber, the extender has a good connection with the router. If the light is red, move the extender close to the router until the light isn't red anymore.
-
7Connect your computer, phone, tablet, or accessory to the extender. You'll do this the same way you'd typically connect to your wireless router, except the name of the network will be YourNetworkName_2GEXT and/or YourNetworkName_5GEXT. When you connect to the network, use the same password you normally use to connect to your existing router. You can now use Wi-Fi while further away from your router.


Using Netgear Installation Assistant
-
1Attach the included antennas to the router. You'll usually have to do this if you're setting up a desktop extender. If you have a wall extender, the antennas are already connected—just point them upward.
- If possible, complete the initial setup of your extender in the same room as your wireless router. Once the setup is complete, you can move it to the desired location.
- Use this method only if your wireless router does NOT support WPS. You can find out if your router supports WPS by looking for a button that says WPS, Push n' Connect, PBC, Wi-Fi Simple Config, Quick Secure Setup (QSS). It also may have a padlock icon
-
2Plug the extender into a power source. If you're using a desktop extender, use the power cable that came in the box to plug the unit into an outlet. If you have a wall extender, plug it directly into the wall outlet.
- If the power LED does not turn on, press the Power On/Off button to turn the extender on.
-
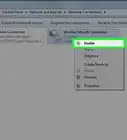
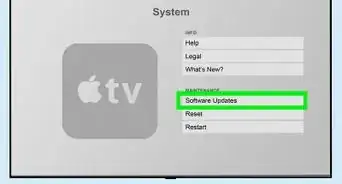
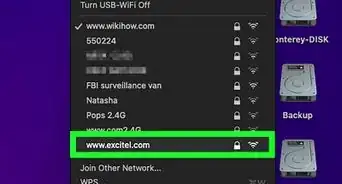
3Connect your computer to the extender. To do this, you'll need to disconnect the computer from your existing Wi-Fi network and connect to the one called NETGEAR_EXT.[3] No password is necessary.
-
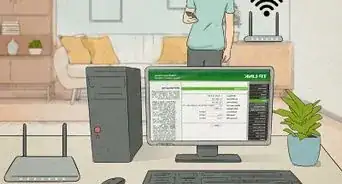
4Navigate to https://www.mywifiext.net on your computer. This opens the Installation Assistant in your web browser.
- This step will only work properly if you're connected to the NETGEAR_EXT wireless network.
-
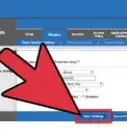
5Select your wireless network(s) and click Next. If your router supports both 2GHz and 5GHz, you can select both bands (one in each column).
-
6Enter your wireless network password and click Next. This is the password you use when connecting a computer, phone, tablet, or accessory to Wi-Fi.
- If you're using a dual-band setup, you'll have to enter the password into the blanks for both bands.
-
7Click Next once the connection is made. It's at the bottom of the screen that displays your network name(s) and the phrase(s) "Same as existing network password." The extender will connect to the router.
-
8Click Continue to complete the setup. You can now close your browser window.
-
9Place the extender halfway between the router and the area with poor Wi-Fi. If you set up the extender in the same room as the router, unplug it and plug it back in at its new location. The permanent location of the extender still needs to be in the range of the router so it can receive a signal.
-
10Turn on the extender and check the lights. Depending on the model, you'll see either a light that looks like a router or "2GHz" and/or "5GHz" lights. As long as the light(s) are green or amber, the extender has a good connection with the router. If the light is red, move the extender close to the router until the light isn't red anymore.
-
11Connect your computer, phone, tablet, or accessory to the extender. You'll do this the same way you'd typically connect to your wireless router, except the name of the network will be YourNetworkName_2GEXT and/or YourNetworkName_5GEXT. When you connect to the network, use the same password you normally use to connect to your existing router. You can now use Wi-Fi while further away from your router.


References
About This Article

1. Attach the antennas to the extender.
2. Plug the extender to a power source near the router.
3. Press the WPS button on the extender.
4. Press the WPS button on the router.
5. Place the router halfway between the router and the affected area.
6. Turn on the extender and check the lights.
7. Connect your computer to the new network.