This article was co-authored by wikiHow staff writer, Travis Boylls. Travis Boylls is a Technology Writer and Editor for wikiHow. Travis has experience writing technology-related articles, providing software customer service, and in graphic design. He specializes in Windows, macOS, Android, iOS, and Linux platforms. He studied graphic design at Pikes Peak Community College.
This article has been viewed 66,327 times.
Learn more...
This wikiHow teaches you how to start streaming on Twitch on a Windows or Mac computer using OBS. OBS, which stands for "Open Broadcasting Software" is a free open-source broadcasting app that will allow you to control and customize your video stream on Twitch. Twitch requires the use of third-party broadcasting software which you will link to your Twitch account using a stream key.
Steps
Download and Configure Open Broadcast Software
-
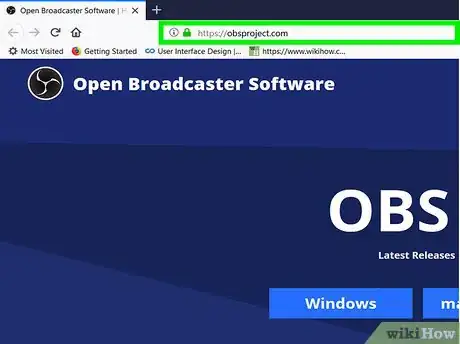
1Go to https://obsproject.com in a web browser. In your preferred web browser, go the OBS website. Open Broadcast Software is an open source (free) streaming app that can be used to stream your computer and/or webcam to your account on Twitch.
-
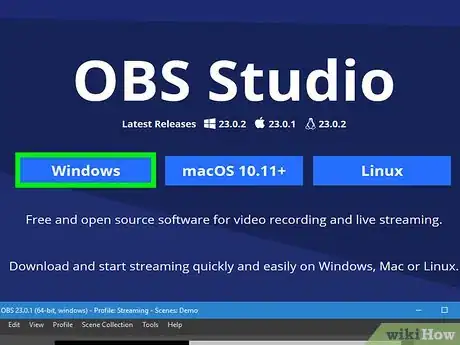
2Click your computer's operating system. If you use PC, click Windows. If you use Mac, click MacOS 10.13+. if you use Linux, click Linux"'.Advertisement
-
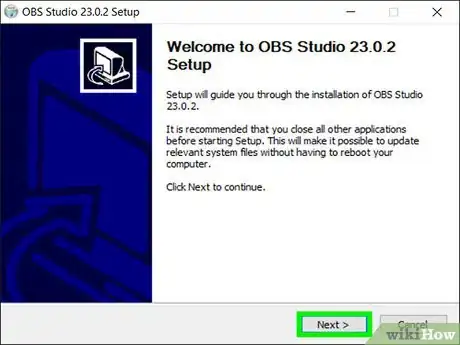
3Install the Open Broadcast software app. It's "OBS-Studio-25.0.8-Full-Installer-x64.exe" on Windows and "obs-mac-25.0.8.dmg" on Mac. By default, downloaded files and folders can be found in your "Downloads" folder. Use the following steps to complete the installation process:
-
Windows:
- Double-click "OBS-Studio-25.0.8-Full-Installer-x64.exe" in your web browser or Downloads folder.
- Click Yes
- Click Next
- Click Next to agree to the license agreement.
- Click Browse to select an install location, and click Install.
- Click Finish
-
Mac:
- Allow internet apps to be downloaded, if needed.
- Click "obs-mac-25.0.8.dmg" in your web browser or Downloads folder.
- Drag "Obs.app" to the Application folder.
- Enter your password and press "Enter".
-
Windows:
-
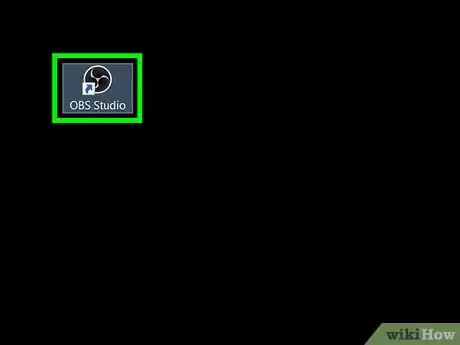
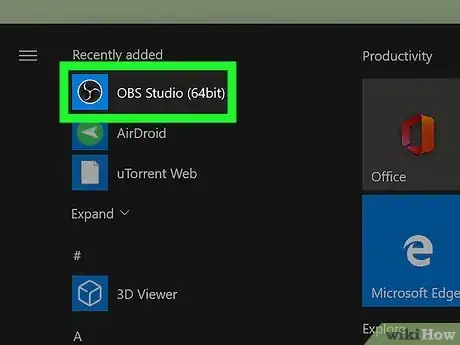
4Open OBS. It's the app with the icon of a black circle and three white curved lines that resemble blades. Click the icon in the Windows Start menu on PC, or the Applications folder on Mac.
-
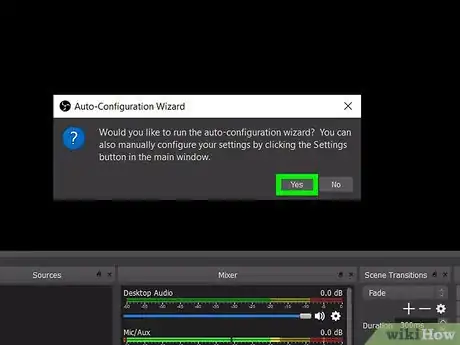
5Click Yes to run the auto-configuration wizard. The first time you launch OBS, you will be asked if you want to run the auto-configuration wizard.
-
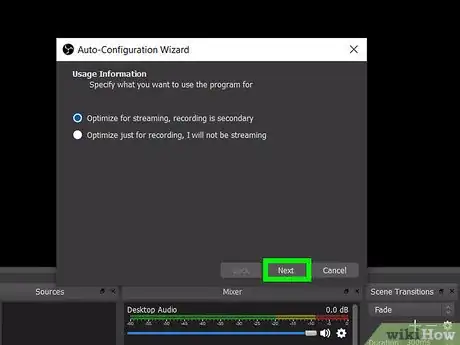
6Select "Optimize for Streaming, recording is secondary" and click Next. It's the first radio option. Click this option to prioritize streaming, rather than recording.
-
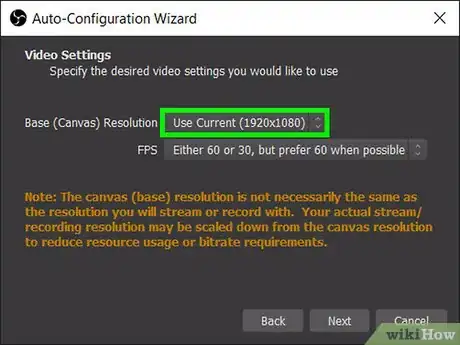
7Select your streaming resolution. Use the drop-down menu to select what resolution you want to stream in. By default, the resolution will be set to 1920 x 1080, but you can also select 1280 x 720 if you'd prefer to stream at a lower resolution
-
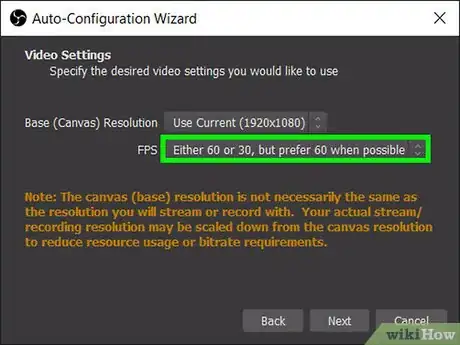
8Select your streaming frame rate and click Next. Use the drop-down menu next to "FPS" to select the frame rate you want to stream at. You can lock it in at 30 or 60 frames-per-second "FPS". You can also select "Either 30 or 60, but prefer 60" to prioritize a faster frame rate when possible. Or you can select "Either 30 or 60, but prefer high resolution" to prioritize higher resolution over faster frame rates. Click "Next" when you are ready.
-
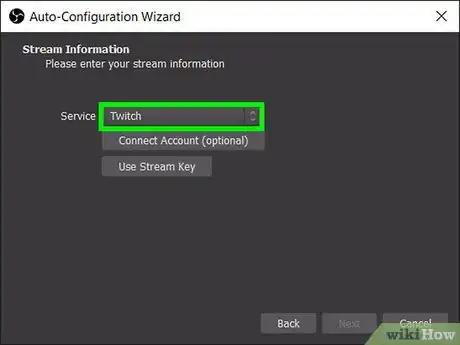
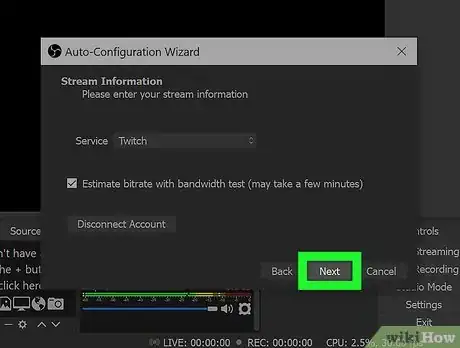
9Select "Twitch" under "Service:". The drop-down menu labeled "Service" allows you to select what streaming service you want to optimize your video stream for.
-
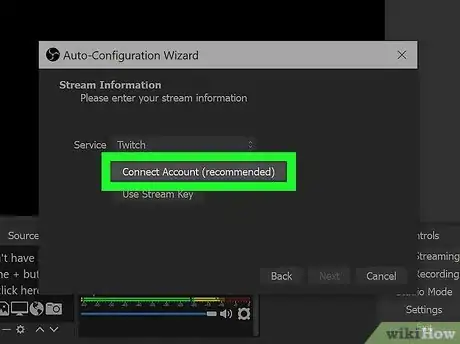
10Click Connect Account (recommended). It's the first option below the streaming services drop-down menu.
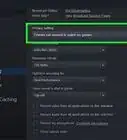
- You can also click Use Stream Key and use your Twitch stream key to connect to your Twitch account. To find your stream key, go to Twitch.tv and log in to your account. Click your profile image, and click Channel. Click Edit next to "Customize your channel". Click Copy next to "Primary Stream Key" to copy your stream key.
-
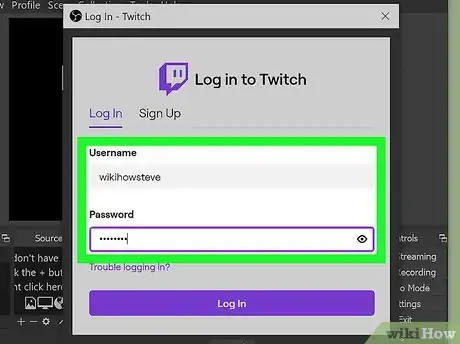
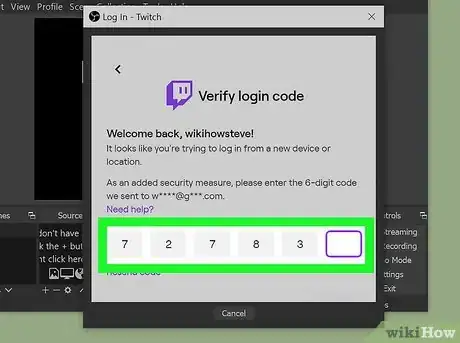
11Log in to Twitch. To log in, enter the username and password associated with your Twitch account, and click Log In.
- If you don't have a Twitch account, click Sign Up at the top and fill out the form to log in to Twitch.
-
12Click Authorize. It's the purple button at the bottom. This authorizes OBS to access your Twitch account.
-
13Click Next. It's in the lower-right corner. Twitch will do a bandwidth test and finish configuring OBS for your Twitch account.
-
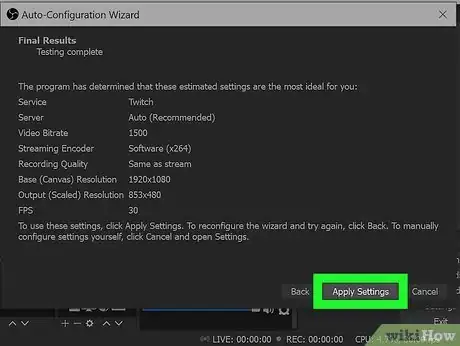
14Click Apply Settings. This configures OBS with the settings listed in the Window.
Add Capture Sources to OBS and Streaming
-
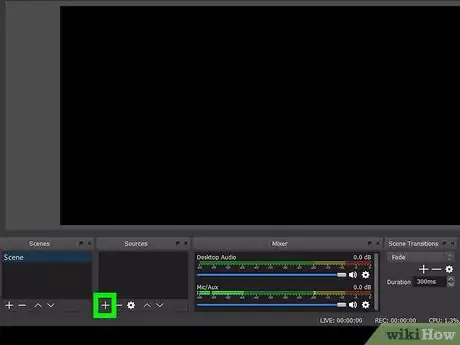
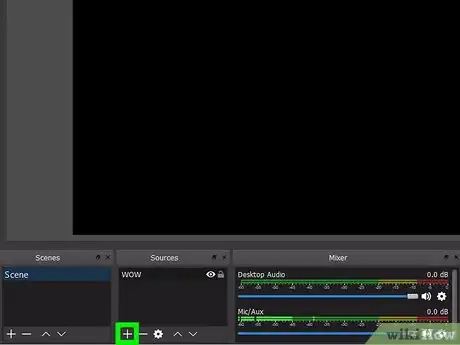
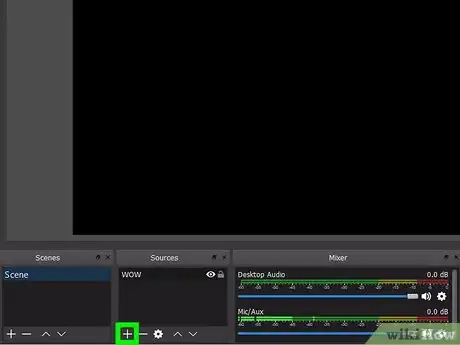
1Click + below the box labeled "Sources". It's at the bottom of the screen. The sources box lists all the sources used to capture video for streaming.
-
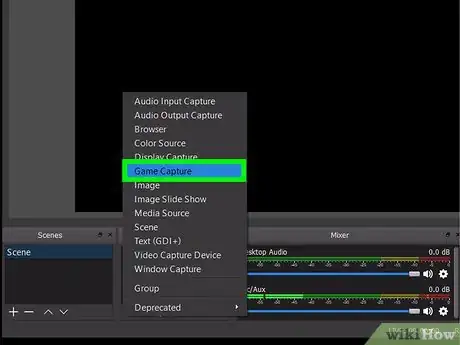
2Click Game Capture (Syphon). This is will allow you to capture games.
-
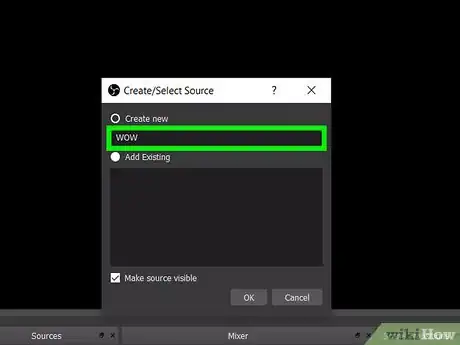
3Type a name for the game capture source and click Ok. You can type the name of the game or app you'll be using on your computer if you want, or you can just leave the default name.
-
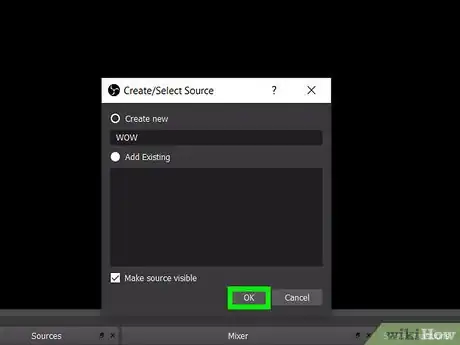
4Click Ok. Verify the properties of the game capture device and click "Ok".
-
5Click + below the box labeled "Sources". There are a few other capture devices you may want to add, like a webcam source, and your desktop display.
-
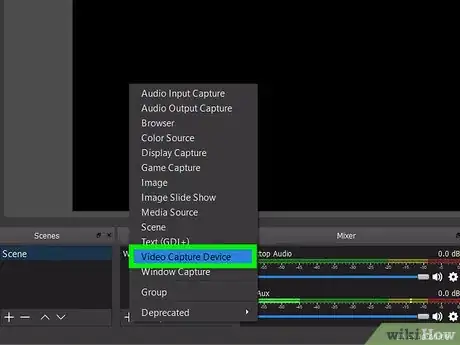
6Click Video Capture Device. The video capture device allows you to capture and stream webcam footage.
-
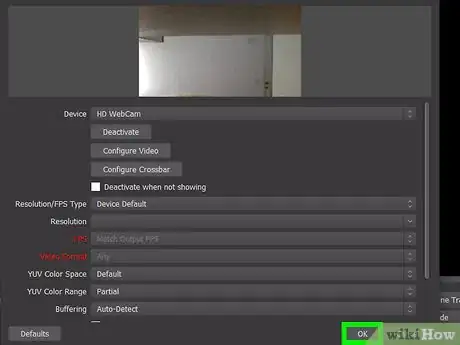
7Type a name for the video capture device and click OK. You can type a name for the capture device or leave it as the default.
-
8Click OK. Verify the video capture preferences and click "Ok" in the lower-right corner.
-
9Click + below the box labeled "Sources". There's one more capture device you might want to add.
-
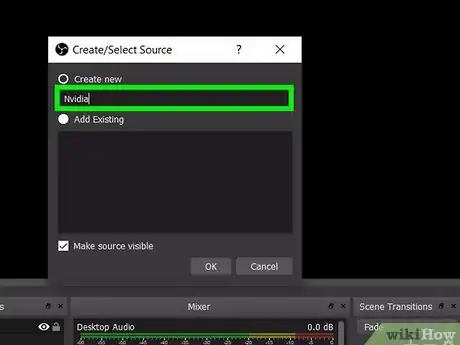
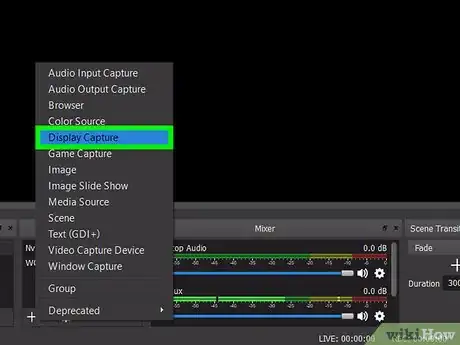
10Click Display Capture. This will stream anything that happens to be on your computer monitor.
-
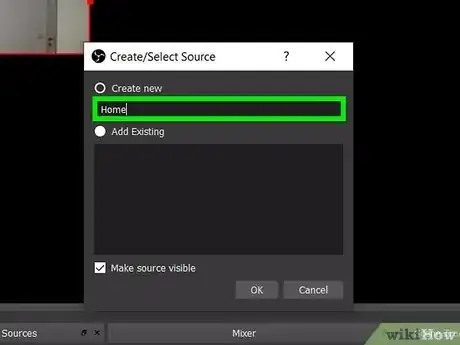
11Type a name for the monitor capture device and click Ok. You can type a name for the device or leave it as the default.
-
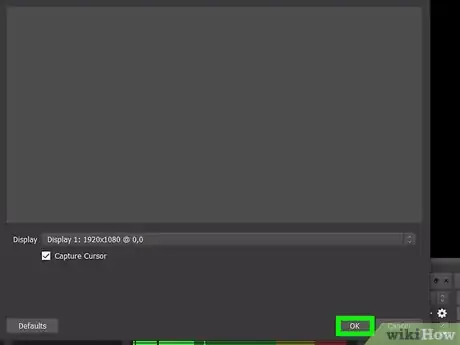
12Click Ok. Verify the preferences for the display capture and click "Ok".
- You can add other sources, such as images, and audio to customize your streaming feed.
- You can also select which capture sources you want to use by clicking the eyeball icon in the sources box to turn different capture devices on and off.
- If you webcam feed isn't displaying on screen, it may be behind your display capture or game capture feed. You can move different sources forwards or backwards by clicking the source in the Sources menu at the bottom. Then click the up or down arrow below the Sources menu to move it forwards or backwards.
-
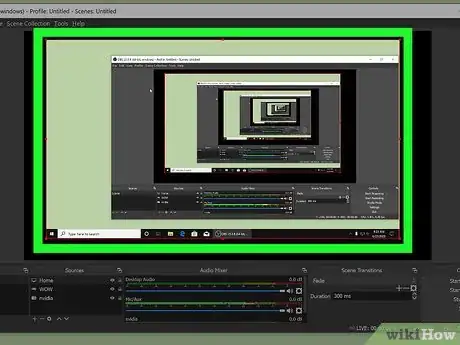
13Click and drag each screen source where you want it. You can click and drag each capture device to the exact location you want it to go in the streaming preview window. For example, you'll want to move your video (webcam) capture feed to go in one of the corners where it doesn't cover up any important HUD information from the game.
- You can also change the size of the source capture screen by clicking and dragging the red dots in the corners around the screen.
-
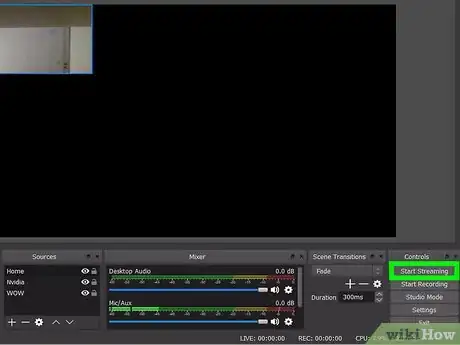
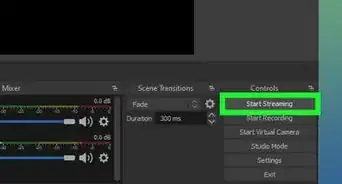
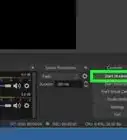
14Click Start Streaming. It's in the "Controls" box in the lower-right corner. This will start streaming through Twitch. The same button will change to "Stop Streaming" while you are streaming.
- Click the same button to stop streaming when you are ready to stop.
Fixing Blank Screen Issues
-
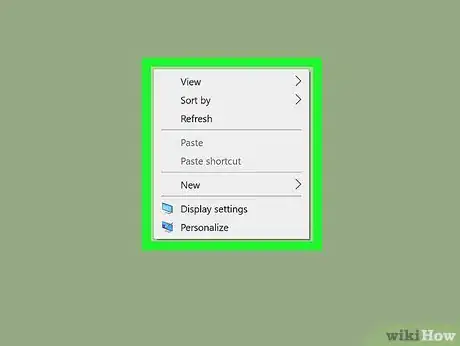
1Right-click a blank part of your desktop. If your display capture source or game capture source is displaying a blank screen in OBS, it's most likely because the OBS is using a different video driver than the game or your display. This tends to be a problem on laptops that have power-saving features. You can fix this in the Windows Settings menu.
-
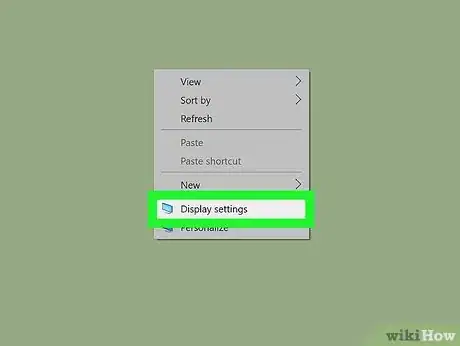
2Click Display Settings. It's at the bottom of the menu that appears when you right-click your desktop display.
-
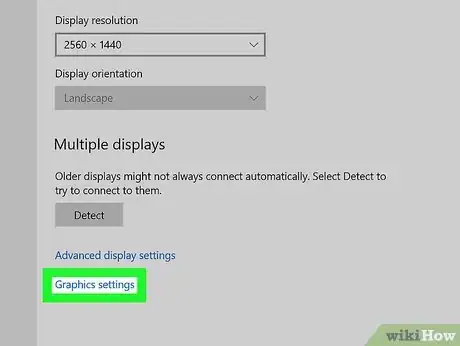
3Scroll down to the bottom and click Graphics Settings. It's at the bottom of the Display Settings menu.
-
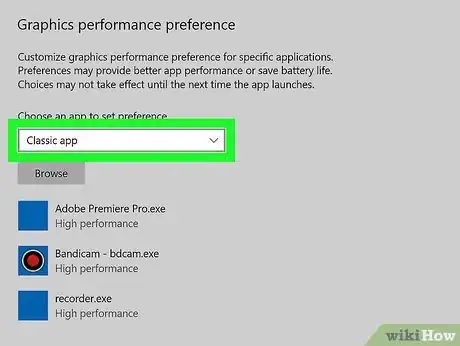
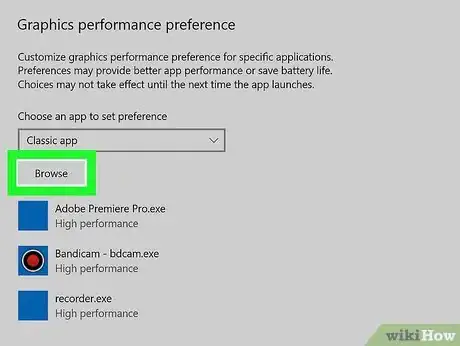
4Select "Classic App". Use the drop-down menu in Graphics Settings to select "Classic App".
-
5Click Browse. It's below the drop-down menu. This opens a file explorer menu that allows you to navigate to an app.
-
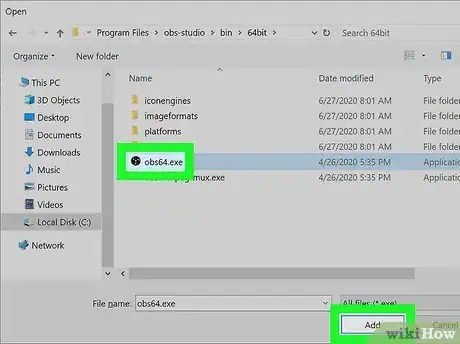
6Navigate to OBS executable file and select it. It's in the OBS install folder. By default, it is located at the following location: "C:\Program Files\obs-studio\bin\64bit\obs64.exe". Click it to select it.
-
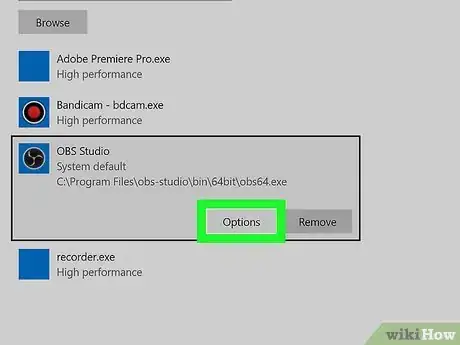
7Select OBS Studio and click Options. The Options button appears when you click OBS Studio in the Graphics Settings menu.
-
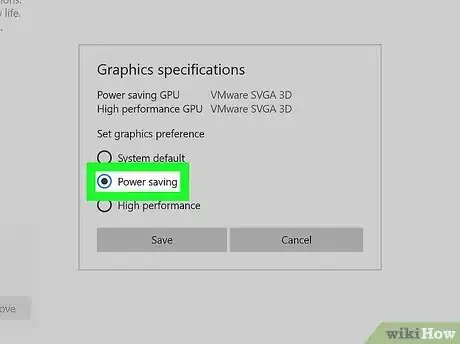
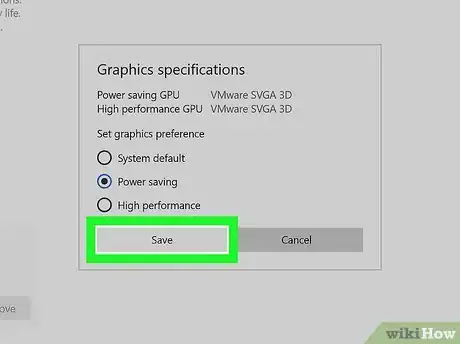
8Select "Power Saving" for Display Capture or "High Performance" for Game Capture. This forces OBS Studio to use the Power Saving or High-Performance graphics driver.
-
9Click Save. It's below the radio options in the Options menu.
-
10Close OBS and restart it. You'll need to exit out of OBS and restart it for the changes to take effect. You should see your desktop or game when you restart it.[1]
