This article was medically reviewed by Luba Lee, FNP-BC, MS. Luba Lee, FNP-BC is a Board-Certified Family Nurse Practitioner (FNP) and educator in Tennessee with over a decade of clinical experience. Luba has certifications in Pediatric Advanced Life Support (PALS), Emergency Medicine, Advanced Cardiac Life Support (ACLS), Team Building, and Critical Care Nursing. She received her Master of Science in Nursing (MSN) from the University of Tennessee in 2006.
There are 14 references cited in this article, which can be found at the bottom of the page.
This article has been viewed 51,348 times.
From potential parasites and bacteria to viruses and internal bleeding, stool specimens give your healthcare provider a helpful look at what’s going on inside your GI tract. But how are you supposed to collect and store your stool without making a mess—and without your sample going bad? Don’t worry. We’ll walk you through all of the traditional rules and guidelines for stool collection so you can store and deliver (or mail) your sample as quickly as possible.
Things You Should Know
- Cover your toilet bowl with plastic wrap so it’s easier to collect the stool. Then, transfer the sample to the collection container.
- Refrigerate the stool sample for up to 1 day if you can’t deliver it to the laboratory right away. Otherwise, submit the specimen as soon as you can.
- Collect stool samples for mail-in tests using the built-in brush in your test collection kit.
Steps
Collecting a Stool Specimen
-
1Wash your hands before and after collecting your sample. This is pretty self-explanatory—since you’re getting pretty hands-on with your poo, it’s important to keep your hands as clean as possible throughout the process.[1] Make sure to wash your hands with soap and water for at least 20 seconds before and after you finish with your sample.[2]
- To be extra sanitary, slip on a pair of disposable gloves before you get started.[3]
-
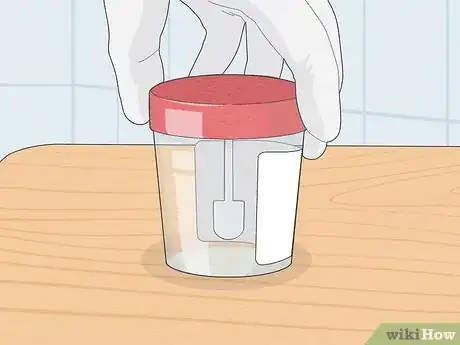
2Pick up a stool collection kit from your doctor. If your doctor specifically requested a stool test, they likely gave you a collection kit for your sample, which includes a pre-labeled plastic container with a screw-on cap.[4] If you weren’t given a kit yet, ask your doctor if they can get you one (or where you can pick one up).Advertisement
-
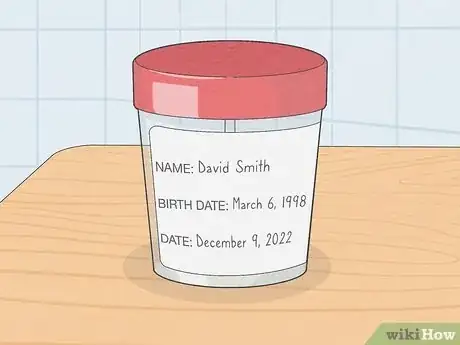
3Write your name, date of birth, and the current date on the container. Use a marker or pen to fill out the label that came with your container, if there is one. Otherwise, use a marker to write the information directly on the container.[5] This will help the lab keep track of your specimen while they’re testing and analyzing it.
- Your test kit might have also come with a separate form—be sure to fill this out with your name, birthdate, address, and any other requested info.
-
4Pee before you collect the stool sample. Make sure that your bladder is completely empty before you poop—this will prevent your specimen from getting contaminated.[6]
-
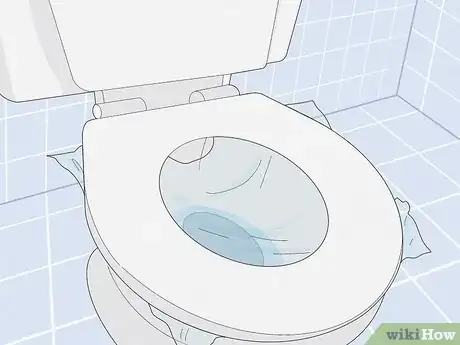
5Drape plastic wrap over the toilet bowl to catch the stool. Lift up the toilet seat and wrap a large sheet of plastic wrap overtop. Then, press into the very center of the wrap to make an indent that’ll collect your poop.[7]
- If your plastic wrap doesn’t seem super secure, hold it in place with some tape.
- Some test kits might come with a “toilet hat” that goes directly over your toilet bowl and is held in place with the toilet seat. True to its name, it resembles an upside-down hat.[8]
- Some kits may come with paper that you can drape over your toilet bowl.[9]
- This step prevents toilet water from contaminating your sample.
-
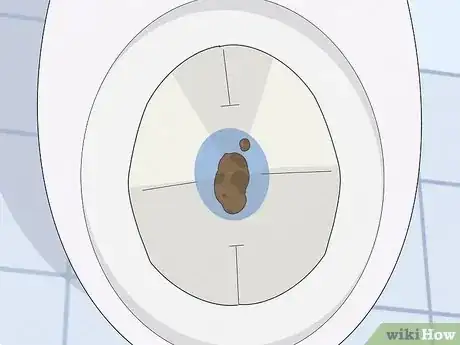
6Poop directly into the plastic wrap. Sit on the toilet and pass a bowel movement like you normally would. Thanks to the indent you made earlier, the stool will collect in the middle of the plastic wrap.[10]
-
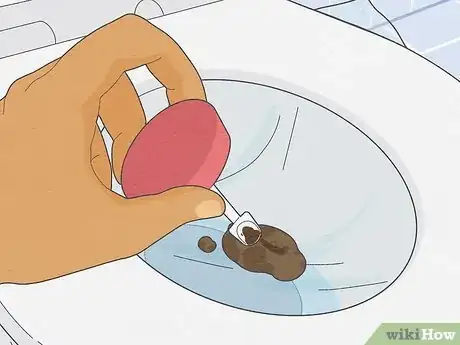
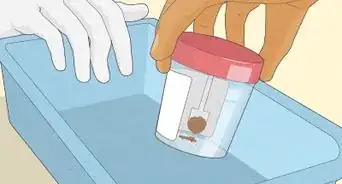
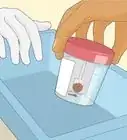
7Collect the stool sample with a disposable spoon or wooden stick. Using the stick or spoon, transfer the required amount of stool into the plastic container.[11]
- Check your test kit instructions to see how much stool you need to collect. Many tests require a coin-sized amount (like a US quarter) for the sample.[12]
-
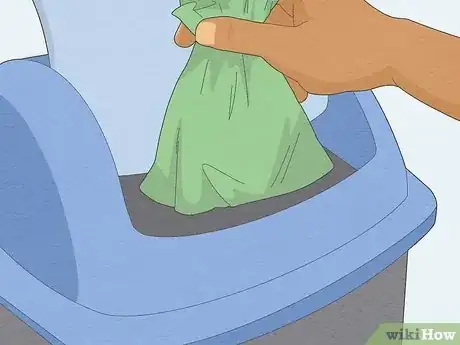
8Compile the items you used to collect your stool and toss them out. Place the spoon or wooden stick in the plastic bag first. Then, retrieve the plastic wrap or paper from the toilet and put it in the bag. Seal the plastic bag and throw it out.[13]
Storing a Stool Sample
-
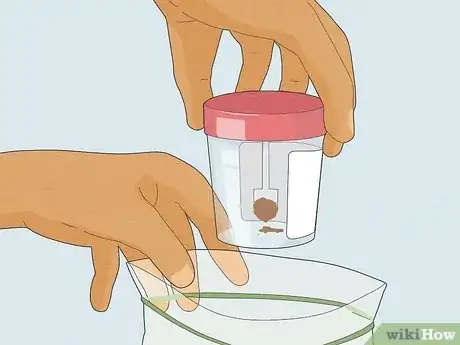
1Slip the stool sample container into a sealable plastic bag. Double-check that the specimen container is closed before sliding and sealing it into the plastic bag.[14]
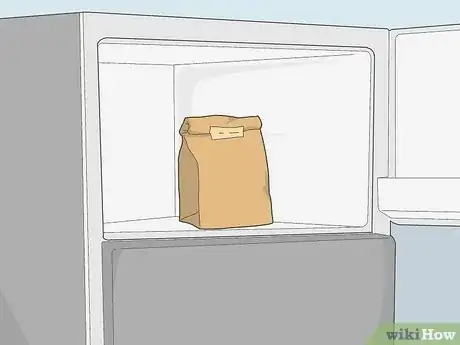
- Check your test kit instructions and see if the sample needs to be placed in a brown paper bag or covered in foil instead (to keep it out of the light).
-
2Refrigerate the sample for up to 1 day if you can’t deliver it within 30 minutes. Stool samples are very time sensitive—the sooner they make it to the laboratory, the better. If you can’t head over to the doctor’s office or laboratory right away, stash the specimen in your fridge so it won’t expire.[15] The sample will stay fresh for up to an extra day.[16]
- Make sure that your fridge is set to 4 °C (39 °F) when you store the sample.[17]
-
3Deliver the stool sample to a laboratory as soon as you can. Even when refrigerated, stool samples don’t last very long. Deliver the sample to your doctor, the laboratory, or another collection center within 24 hours (which is the max length of time you can refrigerate a sample).[18]
- If you’re collecting your stool sample in the summer (or you live in a warm area), it might help to transport the specimen in a cooler during your drive to the laboratory or doctor’s office.
Preparing a Mail-In Sample
-
1Collect the sample using your test kit. Start by draping a sheet of stool collection paper over the toilet water—many testing kits come with this. Then, poop on top of the collection paper, relieving yourself as you normally would.[19]
- To prevent any pee from compromising your specimen, relieve yourself before you produce and collect any stool.
- Mail-in stool samples are typically collected as part of a Fecal Immunochemical Test (FIT), which scans for blood in your stool (which is a potential sign of colon cancer).[20]
-
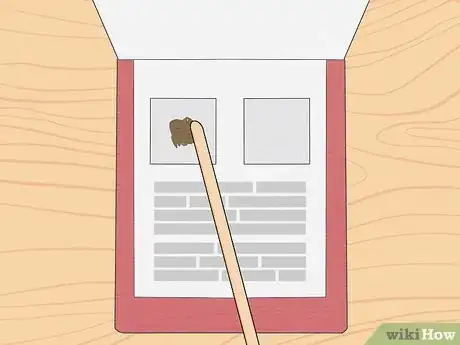
2Scrape up a stool sample and apply it to your test card. Step away from the toilet and grab the disposable brush (also called a FIT stick) that came in your test kit. Brush along the top of the stool (wherever there isn’t any toilet water contamination). Then, swipe the stool onto the designated spot on your FIT test card.[21]
- You can flush the toilet once you’ve collected the sample—the stool collection paper won’t clog your sewer or septic system.[22]
-
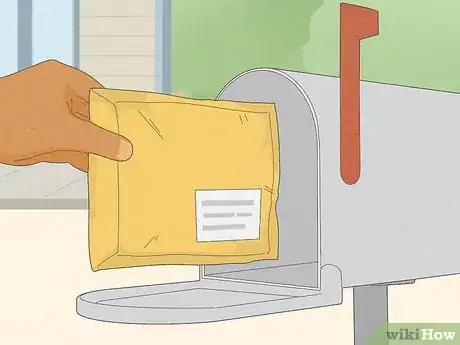
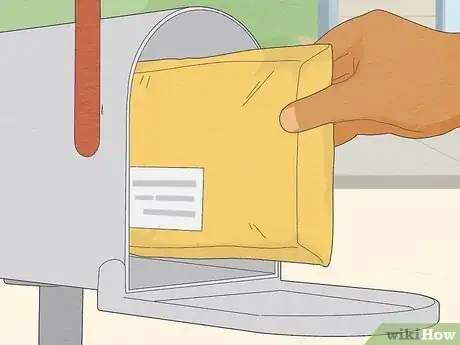
3Mail in your stool sample within 2 days of collecting it. While you don’t have to refrigerate your test card, you shouldn’t keep it lying around your home indefinitely. Be sure to mail your sample as soon as you can—that way, it has plenty of time to arrive at the laboratory.[23]
- FIT tests need to be processed within 2 weeks of collection, which is why it’s important to mail them so soon.
Warnings
References
- ↑ https://www.mskcc.org/cancer-care/patient-education/how-collect-stool-sample-using-stool-collection-kit
- ↑ https://www.cdc.gov/handwashing/when-how-handwashing.html
- ↑ https://medlineplus.gov/lab-tests/ova-and-parasite-test/
- ↑ https://www.mskcc.org/cancer-care/patient-education/how-collect-stool-sample-using-stool-collection-kit
- ↑ https://www.mass.gov/doc/stool-instructions-handout-english/download
- ↑ https://www.alabamapublichealth.gov/infectiousdiseases/assets/bcl_collect_stool.pdf
- ↑ https://www.mass.gov/doc/stool-instructions-handout-english/download
- ↑ https://www.nationwidechildrens.org/family-resources-education/health-wellness-and-safety-resources/helping-hands/stool-collection-guidelines
- ↑ https://medlineplus.gov/lab-tests/fecal-occult-blood-test-fobt/
- ↑ https://www.mass.gov/doc/stool-instructions-handout-english/download
- ↑ https://www.nationwidechildrens.org/family-resources-education/health-wellness-and-safety-resources/helping-hands/stool-collection-guidelines
- ↑ https://www.atlantichealth.org/content/dam/atlantichealth-v2/Documents/Goryeb/GI%20Education/Stool%20Collection.pdf
- ↑ https://www.yorkhospitals.nhs.uk/seecmsfile/?id=2428
- ↑ https://www.yorkhospitals.nhs.uk/seecmsfile/?id=2428
- ↑ https://www.oregon.gov/oha/PH/DISEASESCONDITIONS/COMMUNICABLEDISEASE/OUTBREAKS/GASTROENTERITIS/Documents/It-Kit_Instructions_qr2.pdf
- ↑ https://www.yorkhospitals.nhs.uk/seecmsfile/?id=2428
- ↑ https://www.neha.org/sites/default/files/pd/edu-train/CDC-Instructions-Collecting-Stool-Specimens.pdf
- ↑ https://www.yorkhospitals.nhs.uk/seecmsfile/?id=2428
- ↑ https://www.cancercareontario.ca/en/types-of-cancer/colorectal/screening/fit-instructions
- ↑ https://medlineplus.gov/ency/patientinstructions/000704.htm
- ↑ https://medlineplus.gov/ency/patientinstructions/000704.htm
- ↑ https://www.cancercareontario.ca/en/types-of-cancer/colorectal/screening/fit-instructions
- ↑ https://www.cancercareontario.ca/en/types-of-cancer/colorectal/screening/fit-instructions
- ↑ https://www.mass.gov/doc/stool-instructions-handout-english/download
- ↑ https://medlineplus.gov/lab-tests/white-blood-cell-wbc-in-stool/

