This article was co-authored by wikiHow staff writer, Kyle Hall. Kyle Hall works on the content team at wikiHow. He helps manage our team of editors and creates content for a variety of wikiHow projects. Kyle continually looks for new ways to improve the content at wikiHow and make it more helpful and enjoyable for readers. He graduated from Eckerd College in 2015, where he majored in Political Science.
There are 10 references cited in this article, which can be found at the bottom of the page.
This article has been viewed 128,792 times.
Learn more...
Taking apart a picture frame to retrieve or replace a print can be tricky if you don't know what you're doing. It's also a different process depending on whether the frame is made out of wood or metal. Fortunately, once you know what to do, you can take apart a picture frame in a matter of minutes.
Steps
Taking Apart a Wooden Frame
-
1Flip your frame over so it’s face-down. You’ll be working from the back of the frame as you take it apart. Work on a clean flat surface so you don't damage the glass on the front.[1]
-
2Cut off the paper backing using a utility knife. If the back of your wooden frame isn’t covered with paper, you can skip this step. Otherwise, cut along the inside edges of the frame with the utility knife and then pull the cut-out paper off the back of the frame.[2]Advertisement
-
3Pull out the nails or staples with pliers. Now that the paper backing is off, you should see a piece of cardboard that’s held in place by small nails or staples. You need to pull them all out with the pliers so you can take the cardboard out of the frame.[3]
- If you’re having trouble getting staples out with pliers, try a staple remover.
-
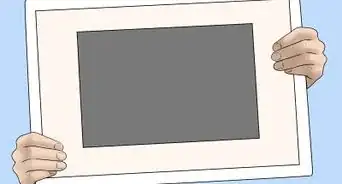
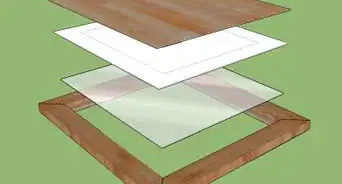
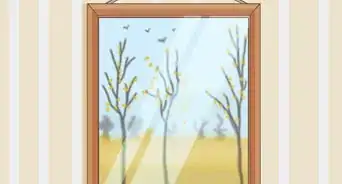
4Lift the contents of the frame out of the frame. Take out the piece of cardboard, the print, and the glass. Set them somewhere safe so you can reuse them later.[4]


Disassembling a Metal Frame
-
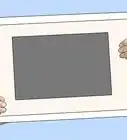
1Turn your metal frame over so it’s upside down. You’ll need to access the back of the frame to take it apart. Make sure the surface you're working on is clean and flat so the glass on the front of the frame doesn't get damaged.[5]
-
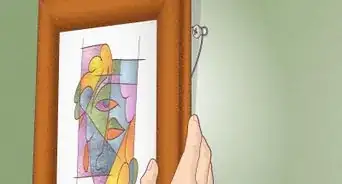
2Unscrew the wire from the back of the frame. Most metal picture frames are hung using a wire that runs between the left and right sides of the frame. If your frame doesn’t have a wire, you can skip this step. If it does, use a screwdriver to remove the screws that are holding the wire in place. Set the wire and screws aside.[6]
-
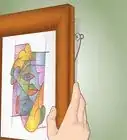
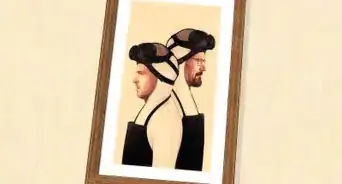
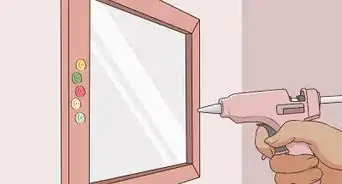
3Cut along the inner edges of the frame with a utility knife. There should be paper lining the inner edges of the frame. You’ll need to cut through the paper so you can access the spring clips that are holding the frame together.[7]
-
4Use a flat-head screwdriver to pull out the spring clips from the inner edges. The spring clips are the clips inside the frame that hold the contents of the frame in place. To remove them, wedge the flat-head screwdriver under the ends of the clips and bend the screwdriver until they pop out. Once they’re partially out of the frame, use your hands to pull them out the rest of the way.[8]
- There should be 4 spring clips in total — 1 on each side.
-
5Remove the screws in the bottom corners of the frame. You need to remove these screws so you can take apart the bottom of the frame. When you're finished, place the screws somewhere safe so you have them when you're ready to put the frame back together.[9]
-
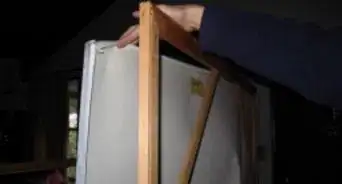
6Pull the bottom side of the frame out. The bottom side should easily separate from the rest of the frame now that the screws in the bottom corners have been removed. If it’s stuck, try tapping on it a few times with the handle of the screwdriver to force it out.[10]
-
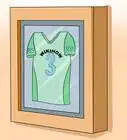
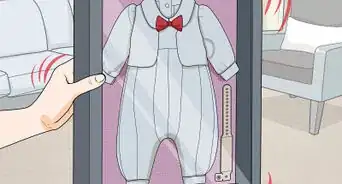
7Slide the contents of the frame out of the open side. Set the frame backing, the print, and the glass aside. When you’re ready to put the frame back together, all you need to do is slide the contents of the frame back into the open side and screw the bottom of the frame back on. But on fancier frames, do make sure to pinch together the two prongs on the corner L-brackets, when reassembling. This guides them to the correct groove to align parts properly. Otherwise the external corners will be misaligned. [11]


Community Q&A
Did you know you can get answers researched by wikiHow Staff?
Unlock staff-researched answers by supporting wikiHow
-
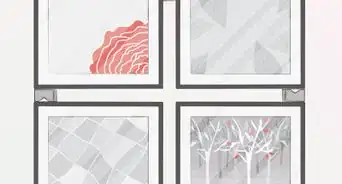
QuestionHow do you open a sealed picture frame?
 wikiHow Staff EditorThis answer was written by one of our trained team of researchers who validated it for accuracy and comprehensiveness.
Staff AnswerwikiHow Staff EditorStaff AnswerIt depends on the type of frame. Most picture frames have tabs or locks that keep the picture in place. You may need to examine the frame carefully to find them. If the frame has backing paper over the back, you’ll need to carefully cut it away first.
Support wikiHow by unlocking this staff-researched answer.
-
QuestionHow do I open a picture frame with tabs?wikiHow Staff EditorThis answer was written by one of our trained team of researchers who validated it for accuracy and comprehensiveness.
Staff AnswerwikiHow Staff EditorStaff AnswerSome picture frame tabs need to be bent back to release the picture. You may need a tool, such as a butter knife or a screwdriver, to bend the tabs. If the tabs are made to turn or swivel, you just need to rotate them to get them out of the way.Support wikiHow by unlocking this staff-researched answer.
-
QuestionWhat is the brown paper on the back of picture frames?wikiHow Staff EditorThis answer was written by one of our trained team of researchers who validated it for accuracy and comprehensiveness.
Staff AnswerwikiHow Staff EditorStaff AnswerThis is called dust cover paper or backing paper. This paper helps keep dust from getting into the picture frame and dulling the picture or the glass.Support wikiHow by unlocking this staff-researched answer.
Things You’ll Need
Taking Apart a Wooden Frame
- Utility knife
- Pliers
Disassembling a Metal Frame
- Flat-head screwdriver
- Utility knife

References
- ↑ https://www.apartmenttherapy.com/frugal-living-how-to-frame-your-art-on-the-cheap-apartment-therapy-tutorials-200853
- ↑ https://www.apartmenttherapy.com/frugal-living-how-to-frame-your-art-on-the-cheap-apartment-therapy-tutorials-200853
- ↑ https://www.youtube.com/watch?v=dko9E9OItA8&feature=youtu.be&t=65
- ↑ https://www.youtube.com/watch?v=dko9E9OItA8&feature=youtu.be&t=99
- ↑ https://www.youtube.com/watch?v=byvwcjyjjgg&feature=youtu.be&t=22
- ↑ https://www.youtube.com/watch?v=byvwcjyjjgg&feature=youtu.be&t=30
- ↑ https://www.youtube.com/watch?v=byvwcjyjjgg&feature=youtu.be&t=52
- ↑ https://www.youtube.com/watch?v=byvwcjyjjgg&feature=youtu.be&t=73
- ↑ https://www.youtube.com/watch?v=byvwcjyjjgg&feature=youtu.be&t=112
About This Article

Whether your frame is made of wood or metal, you can take it apart with a few basic tools. If your wooden frame’s covered by paper, cut along the edges with a utility knife and remove the paper. You should see nails or staples holding a piece of cardboard in place. Pull these out with pliers. Then, you should be free to remove the cardboard, print, and glass. For a metal frame, first you’ll need to unscrew the mounting wire from the back. If there’s paper covering the back, cut this off too. Then, use a flat-head screwdriver to remove the spring clips from the inner edges and the screws in the bottom corners of the frame. Once you’ve removed those, you should be able to slide the bottom side of the frame out and remove the print and glass. For more tips, including how to remove the bottom of your metal frame if it’s stuck, read on!