This article was co-authored by Ricardo Mitchell. Ricardo Mitchell is the CEO of CN Coterie, a fully licensed and insured Lead EPA (Environmental Protection Agency) Certified construction company located in Manhattan, New York. CN Coterie specializes in full home renovation, electrical, plumbing, carpentry, cabinetry, furniture restoration, OATH/ECB (Office of Administrative Trials and Hearings/Environmental Control Board) violations removal, and DOB (Department of Buildings) violations removal. Ricardo has over 10 years of electrical and construction experience and his partners have over 30 years of relevant experience.
This article has been viewed 209,118 times.
A 4 terminal relay is used so a low power circuit may engage a high power circuit without risk of damage to the low power control circuit. For example, a low power circuit in a car that commands the high power headlights to come on would send the command through a 4 terminal relay. Use these tips to learn how to test a 4 terminal relay.
Steps
-
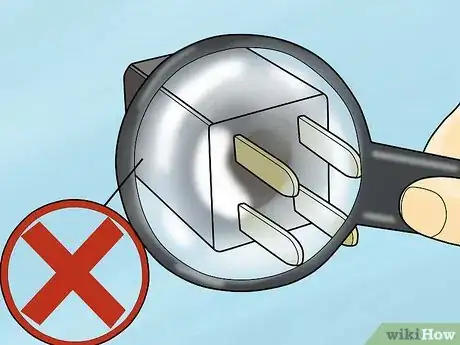
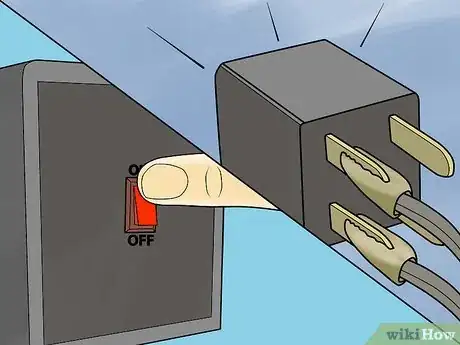
1Find and remove the relay. The relay should not be tested while it is connected to the circuit. The relay is typically located in a place where larger electric parts are placed. In a car, this is likely a relay or fuse box. Use your fingers to unplug the relay from the socket in which it is placed.
- Note the relay position. The positioning and polarity of relays and fuses should be printed on the inside of the relay box or fuse box cover. Note the position of the relay that was removed so that it may be replaced in the proper position and orientation.
-
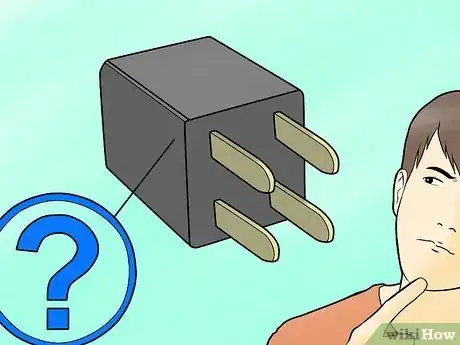
2Find the relay characteristics. The relay will have 4 pins; 2 will connect to the control circuit and 2 will connect to the high power load.[1]
- Identify the relay as an ISO mini type. The International Standards Organization (ISO) defines this type of relay as 1 inch (2.5 cm) square (25.4 mm square). ISO defines mini relays with the control circuit connected to pin 86 and pin 85, and the load circuit connected to pin 30 and pin 87 or 87a. There will be only 1 second load pin, 87 or 87a, not both.
- Determine that the relay is an ISO micro type. The ISO defines this type of relay as 1 inch (2.5 cm) by 1 inch (2.5 cm) by 0.5 inches (25.4 mm by 25.4 mm by 12.7 mm). An ISO micro relay has the control circuit connected to pin 86 and pin 85, and the load circuit connected to pin 30 and pin 87 or 87a. There will be only 1 second load pin, 87 or 87a, not both.
- Read the relay connections printed on the relay. The control circuit will be depicted as a coil of wire on the surface printing of the relay. The load circuit will be depicted as straight lines with a dot or circle on the end of one of the lines. If the 2 lines are depicted as not connecting at the circle or dot, the relay is a normally open (NO) relay. If the 2 lines are depicted as meeting at the circle or dot, the relay is a normally closed (NC) relay. It is important to know if the relay is NO or NC during further testing.
- Determine if the relay is internally protected against voltage spikes. A relay with internal protection will have a diode symbol shown on the package drawing connected around the control coil. The diode symbol will be a triangle with a line attached perpendicularly to 1 of the points. The line shown on the diode symbol will indicated the positive polarity end of the diode.
Advertisement -
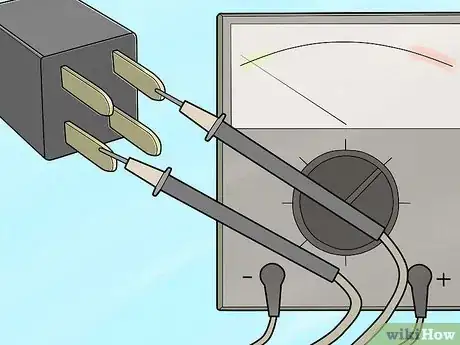
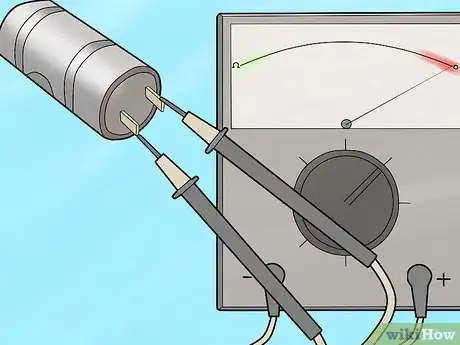
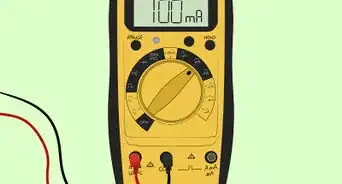
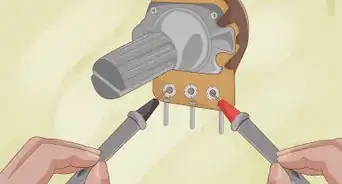
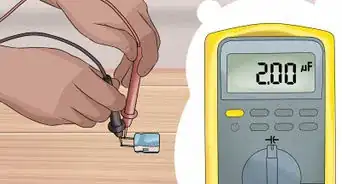
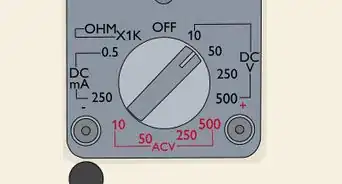
3Confirm the integrity of the relay load connections. Use a digital multimeter (DMM) or analog ohmmeter to measure the resistance across the load connections of the relay. The reading should be open (infinite ohms) on an NO relay and short (0 ohms) on an NC relay. DMMs and analog ohmmeters are available in electronic parts and hobby stores.[2]
-
4Apply power from a test power supply to the control circuit. The voltage applied should be that of the rating of the relay. This rating will be indicated on the relay. If the relay has been determined to be voltage spike protected, positive power must be applied to the pin that connects to the positive polarity end of the relay internal diode. If the relay has been determined to not be voltage spike protected, the test power source may be connected to the control pins of the relay in either direction.[3]
-
5Listen for the click. When power is applied to the control circuit, a slight click should be heard as the relay activates.[4]
-
6Determine the transition of the load connectors. Use the DMM or analog ohmmeter to measure the resistance across the load connections of the relay. The reading should be short (0 ohms) on an NO relay and open (infinite ohms) on an NC relay.
-
7Confirm the current carrying ability of the load connectors. With the relay in the configuration that has the 2 load pins connected, place the test voltage on 1 of the load pins of the relay and an automotive test light on the other load pin of the relay. The automotive test light should light. Automotive test lights are available at auto parts stores and hardware stores.
Things You'll Need
- Digital multimeter (DMM)
- Analog ohmmeter
- Automotive test light
- Test power source
References
- ↑ https://www.youtube.com/watch?v=ire7vyDqelg
- ↑ http://www.learningaboutelectronics.com/Articles/How-to-test-a-relay
- ↑ https://www.electricaltechnology.org/2019/01/how-to-test-a-relay-checking-ssr-coil-relays.html
- ↑ https://www.electricaltechnology.org/2019/01/how-to-test-a-relay-checking-ssr-coil-relays.html
