This article was co-authored by wikiHow Staff. Our trained team of editors and researchers validate articles for accuracy and comprehensiveness. wikiHow's Content Management Team carefully monitors the work from our editorial staff to ensure that each article is backed by trusted research and meets our high quality standards.
There are 8 references cited in this article, which can be found at the bottom of the page.
This article has been viewed 27,739 times.
Learn more...
If you suspect that your light switch may be faulty, you can do a simple test to find out. Many people automatically shy away from electrical work and it can be dangerous, so it's worth hiring a professional electrician to do this for you. However, you can safely do this task yourself as long as you turn off the electricity to your switch before working on it. With a few simple tools and some basic safety precautions, you can troubleshoot your light switch.
Steps
Removing the Light Switch
-
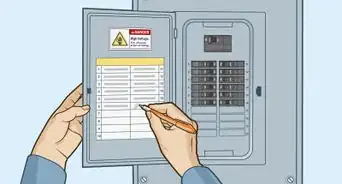
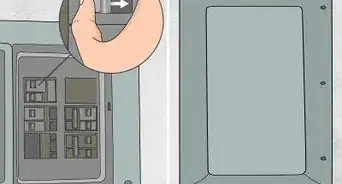
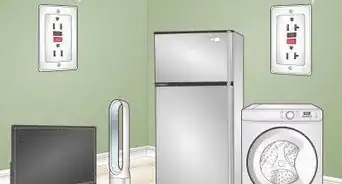
1Turn off the power to the light switch. You do this by accessing the correct circuit breaker and switching it to the “off” position. Circuit breakers are usually found in basements or closets, behind an electrical panel door. If you’re lucky, your breakers are labeled so you can easily identify which circuits they each operate.[1]
- If you’re unfamiliar with how your circuits are wired, you can flip each breaker until you find the one that shuts off the circuit you need to access.
-
2Remove the switch panel cover. Most light switches are covered by a decorative panel. You will need to remove this in order to access the switch. Remove the screws that hold the panel onto the wall. If the screws have one groove in the head, you’ll need to use a flat-head screwdriver to remove them. If they have something that looks like a star or cross on their head, you’ll need to use a Phillips-head screw driver.[2]
- Keep your screws and panel cover together and place them out of your way. Unless you’re replacing the cover, you’ll want to put these back on at some point.
Advertisement -
3Test for live voltage before proceeding. Whenever you work with electricity, caution is important. Use a non-contact voltage tester to make sure you’ve shut the power off to your switch. These work simply by moving them around near the terminals of your switch.[3]
- Wave the voltage tester all around the front and sides of the switch without making direct contact.
- If it beeps, you should stop working on the switch immediately and shut the power off before proceeding.
-
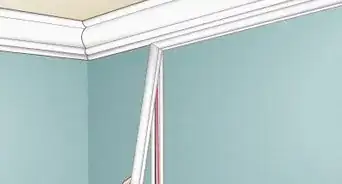
4Pull the light switch from the wall. Once you’ve confirmed that there’s no electrical current in your switch you are ready to remove it. Your switch may be attached to a frame by screws which you’ll need to take out, or it may just be sitting up against the wall.
- Depending on how long it’s been there, you may have to apply a little elbow grease to pry the switch out of the wall.[4]
-
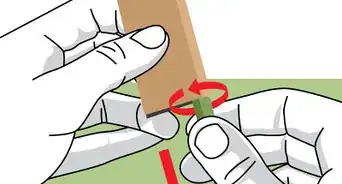
5Separate the switch from your house wires. Loosen any terminal and grounding screws with your screw driver. You want to loosen them just enough so that you can remove the wires that are attached.[5]


Testing Your Switch with a Voltmeter
-
1
-
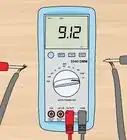
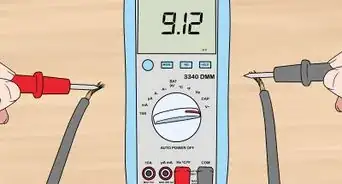
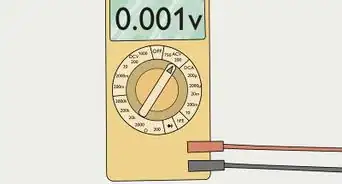
2Place a lead wire on each terminal. It doesn’t matter which lead wire you place on which screw. Once you have the lead wires in place, you should have a completed circuit and your voltmeter should flash and/or beep.[8]
-
3Interpret your test results. If you don’t get any response from the voltmeter, your switch is broken and will need to be replaced. If you do get a positive indication from your voltmeter that means your switch is working.
- If you continue having difficulties once your switch has passed the test, that could mean you have a bigger electrical problem in your home. Turn the power off to that circuit and call a professional electrician to do additional testing for you.


Testing Your Switch with a Continuity-Tester
-
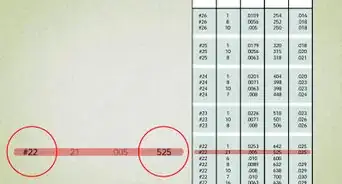
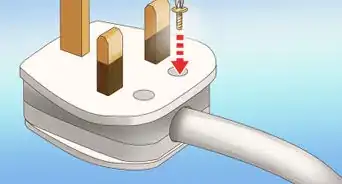
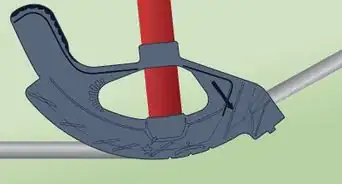
1Locate the terminal screws on the light switch. These are the screws that attach your switch to the wiring in the wall. You will find these on the sides of the switch.
- The most common switch will have two screws on one side, these are the electrical terminals.[11]
-
2Place the terminal and lead wire on your terminal screws. Your tester will have a long metal terminal and a lead wire. Use these to complete a circuit with the switch. It doesn’t matter which screw touches the tester terminal and which one touches the lead wire. The main thing is to make sure you have completed the circuit.
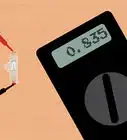
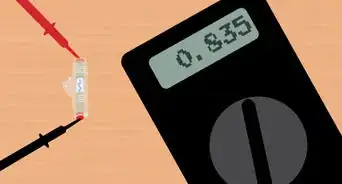
- Once both pieces of the tester are in place, you should get a reading in the form of a flashing light, a beep, or digital readout with a positive number.[12]
-
3Interpret your results. Your tester will measure the resistance in an electrical circuit and will let you know if your circuit is broken. Since resistance is measured in ohms, these are sometimes called “ohmmeters.”[13]
- If your continuity tester gives you a number at or very close to 0, that’s an indication that current cannot flow through your circuit and the switch is broken.[14]
- If you continue having difficulties once your switch has passed the test, that could mean you have a bigger electrical problem in your home. Turn the power off to that circuit and call a professional electrician to do additional testing for you.


Warnings
- If your switch tests out ok but you continue to experience electrical difficulties, contact a professional electrician as this could indicate that there is a problem with the wiring in your home.⧼thumbs_response⧽
- It’s important to make sure you can positively identify the correct circuit breaker for the switch in question. If you have difficulty, consult a professional electrician before proceeding.⧼thumbs_response⧽
Things You’ll Need
- Flat-head screwdriver
- Phillips-head screwdriver
- Voltmeter/continuity tester
- Non-contact voltage tester
- Needle-nose pliers


References
- ↑ https://www.youtube.com/watch?v=eNwz2BA-R98
- ↑ https://www.youtube.com/watch?v=qSAnXWiMyLg
- ↑ https://www.youtube.com/watch?v=qSAnXWiMyLg
- ↑ https://www.youtube.com/watch?v=I93nCsFfL4o
- ↑ https://www.youtube.com/watch?v=qSAnXWiMyLg
- ↑ https://www.familyhandyman.com/electrical/how-to-use-cheap-electrical-testers/view-all/
- ↑ https://www.youtube.com/watch?v=zYk_kY7hk58
- ↑ https://www.youtube.com/watch?v=qSAnXWiMyLg
- ↑ https://www.familyhandyman.com/electrical/how-to-use-cheap-electrical-testers/view-all/
About This Article