X
wikiHow is a “wiki,” similar to Wikipedia, which means that many of our articles are co-written by multiple authors. To create this article, volunteer authors worked to edit and improve it over time.
This article has been viewed 32,722 times.
Learn more...
Believe it or not, integrating aluminum foil into your gardening routine can improve your experience and possibly your crops.
Steps
Method 1
Method 1 of 4:
Protect Plants from Insects
-
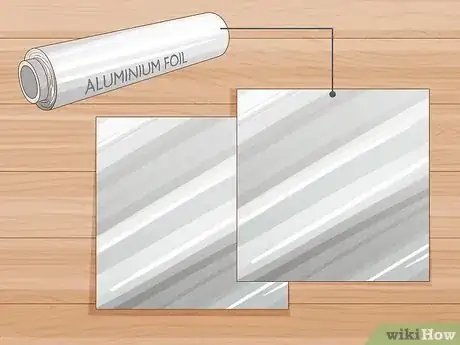
1Tear several sheets of aluminum foil. Base the number of sheets on the square footage of planting beds in your yard/garden.
-
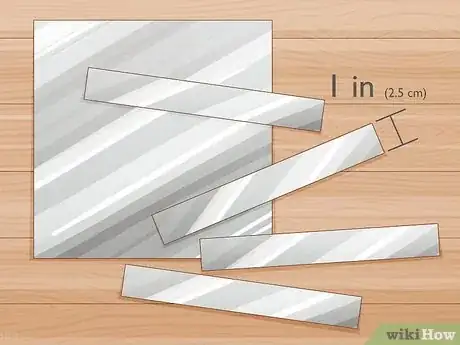
2Rip the sheets into ½” to 1” long sheets. You want a few strips of foil for every few feet of mulch in your garden bed.Advertisement
-
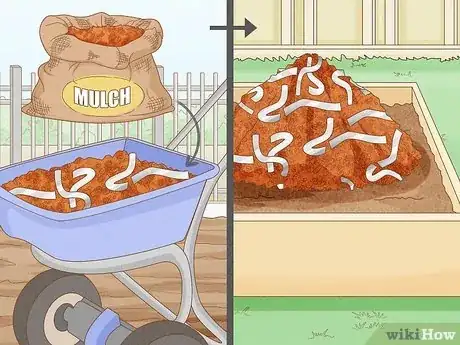
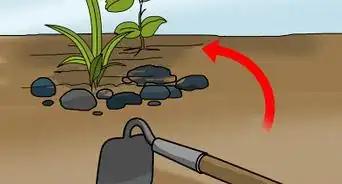
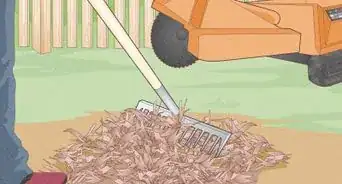
3Mix foil strips with mulch. If you haven’t already laid the mulch, pour mulch into a wheelbarrow and then add foil. Use a hoe or gardening tool to mix the foil into the mulch.
- Scatter the mulch in the garden bed. Mingle the foil into the mulch, evenly scattering pieces throughout the garden bed.
-
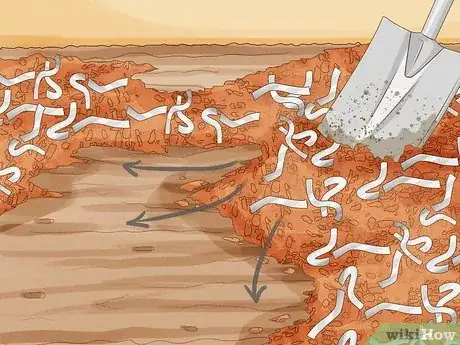
4Add foil to mulch if the mulch has already been laid. Use a garden hoe to integrate foil into the previously laid mulch, scattering the foil thoroughly.
Advertisement
Method 2
Method 2 of 4:
Protect Trees from Rodents and Pests During the Winter
-
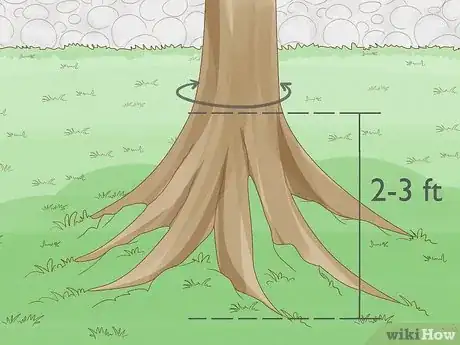
1Measure the base of tree trunks you’d like to protect during the winter. Small pests/rodents will munch on tree trunks during the winter months. Measure the circumference of the tree trunk and height from the base , 2 to 3 feet (0.6 to 0.9 m) from the ground.
-
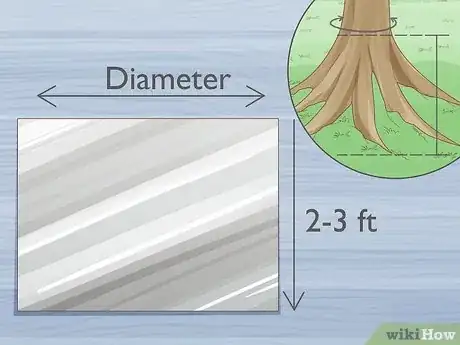
2Tear sheets of foil according to your measurements. Double each measurement as you will be layering two sheets of foil around the tree trunk for protection.
-
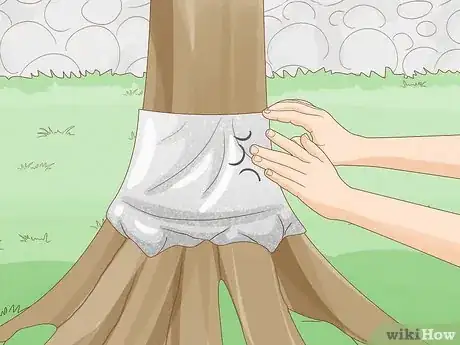
3Wrap the base of the tree trunk with the first sheet of foil. Press foil against tree trunk so it adheres to the wood.
-
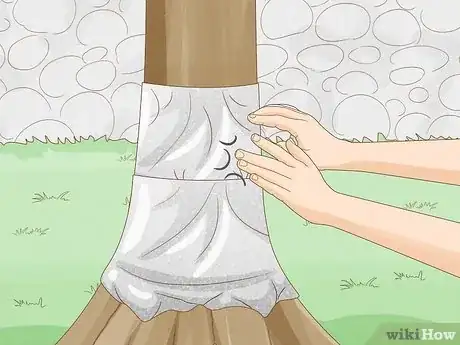
4Work your way upward as high as you plan to wrap the tree and then add your next layer, starting with the base of the tree.
Advertisement
Method 3
Method 3 of 4:
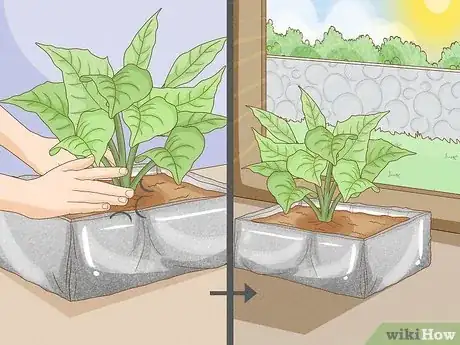
Design a Sun Box for Plants
-
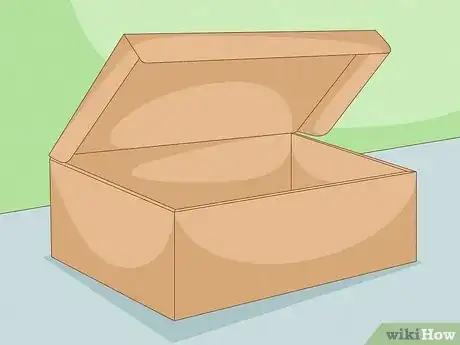
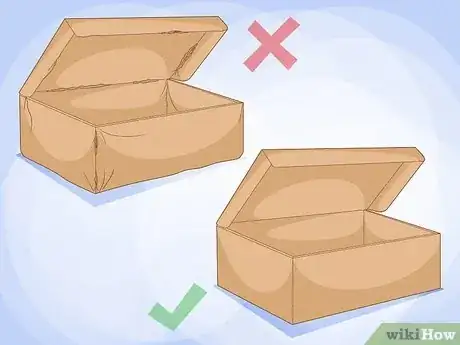
1Obtain a small cardboard box to house plants. A shoebox or another rectangular box would do the trick.
-
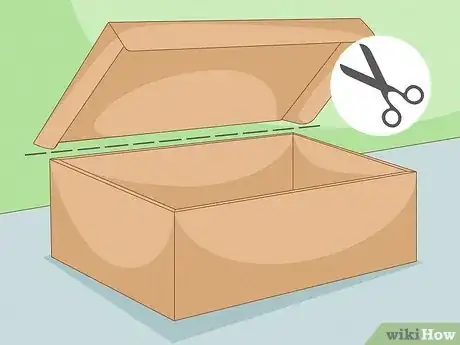
2Cut one of the long sides from the box. Using a box cutter would allow you to get the best angle on the box.
-
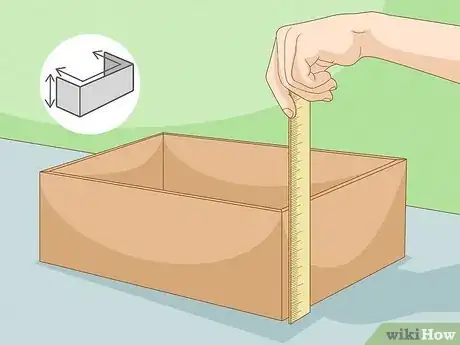
3Measure the sides and base of the box. Obtain not only the inside, but also measurements for the outside of the box.
-
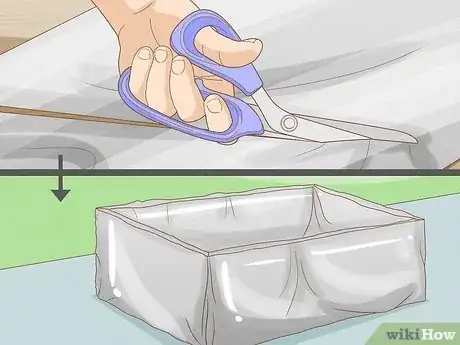
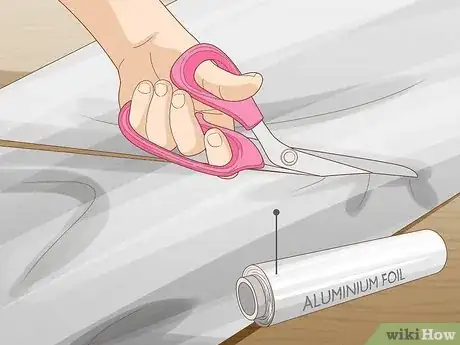
4Rip sheets of foil based on your measurements and wrap box. Use tape to secure foil in place if necessary.
-
5Place plants inside box and locate near a sunny window.
Advertisement
Method 4
Method 4 of 4:
Incubate Seedlings
-
1Procure a shoebox to hold seedlings and soil. Make sure the box is sturdy enough to hold moist soil and growing plants.
-
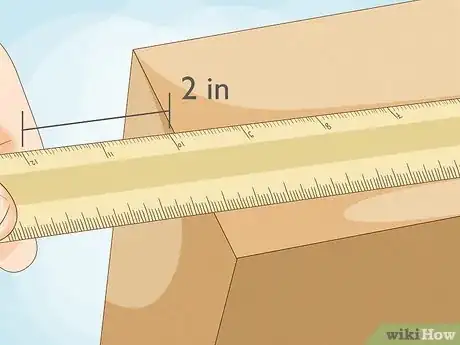
2Measure the base and sides of the box, allowing for two extra inches. You will line the shoe box with foil, which will protrude two inches above the sides and top.
-
3Cut aluminum foil to measurement sizes and line shoebox. Use tape and/or glue if necessary to make sure foil holds in place.
-
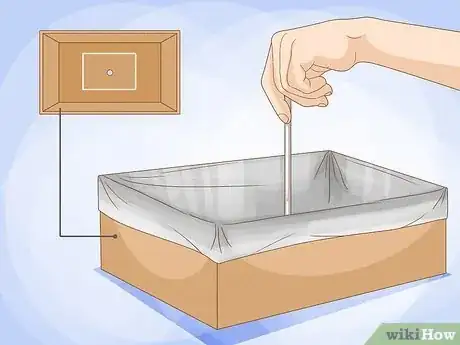
4Poke small drainage holes along the bottom of the shoebox. Be sure you poke through the foil.
-
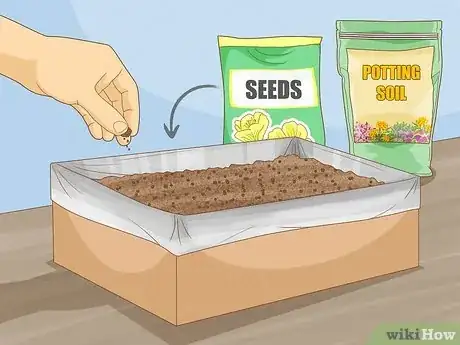
5Fill the box halfway to the top with potting soil and add seeds. Embed seeds snuggly into the soil and moisten soil with water.
-
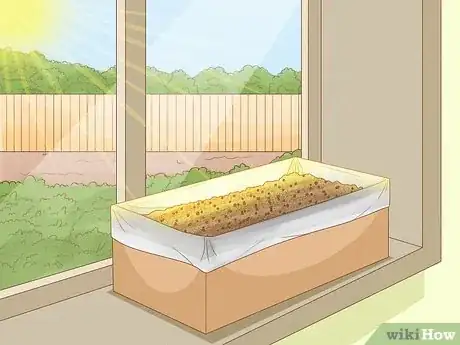
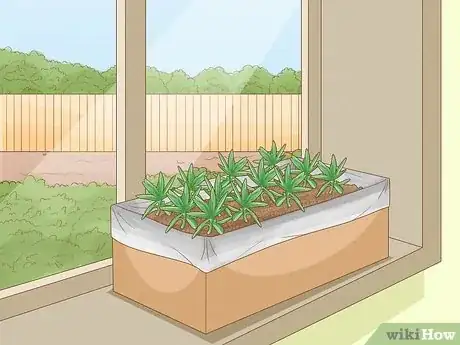
6Place box near a sunny window and allow the light to reflect on the sun box. The sun will encourage quicker growth.
-
7Finished.
Advertisement
Community Q&A
-
QuestionHow much time to decompose aluminum foil in soil, and it is good for soil or not?
 DonaganTop AnswererAluminum foil will not decompose in soil.
 -
QuestionHow do I make my own aluminum foil reflector to direct from my garden to a window which doesn't have sunlight?
 Community AnswerYou can try to use a piece of glass and roll the aluminum foil (shiny side facing the glass and completely smooth) onto it using a paint roller, then use duct tape or similar to tape it to the glass with at least 2 cm wrapping over the front edge of the glass, making sure the foil stays smooth against the glass. Place the glass where it will be stable and reflect in your desired direction.
Advertisement
About This Article
Advertisement
