X
wikiHow is a “wiki,” similar to Wikipedia, which means that many of our articles are co-written by multiple authors. To create this article, volunteer authors worked to edit and improve it over time.
This article has been viewed 107,092 times.
Learn more...
A Pad Scan bladder scanner features new 3D sector probe and real-time ultrasound imaging algorithms that measures the urinary bladder volume and post-void residual (PVR) quickly, safely, automatically and non-invasive. It is your ideal assistant to meet today Point-Of-Care challenges.
Steps
-
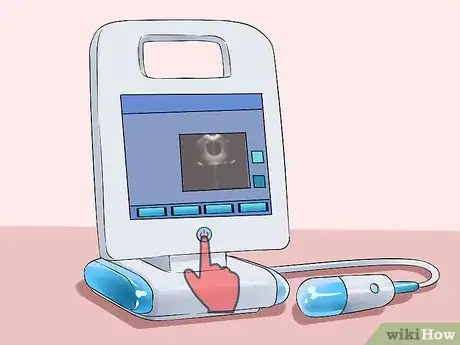
1Turn ON the system by pressing the Power button.
-
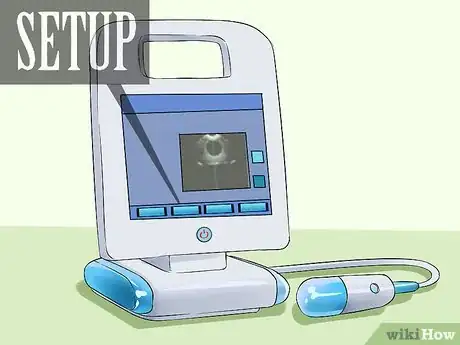
2Operator Login a) Pad Scan bladder scanner has an operator login system which allows authorized operators to login. b)You may add new operator with account name and password in the SETUP menu.Advertisement
-
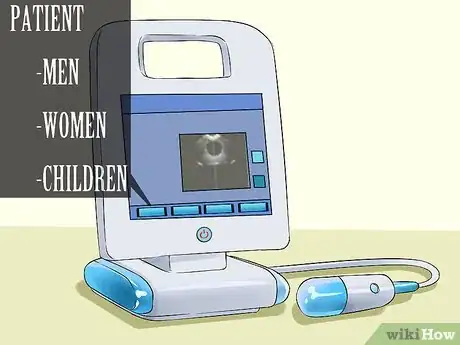
3Enter the patient data a)Touch Patient button to enter patient management system. b) Select the patient gender by touching the gender icon.
-
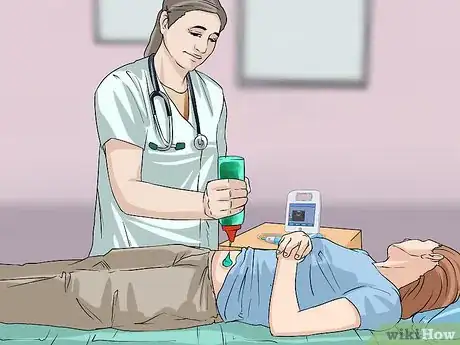
4Prepare the patient a) Have the patient lie in the supine position with abdominal muscles relaxed. b) Place an ample quantity of gel midline on the patient's abdomen, approximately 3 centimeter (1.2 in) above the pubic bone.[1]
-
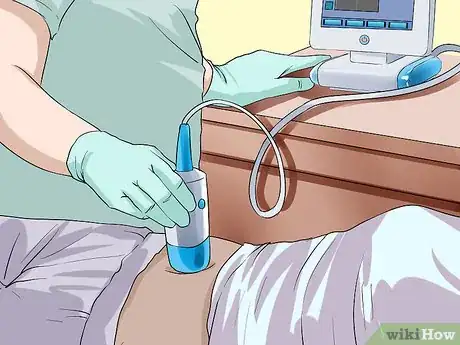
5Aim toward the bladder a) stand at the patient's right side. b) Place the probe on the gel and make sure the probe button is facing the patient's head directly. c) tilt the probe slightly toward the patient's tailbone so the scan clears the pubic bone.
-
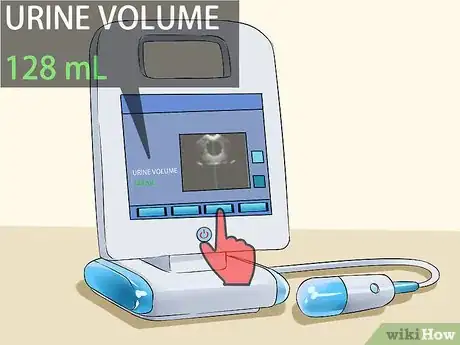
6Press the Scan button a) Press the probe button to start ultrasound scanning to locate the bladder b) Make sure the ultrasound bladder image is the biggest and centered. c) When you find the ideal ultrasound bladder image, press the probe button again. Pad Scan Bladder Scanner will start calculation automatically. d) When you hear a 'beep', the calculation is finished. The result of urine volume will be displayed.
-
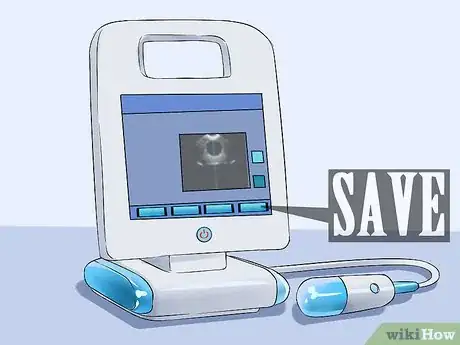
7Save, review and print the exam results
-
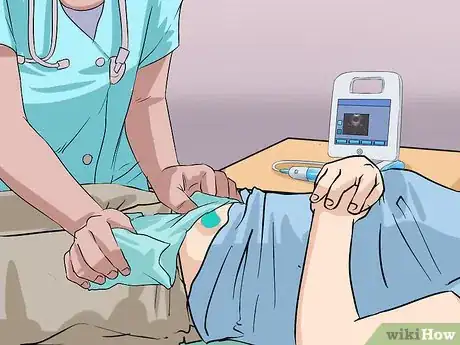
8Finish exam. Once you have completed the scan, wipe the ultrasound gel off the patient and the probe
Advertisement
References
About This Article
Advertisement











Medical Disclaimer
The content of this article is not intended to be a substitute for professional medical advice, examination, diagnosis, or treatment. You should always contact your doctor or other qualified healthcare professional before starting, changing, or stopping any kind of health treatment.
Read More...