X
This article was co-authored by Jurdy Dugdale, RN. Jurdy Dugdale is a Registered Nurse in Florida. She received her Nursing License from the Florida Board of Nursing in 1989.
This article has been viewed 29,152 times.
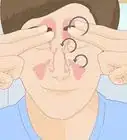
If you have ever been unable to breathe through your nose because of a cold, sinus infection, or allergies, you know how much relief clearing your sinuses can bring. If you have a stuffy, congested nose, you can get this relief by using a nasal rinse. You can also make a nasal rinse at home and apply it with an irrigation device to clear your nose and sinuses. However, there are also many nasal rinses that can be bought in drug stores and are easy to use.
Steps
Part 1
Part 1 of 3:
Gathering Supplies and Preparing for Irrigation
-
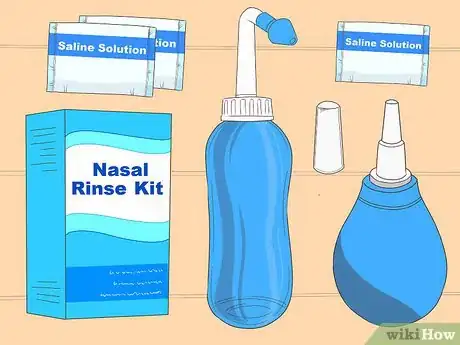
1Purchase a nasal rinse product if not making your own rinse. There are a variety of nasal rinses that come prepackaged and ready to use. Look for a product labeled as a "nasal rinse," "sinus rinse," or for "nasal irrigation." They are typically available at pharmacies but can be found in some grocery and big box stores as well.[1]
- Most store-bought nasal rinse products are made up almost exclusively of saline. Saline is a combination of purified water and salt.
- Read and follow the directions on the packaging. These directions should include how to do the nasal rinse and how often you can do it.
- Some store-bought nasal rinse products require that you add purified or boiled and cooled water to the applicator. If your product says to do this, be sure to do it and don't simply add tap water. Use purified bottled water from an unopened bottle, or boil some tap water and let it cool if bottled water is unavailable.
-
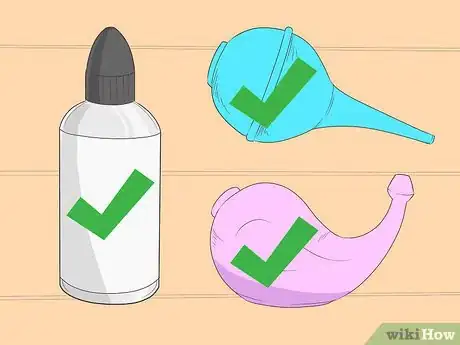
2Get an irrigation device. There are a variety of devices that can be used to clean out the sinuses. These include commercial nasal saline rinse bottles, ear bulb syringes, and neti pots. Look for devices from online retailers or from pharmacies or natural product stores in your area.[2]
- All of these products work generally in the same way. They apply the rinse into 1 nostril and the rinse travels through the sinuses and out the other nostril.
- Be sure that the device that you buy is made specifically for irrigating the nasal passages.
- If you are unsure what device to get, ask your pharmacist for advice.
Advertisement -
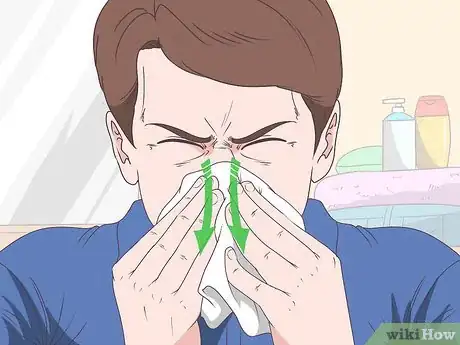
3Blow your nose to clear out your nasal passages. Before rinsing out your nose, try to get it as clear as possible. Giving it a good blow will make the rinse easier to do and more effective.
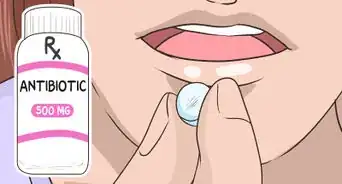
- Take a look at your nasal discharge when you blow your nose. If it’s clear and watery, it’s likely to be due to allergies or a common cold. A nasal rinse is an appropriate treatment in these cases. If your mucus is yellowish, green, or brown, you may have a sinus infection, which requires antibiotic treatment prescribed by a healthcare professional.
-
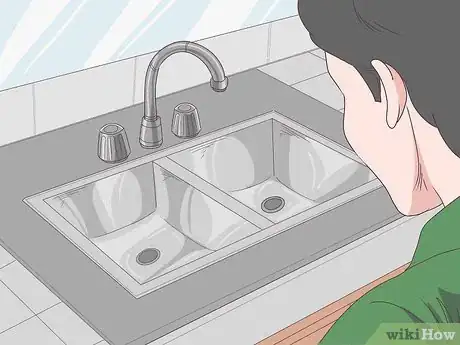
4Go to a sink to prevent a mess. To use the nasal rinse, you have to be near a sink or some other place that can catch the dirty water. The water will travel into 1 nostril and out the other, so make sure it has somewhere to go.[3]
Advertisement
Part 2
Part 2 of 3:
Using an Irrigation Device
-
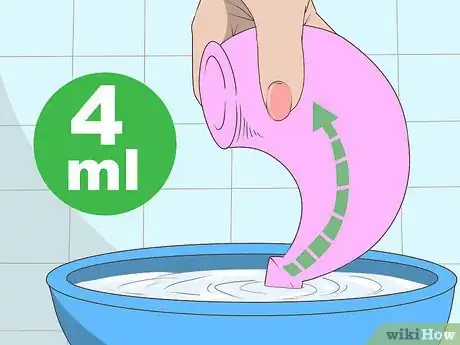
1Fill your irrigation device. Draw some fluid into the bulb or syringe or pour the rinse into your neti pot. Draw about 4 milliliters (0.1 fl oz) of nasal rinse into a bulb or syringe if you are using one. If using a neti pot, fill it about halfway full.[4]
- Make sure that whatever you are using to administer the rinse is clean and disinfected before filling it up with rinse.
-
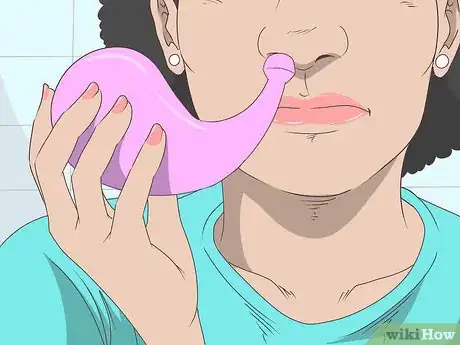
2Place the tip of the irrigation device in 1 nostril. Pick whichever nostril you would like to flush first. You need to create a seal when you insert the device so no air can get out of that nostril.[5]
-
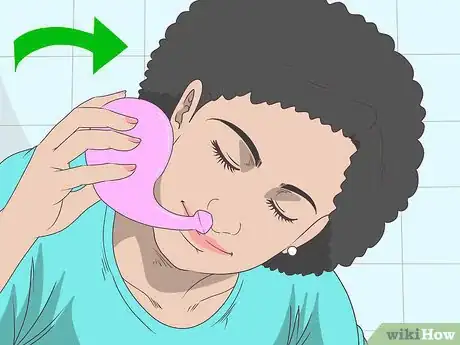
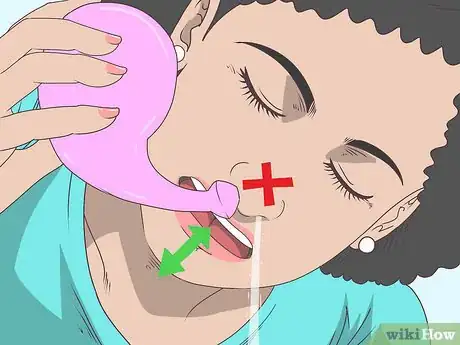
3Tilt your head to the side with the open nostril and slowly release the rinse. If you are using a neti pot, the rinse will flow into the sinuses as you tilt your head. If using a bulb or syringe, slowly press it to release the rinse. Allow the solution to drain out the other nostril.[6]
- Ideally the rinse will pass into 1 nostril and run out of your other nostril, flushing out mucus, dust, and pollen.
- You may need to adjust the tilt of your head as you begin to apply the rinse. The goal is to find an angle that allows the rinse to run through the sinuses and out the other nostril, not down your throat.
- Repeat the process in the other nostril.
-
4Avoid breathing through your nose as you are flushing. Always breathe through your mouth while using the nasal rinse. This will prevent the rinse from entering your throat, which can cause you to cough and may be uncomfortable.
-
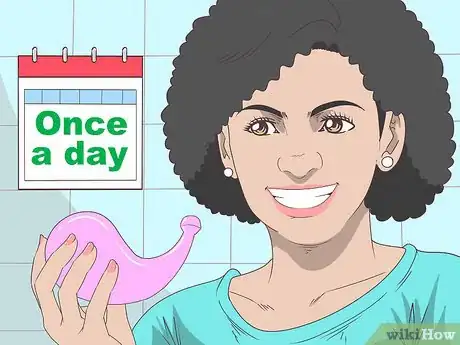
5Use a nasal rinse once a day for cleansing. While rinsing out your nasal passages can provide great relief and can help keep your sinuses healthy, doing it too much is also not great. Using it more than once a day can irritate the mucus lining of the sinuses, so stick to a single use in a day.[7]
-
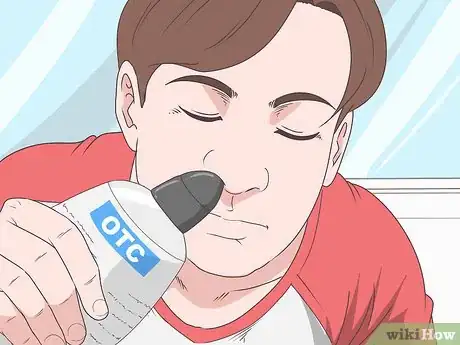
6Try an over-the-counter saline nasal rinse as a simple alternative. Store-bought saline rinses and sprays in ready-to-use applicators are a quick and easy alternative to irrigation devices such as neti pots. These rinses come in disposable containers with sterile applicator tips. Follow the directions on the package for proper use.
- Look for products like NeilMed Sinus Rinse or Arm and Hammer Simply Saline in your local pharmacy.
Advertisement
Part 3
Part 3 of 3:
Making a Homemade Nasal Rinse
-
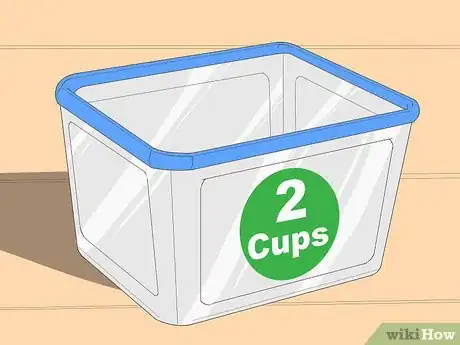
1Get a clean, airtight container. To begin making your nasal rinse, make sure you have a container that will be suitable for mixing and storage. This container should be big enough to hold about 2 cups (about .5 liters) of liquid.[8]
- Glass or BPA-free plastic are both good container materials to consider.
- Always remember to wash your hands before and after creating your nasal rinse. This will avoid cross-contamination and the introduction of microorganisms or viruses.
-
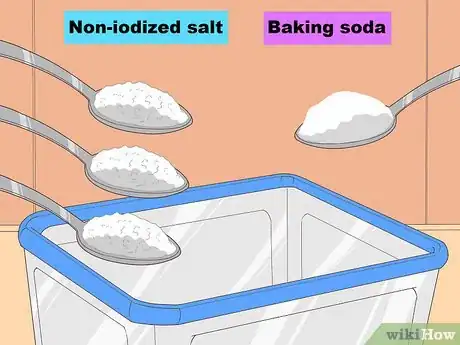
2Measure out your dry ingredients. Take a measuring spoon and put 0.5 teaspoons of non-iodized salt into your container. Then add 0.5 teaspoons of baking soda.[9]
-
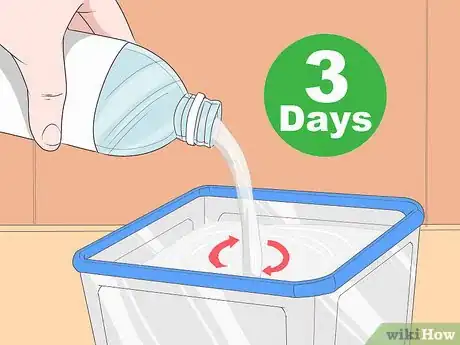
3Add boiled or distilled water. You need the water to be pure of irritating chemicals and minerals, which can be present in tap water. To avoid this, either buy distilled water or boil your tap water for 3-5 minutes and then let it cool down to lukewarm. Once you have the water ready, add 1 cup (237 ml) of it to your dry ingredients.[10]
- Stir the mixture until the salt and baking soda have dissolved, or until the water is clear.
- If you boiled the water, wait until the solution cools to a lukewarm temperature before using it.
- A homemade nasal rinse can be stored for 3 days at room temperature.
Advertisement
Things You’ll Need
- 1 cup (237 ml) distilled water or boiled tap water
- 0.5 teaspoons of salt without iodine, such as sea salt
- 0.5 teaspoon baking soda
- Store-bought nasal rinse, if necessary
- Nasal irrigation device
Warnings
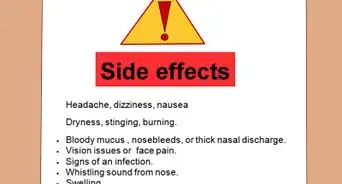
- You should avoid using a nasal rinse if you have an ear infection or a nasal polyp.⧼thumbs_response⧽
- Don’t use a nasal rinse on a child unless your pediatrician recommends it.⧼thumbs_response⧽
Advertisement
References
- ↑ https://www.fda.gov/consumers/consumer-updates/rinsing-your-sinuses-neti-pots-safe
- ↑ https://blogs.bcm.edu/2014/08/20/saline-irrigation-offers-natural-option-for-sinus-infection-allergy-relief/
- ↑ https://health.clevelandclinic.org/what-are-neti-pots-and-do-they-work/
- ↑ https://blogs.bcm.edu/2014/08/20/saline-irrigation-offers-natural-option-for-sinus-infection-allergy-relief/
- ↑ https://www.fda.gov/ForConsumers/ConsumerUpdates/ucm316375.htm
- ↑ https://health.clevelandclinic.org/what-are-neti-pots-and-do-they-work/
- ↑ https://www.aafp.org/afp/2009/1115/p1121.html
- ↑ https://www.uofmhealth.org/health-library/hw67090
- ↑ https://www.uofmhealth.org/health-library/hw67090
About This Article
Advertisement











Medical Disclaimer
The content of this article is not intended to be a substitute for professional medical advice, examination, diagnosis, or treatment. You should always contact your doctor or other qualified healthcare professional before starting, changing, or stopping any kind of health treatment.
Read More...