X
wikiHow is a “wiki,” similar to Wikipedia, which means that many of our articles are co-written by multiple authors. To create this article, volunteer authors worked to edit and improve it over time.
This article has been viewed 67,581 times.
Learn more...
At some stage, everyone needs to screenshot, crop or even copy and paste at some time or another. The perfect tool for this is a snipping tool. Microsoft has its own tool called the "Snipping Tool", and there are other screenshot apps and programs out there sometimes referred to as snipping tools, too. Whichever tool you're using, you can generally capture anything that comes up on your computer screen and then save it, crop it, draw on it or even share it.
Steps
-
1Download your snipping tool. Computers using Windows usually has it pre-downloaded. You can check by searching the keyword "Snipping Tool".
-
2Capture anything on your screen. Within the Snipping Tool, press 'NEW'; you will find that your computer screen will freeze and the white will go slightly grey. Then, drag your arrow from where you want the picture to start to where you want it to end. Once you are happy with the picture, let go of your mouse. It should appear on a new tab.
- You can also choose whether you wish it to be a free-form snipping tool (to go around odd shapes), a simple, rectangular box, a window snip, or a full-screen snipping.
- A timer can be set by clicking delay and then choosing how many seconds (1-5) you want to wait until it takes the snip. This works for window and full-screen snips.
Advertisement -
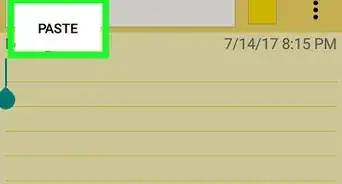
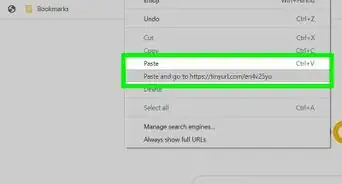
3Copy and paste. Once you have your screenshot, simply press the icon on the app that appears to be two pages with lines on them. Also, look for a fold at the top corner.
- To paste it, access Word for an example. Click on the clipboard; your object should then appear.
-
4Save your screenshot. When your screenshot is up, click on the purple file icon. It come up with a new tab; from there, you should be able to select where you save the picture to.
-
5Draw on the caption (optional). Click on the pen or highlighter icon and draw whatever you wish. You can also erase by clicking on the pink rubber icon and then click on your drawing and it should delete. If it does not delete, start over; press new and capture your picture again.


Advertisement


References
- snippingtool.com
About This Article
Advertisement