This article was co-authored by wikiHow staff writer, Jessica Gibson. Jessica Gibson is a Writer and Editor who's been with wikiHow since 2014. After completing a year of art studies at the Emily Carr University in Vancouver, she graduated from Columbia College with a BA in History. Jessica also completed an MA in History from The University of Oregon in 2013.
There are 7 references cited in this article, which can be found at the bottom of the page.
This article has been viewed 26,053 times.
Learn more...
If you've unwrapped your new stand mixer but have no idea how to use it, learn a little about your machine. Once you've determined if yours has a tilt head or bowl-lifting lever, play around with securing attachments to it. Determine what attachment works best for the food you want to make and adjust the speed on the machine. You'll also have to learn how to store and maintain your stand mixer so you can enjoy it for years to come.
Steps
Setting up Your Stand Mixer
-
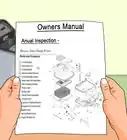
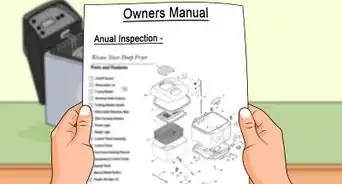
1Read your owner's manual and determine what kind of mixer you have. It's important to read the owner's manual that came with your machine since they can vary by brand and type. Check your mixer to see if yours has a bowl that lifts up and down using a lever or if the head tilts back.
- Larger stand mixers usually use the bowl lift lever while lower-powered mixers often use the tilting head.
-
2Lock the bowl in place if you have a tilt head mixer. Your mixer should come with a glass or metal mixing bowl that fits on the base of the machine. Set the bowl in place and turn it clockwise until it tightens into place.Advertisement
-
3Place the bowl into the machine if you have a bowl that lifts. Line up the attachments on the side of the bowl with the attachments on the sides of the mixer. Press the bowl down so it secures to the machine. You should hear a loud click as you fit the bowl in place.
-
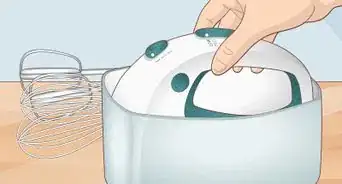
4Secure the attachment into the head of the mixer. Regardless of what type of machine you have, get out the flat blade, dough hook, or wire whip. Line up the opening on the end of the attachment with the pin on the head of the mixer. Push the attachment up onto the pin and turn it 1/4 twist counter-clockwise.[1]
- To remove the attachment, push it in a little and twist it 1/4 turn clockwise. Pull the attachment out of the machine head.
-
5Lock the machine in place. If you have a tilt head mixer, lower the head and push the lever on the side to "lock." For a mixer with a movable bowl, bring the lever on the side of the machine up in a counter-clockwise movement. This will raise the bowl and lock it into place.

Selecting Speeds and Attachments
-
1Turn the machine on to low before increasing the speed. Always start the mixer at low speed so the ingredients in the bowl don't fly out. This is especially important if you're mixing something with dry ingredients such as flour or powdered sugar. Once the ingredients are moistened, increase the speed.
-
2Set the machine speed. Use the lever on the side of the machine to select the speed you need. Pick a speed according to how fast you want the machine to go and based on what you're making. For example, use:[2]
- Slow speed for starting the machine or combining dry ingredients.
- Speed 2 (low) for slow mixing heavy batters or cutting in butter.
- Speed 4 (medium-low) for mixing cookie doughs or beating egg whites.
- Speed 6 (medium) for creaming butter and beating frostings.
- Speed 8 (medium-high) for fast beating or whipping to make meringues and whipped cream.
- Speed 10 (high) for fast whipping a small amount of egg whites or cream.
-
3Stop the mixer to scrape down the sides if necessary. You might need to scrape down the sides of the bowl if you're mixing a thick batter or buttercream. Instead of scraping down the sides while the mixer is running, turn off the machine. Unlock and tilt the head up or lower the bowl.
- Use a spatula to scrape down the sides and then you can lower the head or raise the bowl.
-
4Use a flat beater for beating, mixing, creaming, and mashing. If you frequently use the stand mixer to make batters, cookie doughs, and frostings, you'll probably use the flat beater the most. The flat beater is also called a paddle attachment and it's good for combining heavy mixtures.[3]
- For example, use a flat beater to make pancake batter, brownie batter, and cookie dough.
- You can also buy a flat beater with a flexible plastic edge that scrapes the side of the bowl as it beats.
-
5Choose a wire whip for beating air into ingredients. If you want to lighten batters or beat air into eggs or cream, use the wire whip attachment. Use the wire whip to make cake batter, meringues, frosting, buttercream, and whipped cream.[4]
- If you want to make whipped cream, chill the bowl and the wire whip for 15 minutes before making it. The cream will whip faster with chilled utensils.
- Avoid using the wire whip for heavy or dense ingredients such as cookie dough.
-
6Use the dough hook for yeasted breads and doughs. The dough hook is either shaped like a classic hook or a spiral. Use this attachment if you'll be beating a heavy yeasted mixture for several minutes. Use speed 2 when kneading the dough with the hook. Some foods you can make with the dough hook include:[5]
- Bread dough
- Yeasted breads such as rolls or buns
- Pizza dough
- Cinnamon rolls
-
7Prep cheese, vegetables, and fruit with the roto slicer and shredder. If you prep a lot of food, buy this optional attachment. It looks like a cone and screws into the head of your stand mixer. Choose 1 of the 4 blades that comes with it to shred or slice foods. Turn the mixer to speed 4 when you use the roto slicer and shredder.[6]
- Consider using a fruit and vegetable strainer attachment if you want to puree foods or make jams and jellies.
-
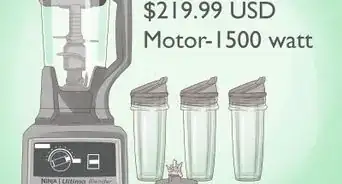
8Buy specialized attachments for specific tasks. You can buy a grain mill that attaches to the head of your mixer so you can grind your own flours. Or attach a sausage stuffer attachment if you want to fill your own sausage casings. Other specialized attachments include:[7]
- An ice cream bowl attachment
- A pasta roller
- A pasta extruder
- A citrus juicer


Caring for the Stand Mixer
-
1Store the stand mixer in an easy to access place. Since most stand mixers are heavy, keep your mixer somewhere that's easy for you to get to. For example, store the mixer on the counter instead of in a pantry closet.
-
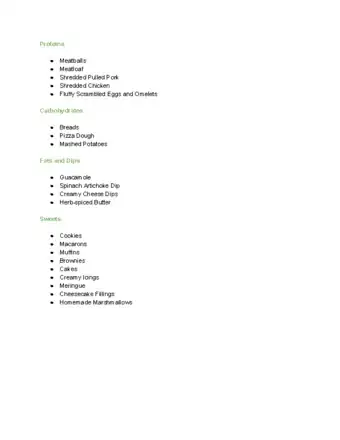
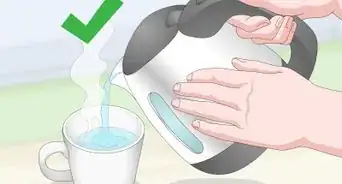
2Wipe down the mixer to remove dirt, batter, and flour. Unplug the mixer and wipe the mixer with a damp cloth after each use. This will prevent flour, dirt, and batter from building up on the machine. If there's already built up food, use a small brush or old toothbrush to scrub it away.[8]
- If you want to use a cleanser, wipe the machine with mild soapy cleanser. Remove the soapy residue with a damp cloth.
-
3Wash the bowl and attachments with soapy water. You can wash the glass or metal mixing bowl in hot, soapy water or in your dishwasher. You'll need to hand wash the attachments in warm, soapy water though. Dry the attachments completely so they don't rust.[9]
-
4Adjust the height of the beater attachment so it doesn't scrape the bowl. If the attachment scrapes against the bottom of the bowl or the bowl is too low, adjust the height. Unplug the mixer and use a flat-head screwdriver to tighten or loosen the screw that attaches the head to the stand. This is the screw that's closest to the bowl.[10]
- Tighten the screw to the right to make the beater attachment farther from the bowl or loosen it to the left to bring them closer.
-
5Tighten the hinge if the head of the mixer wiggles. Over time, the hinge that connects the head to the mixer body may loosen. To tighten it, unplug the machine and lock the head into place. Place the machine on its side and use a flat-head screwdriver to tighten the only visible screw.[11]

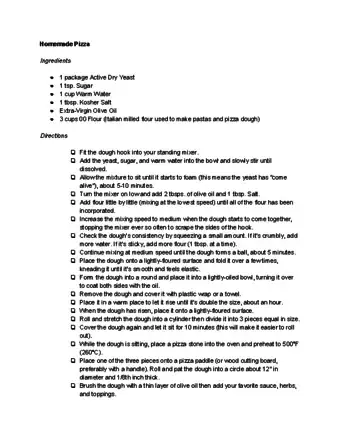
Recipes and Cooking Ideas
Things You'll Need
- Stand mixer
- Owner's manual
- Bowl
- Attachments of your choice
- Flat-head screw driver
- Cloth
- Dish washing soap


References
- ↑ https://www.youtube.com/watch?v=ZE88Frx2Ysc
- ↑ https://www.partselect.ca/Resources/KitchenAid-For-Christmas.aspx
- ↑ https://www.partselect.ca/Resources/KitchenAid-For-Christmas.aspx
- ↑ https://spoonuniversity.com/how-to/why-you-should-own-a-stand-mixer-and-how-to-use-one
- ↑ https://www.partselect.ca/Resources/KitchenAid-For-Christmas.aspx
- ↑ https://www.partselect.ca/Resources/KitchenAid-For-Christmas.aspx
- ↑ https://www.kitchenaid.com/digitalassets/KP26M1XER/Use%20and%20Care_EN.pdf
- ↑ https://www.thekitchn.com/how-to-clean-a-stand-mixer-229232
- ↑ https://www.thekitchn.com/how-to-clean-a-stand-mixer-229232
About This Article