This article was co-authored by Bess Ruff, MA. Bess Ruff is a Geography PhD student at Florida State University. She received her MA in Environmental Science and Management from the University of California, Santa Barbara in 2016. She has conducted survey work for marine spatial planning projects in the Caribbean and provided research support as a graduate fellow for the Sustainable Fisheries Group.
This article has been viewed 27,715 times.
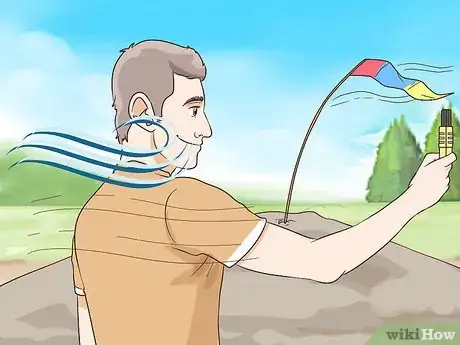
An anemometer can be useful for measuring wind speed prior to taking part in activities like sailing, surfing, fishing, or flying a kite. We'll show you how to set up and use a digital anemometer to find the speed of wind gusts, plus how you can build your own DIY anemometer using common household items.
Steps
Setting Up a Digital Anemometer
-
1Read the instructions provided. When you purchase a digital anemometer it will come with an instruction manual. Read through the instructions carefully before you begin using the device. The instructions will provide you with directions for how to set-up and read your anemometer.[1]
-
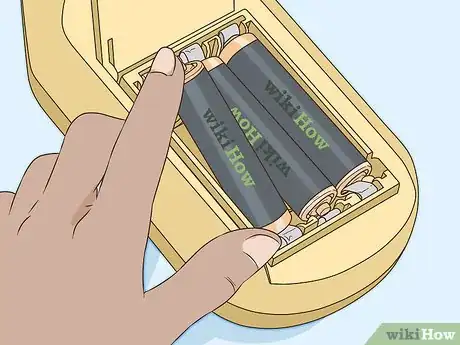
2Install the battery. The anemometer will come with a battery and you will need to install the battery in the back of the device. Unscrew the battery compartment in the back and place the battery inside.[2]Advertisement
-
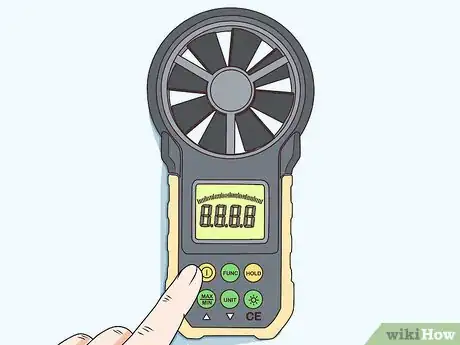
3Turn on the device. The device will likely have a power button on the front. Once the batteries have been installed, you can turn on the device and begin recording the wind speed.
-
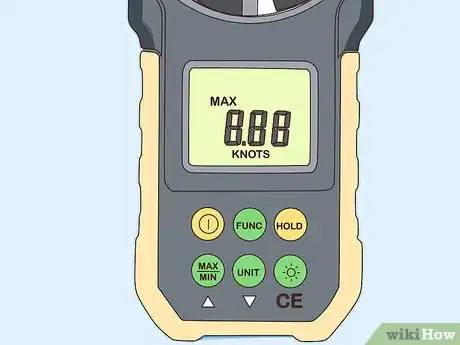
4Choose your preferred measurement setting. Most digital anemometers will have a variety of different measurement options. For example, you could calculate the wind speed in km/hour, mi/hour, ft/second, ft/minute, and knots. Press the unit button in order to scan through the different measurement options and select the one you would like to use.[3]
Reading a Digital Anemometer
-
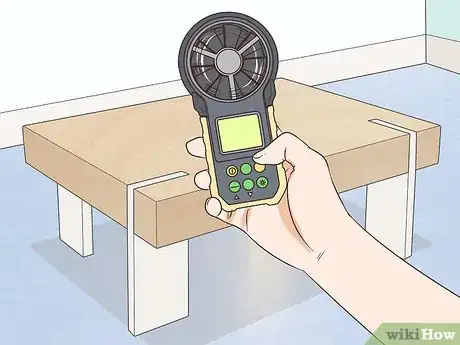
1Hold the device high in the air. Once you have selected the measurement option, you are ready to calculate the wind speed. Simply hold the device in the air. For the best results, make sure the device is facing the direction of the wind.[4]
-
2Do not block the wind flow. Make sure that you do not stand in front of the device or block the wind flow with your body. Try and find an open space in order to get the most accurate reading.[5]
- You can hold the device over your head to ensure that wind is not obstructed.
-
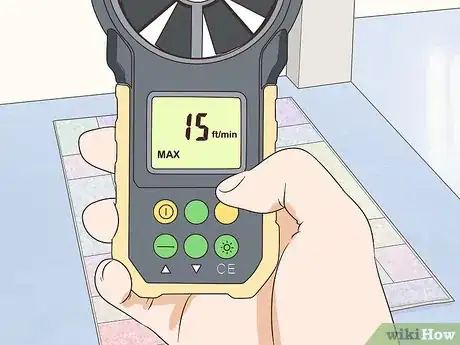
3Read the wind speed number. The wind speed will appear on the display screen once it has been calculated by the device. If you are measuring the airflow outside the reading will continue to change as the wind picks up and slows down through gusts of wind.[6]
- You can push the max button and the device will display the highest calculated wind speed.[7]
Using a Homemade Anemometer
-
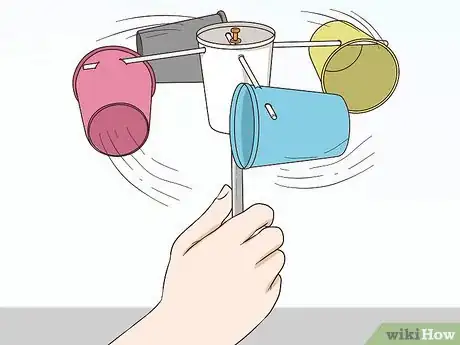
1Make an anemometer. Cup anemometers are relatively easy to make and are often used as an elementary school science project. This allows children to get an opportunity to learn about measuring wind speed by making their own device. To make an anemometer, you will need plastic cups, straws, a pencil, tape, and a push pin.[8]
- Position the straws in the shape of a cross and tape the middle. Then, staple the side of each cup to the end of one of the straws so they are parallel with the floor. Make sure all of the cups are facing in the same direction.
- Then, push a straight pin through the center of the straws and into an eraser on the end of a pencil. This will act as the axis.
- You should be able to blow on the cups so that they spin around in a circle.
-
2Mark one of the cups. Use a coloured pencil and mark one of the cups. For example, you could put a red “x” on one of the cups. This will be the cup that is counted in order to determine how fast the cups rotate around an axis point each minute.[9]
-
3Hold the device in the wind. You can either go outside and hold your device up in the wind, or you can use a fan to create airflow inside. To get a more accurate reading, make sure the airflow is not blocked by your body.[10]
-
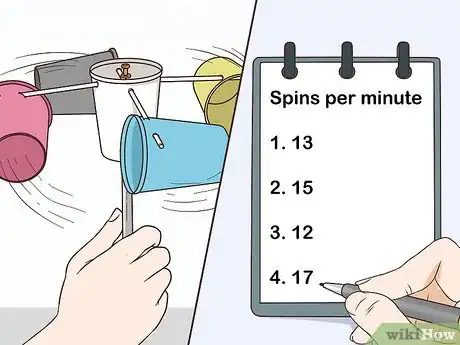
4Count the amount of spins per minute. Have another person count the number of times the marked cup spins around the axis in one minute. You can use a stopwatch to accurately time a minute. Record the number of times the cup spins on a piece of paper. For example, it may rotate 13 times in 1 minute.[11]
- You will need to complete this step four times in order to get enough data to calculate the average number of rotations per minute.
- For example, the next recording might be 15 times, followed by 12 times, followed by 17 times.
-
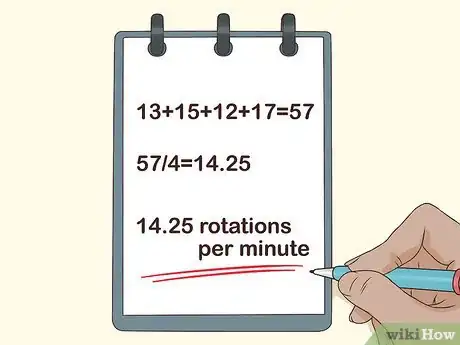
5Calculate the average wind speed. Add up the numbers that you have recorded and then divide that number by four. This will give you the average number of rotations per minute.[12]
- For example, 13+15+12+17=57. Then divide that number by four (57/4=14.25) to get the average wind speed per minute.
- In this case, the speed is 14.25 rotations per minute.
References
- ↑ https://www.youtube.com/watch?v=VCcW2E5iias
- ↑ https://www.youtube.com/watch?v=VCcW2E5iias
- ↑ https://www.youtube.com/watch?v=VCcW2E5iias
- ↑ http://www.ebay.com/gds/How-to-Use-an-Anemometer-/10000000205640236/g.html
- ↑ http://www.ebay.com/gds/How-to-Use-an-Anemometer-/10000000205640236/g.html
- ↑ http://www.ebay.com/gds/How-to-Use-an-Anemometer-/10000000205640236/g.html
- ↑ https://www.youtube.com/watch?v=VCcW2E5iias
- ↑ http://www.ciese.org/curriculum/weatherproj2/en/docs/anemometer.shtml
- ↑ http://www.ciese.org/curriculum/weatherproj2/en/docs/anemometer.shtml

