This article was medically reviewed by Erik Kramer, DO, MPH. Dr. Erik Kramer is a Board-Certified Primary Care Physician at the University of Colorado. With over 15 years of experience, his clinical interests include obesity and weight management, diabetes care, and preventive care, as well as embracing a holistic approach to primary care. He received his Doctorate in Osteopathic Medicine (D.O.) from the Touro University Nevada College of Osteopathic Medicine and completed his residency at Central Maine Medical Center. Dr. Kramer is a Diplomate of the American Board of Obesity Medicine.
There are 14 references cited in this article, which can be found at the bottom of the page.
This article has been viewed 31,924 times.
Adjusting to the loss of a limb can be difficult if you don't yet know how to wear a prosthesis. With the right replacement limb, rehabilitation and a strong support system, you can gradually ease yourself through the adjustment period into what will become a normal part of your life. Prosthetic limbs come in many shapes, forms, and for many functions, so working with your doctor to find the right one to fit you is a great place to start. While the process of putting on your prosthesis may seem strange at first, it will soon feel natural and normal.
Steps
Using a Temporary Prosthesis
-
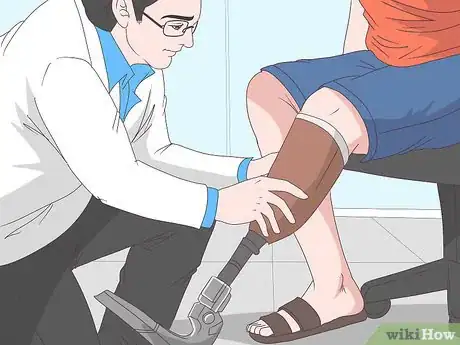
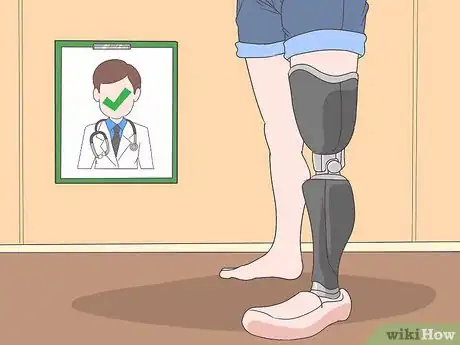
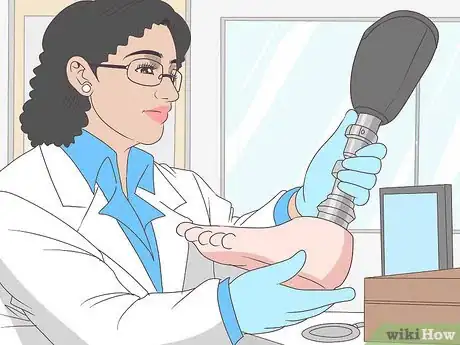
1Meet with your prosthetist to receive a temporary prosthesis. Your prosthetist will start you out with a temporary prosthetic limb until your residual limb has stabilized in size and shape. Your temporary prosthesis will have a simpler design than a permanent prosthetic limb. However, you’ll put it on and take it off in the same way you’ll take off and put on your permanent prosthesis. In some cases, people use 2-3 different temporary prostheses before they are fitted for a permanent one.
- The prosthetist will walk you through the use of your prosthetic limb so you can see how to put the limb on and how it is secured.
- In most cases, you’ll be introduced to your prosthetist shortly before the surgery to amputate your limb. The prosthetist will walk you through the process and describe the prosthesis you’ll be using post-surgery.[1]
-
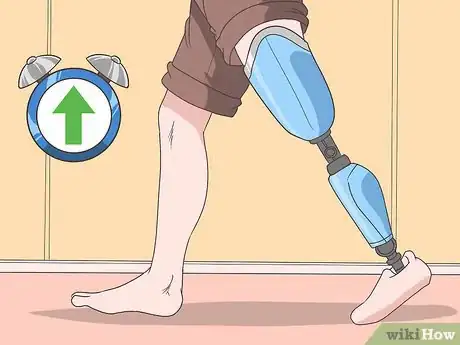
2Increase the amount of time you spend wearing your prosthesis. It will take time for your body to get used to wearing a prosthesis. For the first 2 days, wear the temporary limb for only 120 minutes total, and make sure that you’re standing and walking for at least 30 of those minutes. After the third day, increase your time wearing the temporary prosthesis by 1 hour per day. Make sure to also increase the time you spend walking by 15 minutes per day.
- When walking in a prosthetic leg, try to balance your body weight evenly between your natural limb and the prosthetic limb. Even the slightest changes in your weight can affect how your prosthetic limb fits.
- If you notice any blood coming out of the base of your stump after walking in the prosthesis, take the prosthesis off for the rest of the day.
- Being too active early on can irritate your skin and make you sore. Follow the schedule given to you by your prosthetist so you don’t hurt yourself.
Advertisement -
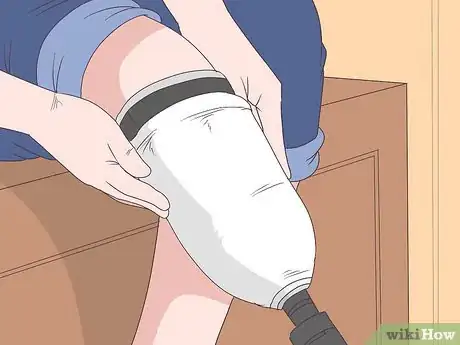
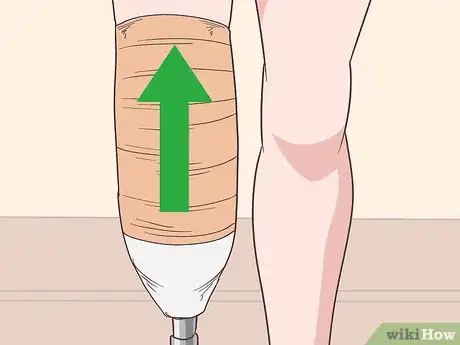
3Use a shrinker sock daily to keep your residual limb healthy. Elastic shrinker socks are similar to compression socks: they keep pressure on the residual limb and help keep the stump small. While you’re using a temporary prosthesis, wear shrinker socks between 14–18 hours a day to keep the limb healthy. As the limb shrinks, you may need to double up the socks to ensure the prosthesis fits correctly.[2]
- Your doctor or prosthetist will give you shrinker socks when they give you your temporary and real prostheses. You can always purchase more at a medical supply store.
- If you were to stop wearing the shrinker sock daily, the limb could swell with blood and other fluids and would become too large to fit in the prosthesis.
-
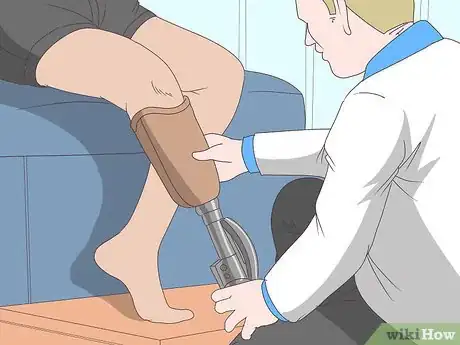
4Work with your prosthetist to order the customized prosthetic limb. Permanent prostheses are custom-made and will differ based on what part of the body the prosthesis is designed to cover, as well as the size and shape of your residual limb. The amount of activity that you do and the goals that you set will also help your doctor determine what kind of prosthesis is right for you. Describe your lifestyle to the prosthetist and ask them what kind of prosthesis would suit you best.
- The length of the residual limb plays a major role in determining how large your permanent prosthesis. For example, a leg amputated just below the hip would need a much larger prosthesis than a leg amputated 8 inches (20 cm) above the ankle.
- Always check with your prosthetist before you change the height of your heel since it can cause issues with your prosthesis.
Moving Comfortably in Your Prosthesis
-
1Obtain a permanent prosthesis once your residual limb has stabilized. It can take anywhere from 6 to 12 months for your residual limb to stabilize in size and shape. You’ll need to continue using a temporary prosthesis until the limb is stable. Once your doctor decides that the limb is stable, they’ll measure the residual limb and order the prosthesis for you.[3]
- Your doctor will most likely ask you to come in for monthly or bi-monthly appointments before this point, so they can inspect the residual limb and monitor its progress.
-
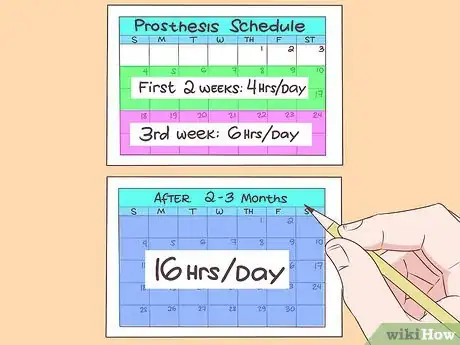
2Put together a schedule for wearing your prosthesis. Once you’ve received your permanent prosthesis, you’ll need to transition from wearing a temporary prosthesis much of the time to wearing your custom-made one. Your prosthetist can help you make a schedule that details how long you’ll wear your prosthesis on a daily basis. For example, maybe you’ll only wear the prosthesis for 3–4 hours a day for the first 2 weeks. Over the course of the next 2–3 months, you’ll gradually increase the number of hours you wear the limb until you’re finally wearing it 16 hours a day.
- As you wear your prosthesis for longer and longer durations of time, you’ll also be able to increase the amount of activity that you can do while you wear it.
-
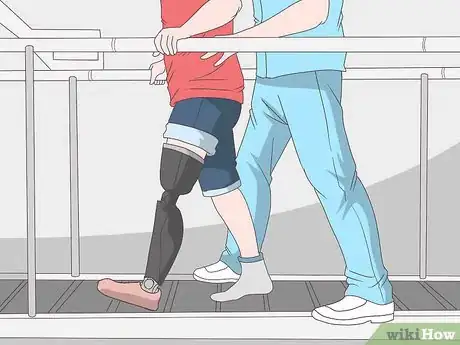
3Go through gait training to feel comfortable wearing your prosthesis. Gait training is the training process that your prosthetist will guide you through so that you can comfortably walk and move in your prosthesis. You’ll likely start by supporting your weight with parallel bars or a cane, and then progress towards walking on your own.[4]
- Your doctor or prosthetist may also recommend that you see a physical therapist to rebuild muscle tone in the amputated limb and to keep the residual limb flexible.
-
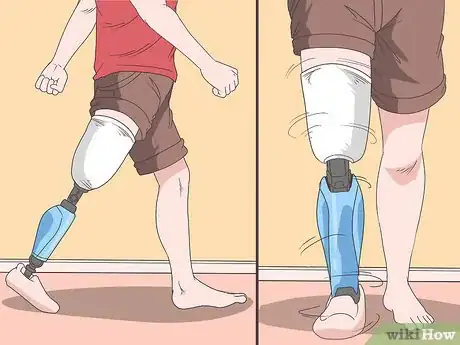
4Wear socks and wiggle the limb hourly to ensure that the prosthesis fits. Check the fit of your customized prosthesis every hour during the first month. After walking and standing in the prosthesis for 1 hour, reach down and wiggle the prosthesis on your limb. It shouldn’t move and you should feel no discomfort at any point when you’re wearing the new prosthesis. To increase your comfort while you’re wearing the prosthesis, try adding or subtracting layers of prosthesis-covering socks.[5]
- These socks should be worn over your stump and under the silicone liner. Your doctor or prosthetist can give you specialized socks, or you can purchase them at a medical supply store.
- Use the exercise program provided by your doctor to strengthen your muscles and gain flexibility. Strength and flexibility will allow you to do more whether you have your prosthetic limb on or not.
Putting on a Prosthesis
-
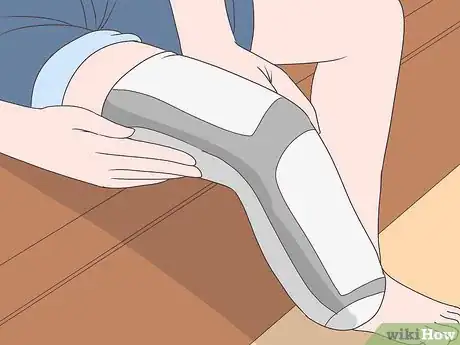
1Roll the silicone liner on to your residual limb. Unroll your silicone liner so that it’s inside out. Then, place your stump into the bottom of the liner. Roll the liner back up over your residual limb. It should fit snugly, but not feel uncomfortable. When the silicone liner is fully in place, the strap or pin emerging from the bottom of the liner should be centered over your residual limb.[6]
- Not all prostheses require the use of a silicone liner. If your doctor didn’t give you a liner, you don’t need to wear one when putting on your prosthesis.
-
2Pull the strap through your prosthesis and insert your residual limb. Lower the strap into the open top of the cupped portion of your prosthesis. The bottom of the cupped section (which will hold your residual limb) should have a 2 in (5.1 cm) slot. Feed the strap through this small slot. Let the strap hang down to the ground for now. Then place your stump into the cupped section of the prosthesis.[7]
- If your silicone liner has a pin at the base instead of a strap, this will work a little differently. Just push your residual limb into the prosthesis and put downward pressure on it until your pin clicks and locks.
- Below the cupped socket that you put your residual limb into there will be a pipe that supports the limb, followed by an extremity piece that is designed to look like a real hand, foot, or other limbs.
-
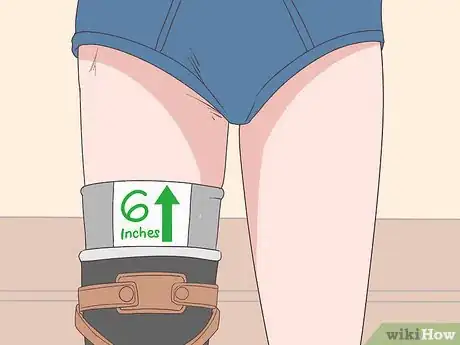
3Pull the top of the silicone liner over the top of the prosthesis. Your silicone liner will be 4–6 inches (10–15 cm) longer than is needed to cover your residual limb. Grasp the excess silicone and fold it back down so it covers the top of the cupped socket.[8]
- This will keep your prosthetic limb anchored firmly against your residual limb. It will also serve as a cushion so that the cupped part of the prosthetic limb doesn’t rub directly on your limb.
-
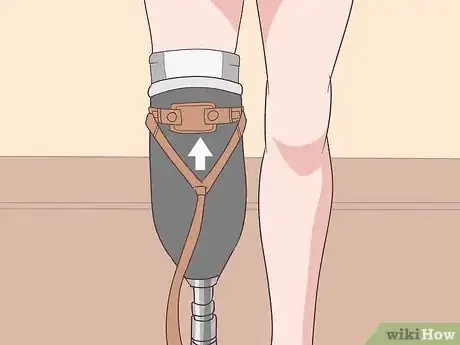
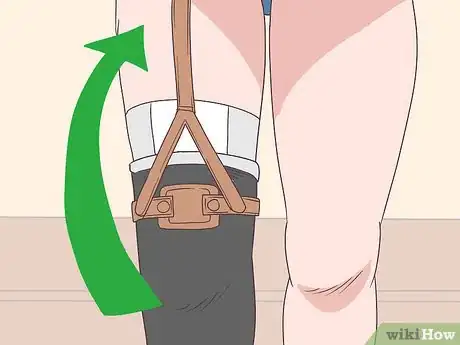
4Feed the strap up and through the ring at the top of the prosthesis. Lift up the strap that you fed through the bottom of the prosthesis earlier. Slip the loose end of the strap through the O-shaped ring that’s at the top of the prosthesis’s cupped socket. Then secure the strap in place by hooking its loose end to the Velcro patch next to the slot that you fed the strap through earlier.[9]
- When it’s hooked into place, this strap keeps the base of the silicone liner (which contains your stump) firmly in place inside the cupped socket. This allows the prosthesis to move naturally as you walk as if it were part of your body.
- To remove the prosthesis, simply un-hook the Velcro, loop the strap back through the O-ring, and lift your stump out of the prosthesis’ cupped socket.
- Many people have prosthetic limbs that attach with a pin at the bottom of the silicone sleeve. To remove the leg, simply press in on the small button located at the bottom of the limb, just above the foot.[10]
-
5Roll up a nylon sleeve if you prefer to cover the prosthesis. Some people like to customize their prostheses with thin nylon sleeves. Put on the sleeve like a large sock: stretch out the opening, stick the prosthesis through, and then stretch the sleeve up until it fully covers the prosthesis. If you choose not to wear a sleeve, you may skip this step.[11]
- The sleeves come in different colors and patterns (e.g., tie-dye or camouflage) and can be purchased through medical-supply stores.
Preventing Limb Damage
-
1Visit your clinician annually so they can inspect the prosthesis. Although it will come to feel like a part of your body, the prosthesis is a mechanical device, and it will need minor repairs and maintenance as time goes by. Tell the clinician if you experience any discomfort when wearing the prosthesis, or if the way it fits has changed.
- The cupped socket of your prosthesis—the part that you insert your residual limb into—won’t last forever. It will need to be replaced every 2–8 years, depending on how much you use the prosthesis and its quality.[12]
-
2Notify your prosthetist if you see warning signs of a poorly fitting limb. Warning signs of a poorly fitting limb include rash-like irritations on the skin inside the prosthesis. The residual limb with the prosthesis attached may also feel heavy when you try to walk, or it may ache when you remove the prosthesis for the night. If the prosthesis fits poorly, you may also find it difficult to move the limb or feel that it moves uncomfortably within the prosthesis.[13]
- It takes time to get your prosthesis to fit correctly since no 2 residual limbs are exactly the same size and shape. Rather than wearing an uncomfortable prosthesis, see your prosthetist if your prosthesis feels uncomfortable, too tight, or too loose.
- Also contact your prosthetist if when you walk, your residual limb goes up and down in the socket. This is called “pistoning” and can lead to serious pain.
-
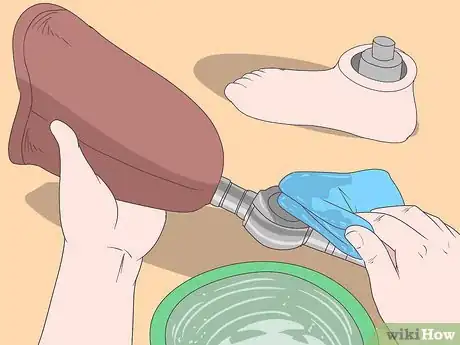
3Clean the prosthesis daily to get rid of any bacteria. Wipe the limb every day with a cloth soaked in warm water and antimicrobial soap. Don’t soak the limb in water since it could cause damage to it. Once it’s clean, let the limb air-dry completely before wearing it again.[14]
-
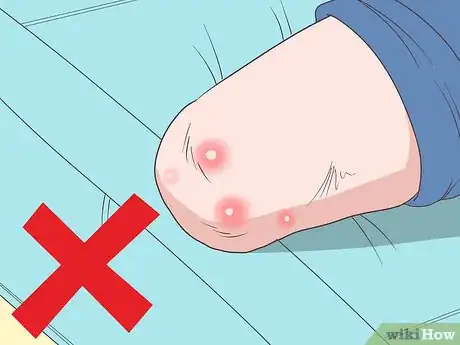
4Stop using the prosthesis if it causes open sores or blisters. The emergence of sores or blisters on your residual limb can signify either that the prosthesis fits too tightly or too loosely. In the event that this happens, discontinue use of the prosthesis until you can get in to see your prosthetist.
- Your prosthetist will make adjustments to the prosthesis and return it to you, ready to wear.
- Continuing to wear the prosthesis over open sores or blisters can lead to serious infection.
- Sprinkle baking soda on the limb to prevent perspiration.
References
- ↑ https://www.merckmanuals.com/home/special-subjects/limb-prosthetics/preparing-to-use-a-prosthesis
- ↑ https://www.fairview.org/patient-education/88864
- ↑ https://www.hopkinsmedicine.org/health/wellness-and-prevention/what-to-know-before-getting-prosthetic-leg
- ↑ https://www.icrc.org/en/doc/assets/files/other/icrc_002_0936.pdf
- ↑ https://youtu.be/o81Arz7JaGA?t=73
- ↑ https://youtu.be/J6kW2typZmo?t=38
- ↑ https://youtu.be/J6kW2typZmo?t=63
- ↑ https://youtu.be/J6kW2typZmo?t=75
- ↑ https://youtu.be/J6kW2typZmo?t=84
- ↑ https://youtu.be/WuXdUAUOuoI?t=40
- ↑ https://youtu.be/WuXdUAUOuoI?t=25
- ↑ https://www.hopkinsmedicine.org/health/wellness-and-prevention/what-to-know-before-getting-prosthetic-leg
- ↑ https://dermnetnz.org/topics/amputation-stump-dermatoses
- ↑ http://www.oandplibrary.org/op/1958_03_041.asp
- ↑ https://youtu.be/o81Arz7JaGA?t=87




-Step-15-Version-3.webp)


Medical Disclaimer
The content of this article is not intended to be a substitute for professional medical advice, examination, diagnosis, or treatment. You should always contact your doctor or other qualified healthcare professional before starting, changing, or stopping any kind of health treatment.
Read More...