This article was written by Isabelle Garson and by wikiHow staff writer, Travis Boylls. Isabelle Garson is a Social Media Expert based in the San Francisco Bay Area. With 10 years of experience, she works in social media strategy and content production. She specializes in music and cannabis marketing and has worked with international touring artists. Isabelle studied graphic design at the Academy of Art University. Additionally, she holds a certification from Sprinklr Research Analyst Pro.
This article has been viewed 2,344 times.
Do you want to add a pre-recorded video to a Facebook reel? Posting reels is a great way to reach a larger audience for both your personal and professional pages. Unlike stories, Facebook reels can be up to 60 seconds and don't disappear after 24 hours. Unlike videos you post to your wall, reels are formatted for your smartphone screen and allow you to add text, audio, and effects. This wikiHow article teaches you how to add an existing video from your Android or iPhone to a Facebook reel.
Things You Should Know
- You can post reels from both your personal and professional Facebook pages.
- You can record a new reel in the app, choose an existing video, or mix both into a single reel.
- Facebook reels can be up to 60 seconds and reach people beyond your followers and friends.
- Facebook reels are only viewable on smartphones, not on tablets or desktop web browsers.
Steps
Adding Videos for Reels
-
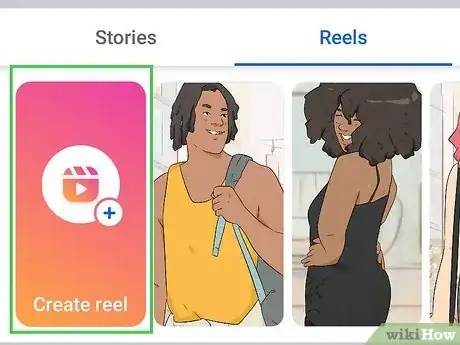
1Start a reel on your personal page. Reels are not available on tablets or desktop web browsers, so you'll need to use the Facebook app on your phone. Here's how to get started:
- Open the Facebook App on your smartphone.
- Tap the Reels tab below the "What's on your mind?" box.
- Tap the Create reel box on the left.
-
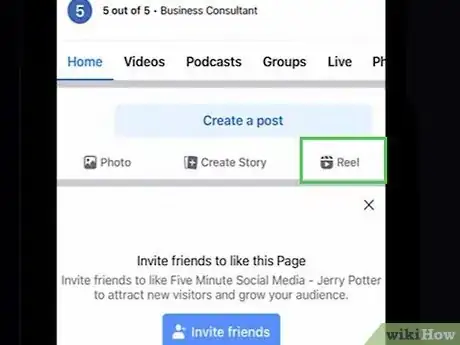
2Start a reel from a business/non-profit/professional page. If you have a business or professional page instead of a personal page, follow these steps to create a reel in the Facebook mobile app:
- Open the Facebook app on your smartphone.
- Tap the icon with three horizontal lines (☰) in the upper-right corner on Android or the lower-right corner on iPhone.
- Tap Your # Pages at the top. "#" will be replaced with the number of pages you have.
- Tap the page you want to post a reel from at the top.
- Tap Reel below the "Create a post" button.
Advertisement -
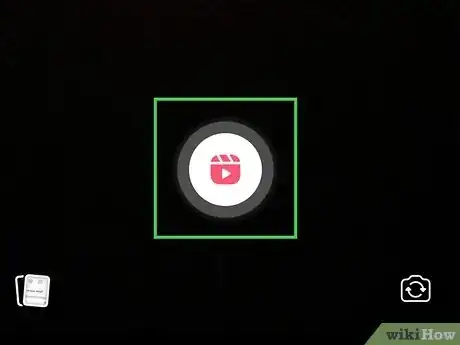
3Tap the white button with a red circle to start recording (optional). If you want to record a video, tap the white button with the red circle at the bottom-center of the page to start recording.
- You can mix video recorded within the reels interface with pre-recorded video.
-
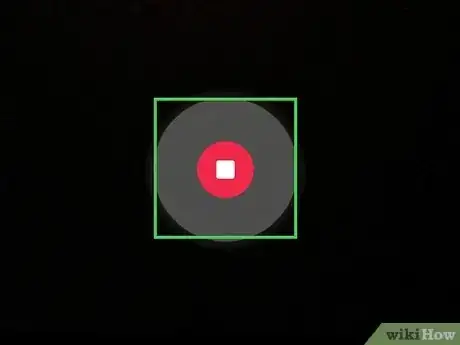
4Tap the red button with the white square to stop recording. When you are ready to stop recording, tap the red button with the white square to stop recording.
- Alternatively, you can tap and hold the white button with the red circle to start recording and release it when you want to stop recording.
-
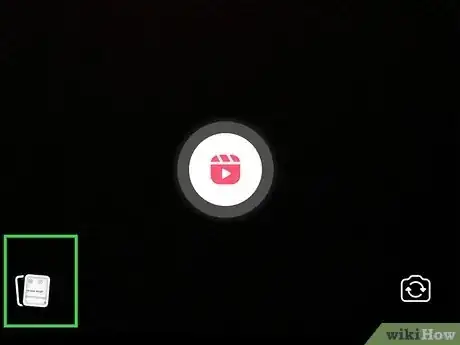
5Tap the icon that resembles two overlapping photographs. It's in the lower-left corner of the reels interface. This opens your Gallery or Camera Roll, which allows you to select pre-recorded videos and images.
- Alternatively, you can tap one of the pre-recorded videos from your Camera Roll or Gallery just above the white, record button.
-
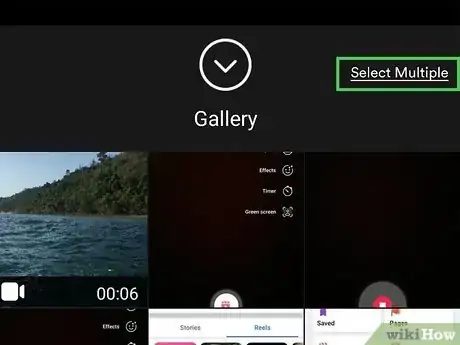
6Tap Select multiple (optional). If you want to select multiple videos, tap Select Multiple. in the upper-right corner.
-
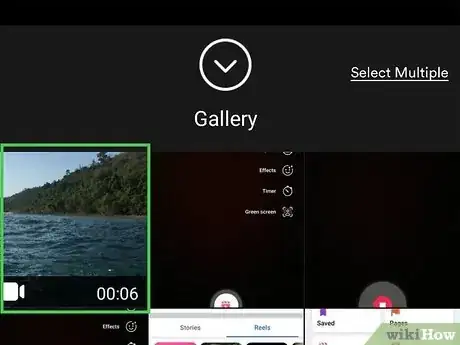
7Tap the video(s) you want to add and tap Next. If you are selecting only one video, tap the video you want to add. If you are adding multiple videos, tap the videos you want to add in the order you want them to be stitched. Then tap Next in the lower-right corner.
Editing and Trimming
-
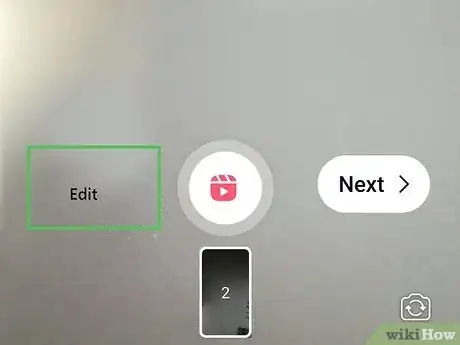
1Tap Edit. Once you've selected all the videos you want to add to a Facebook reel, you can edit the length of the videos, as well as replace them, delete them, change the speed, and mirror the video. To do so, tap Edit in the lower-left corner of the video preview screen.
-
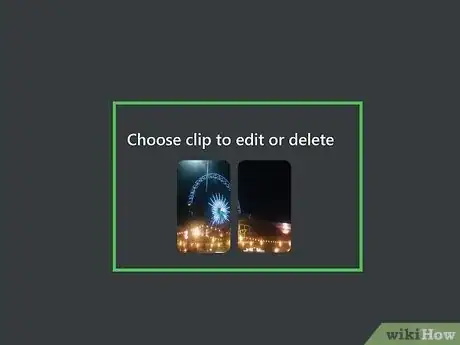
2Tap the video you want to edit. You should see all the videos you have selected listed at the bottom of the screen. Tap any video you want to edit.
-
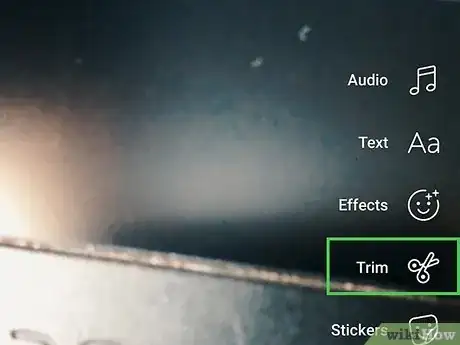
3Adjust the length of the video clip. To trim the length of the video, tap and drag the left and right edges of the blue box highlighting the playback timeline at the bottom of the screen. The video preview at the top will continuously play on repeat. Drag the edges in the timeline so that the blue box highlights the part of the video you want to keep.
-
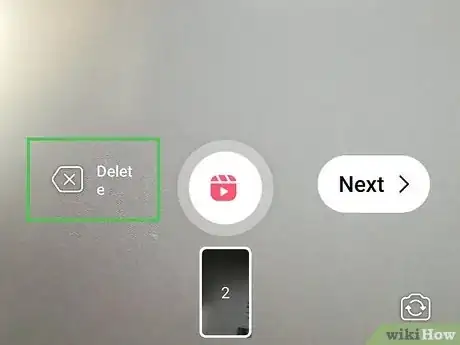
4Tap Discard to delete the video clip. If you want to remove a video clip, tap Discard at the bottom of the screen. It has an icon that resembles a trash bin. Then tap Discard in the pop-up to confirm that you want to remove the video clip from the Reel.
-
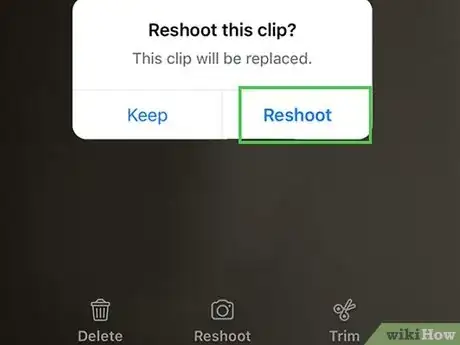
5Tap Reshoot to change the video. If you want to replace the video clip with a different video, tap Reshoot at the bottom of the screen. It has an icon that resembles two overlapping photographs. Then tap Reshoot in the pop-up to confirm that you want to replace the video. This will open the reels video recorder interface. You can tap the record button at the bottom to record a new video clip, or tap the icon with two overlapping photographs to select a new pre-recorded video clip.
-
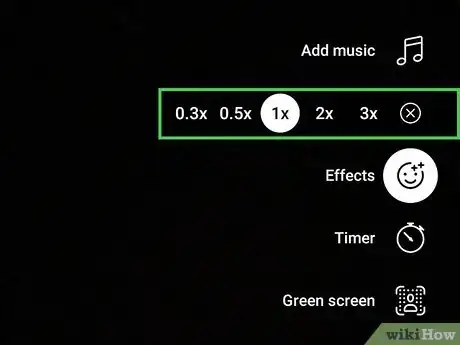
6Tap Speed to change the speed of the video. You can slow down or speed up the video playback. The pitch of the audio playback will remain the same. To change the speed of the video playback, tap Speed at the bottom of the screen. It has an icon that resembles a speedometer. Then tap one of the following options to change the speed of your video:
- 0.3x — This slows down the video to approximately 1/3 the speed of the original playback.
- 0.5x — This slows down the video to half the speed of the original playback.
- 1x — This plays the video at normal speed.
- 2x — This doubles the speed of the video playback.
- 3X — This triples the speed of the video playback.
-
7Tap Mirror to flip the video image. If you want to flip the video image so that it displays a mirror image of the video, tap Mirror at the bottom of the screen. This is useful if you import clips recorded from TikTok, which records mirror images of videos by default.
-
8
-
9Tap Done when you are finished editing. When you are done trimming and editing your video clips, tap Done at the top of the screen.[1]
Adding Audio, Text, Stickers & Effects
-
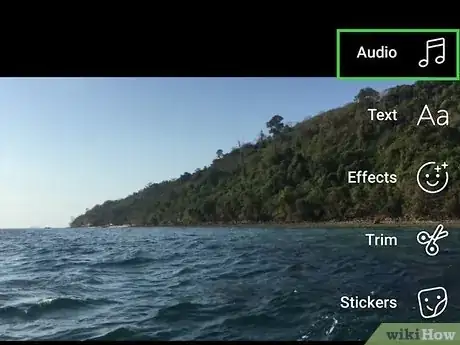
1Tap Audio to add audio to your reel. It's next to the icon with two music notes in the menu on the right side of the screen. This option allows you to adjust the audio volume as well as add music or a voiceover to your reel. Tap Audio and use one of the following options to add or adjust the audio:
- Adjust the audio volume — Use the slider bar next to the speaker icon at the bottom to adjust the original volume of your video clips. Tap Mute next to the slider bar to turn the original audio off.
- Add Music — Tap Add Music at the bottom to add music. Enter the name of a song or artist in the search bar at the top to search for music. Tap the play icon to the right of a song to preview it. Tap the song to add it. Then you can tap and drag the audio wave at the bottom to adjust the starting and ending time of the song. Tap Done when you are finished. You can then use the slider bar next to your song to adjust the volume of the music.
- Add Voiceover — To add a voiceover to your reel, tap Add Voiceover at the bottom of the screen. Tap and hold the button with the microphone at the bottom to start recording audio. Use the microphone on your smartphone to record a voiceover. Release the microphone button at the bottom to stop recording. Then tap Done at the top.
-
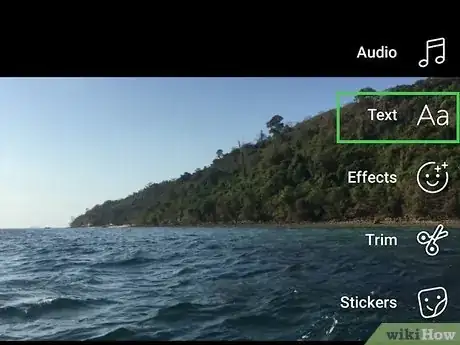
2Tap Text to add text to a reel. If you want to add text to your reel, tap Text in the menu on the right side. It's next to an icon that says "Aa." Then type what you want the tet to say. Use the following steps to add and edit your text:
- Color select — To select a color for your text, tap the color wheel icon above the keyboard. Then tap one of the color swatches to select a color.
- Text box style — To change the text box style, tap the box with "Aa" above the keyboard to change the text box style.
- Text alignment — To align the text to the right, left, or center, tap the icon that resembles 4 uneven lines above the keyboard to change the text alignment.
- Font — To change the font of the text, tap the oval-shaped button above the keyboard.
- Text Duration — To change when the text appears and for how long, tap the icon that resembles a clock at the top-center of the page. Then tap and drag the left and right edges of the blue box that highlights the timeline box at the bottom. Use the blue box at the bottom to highlight the area in the timeline where you want the text to appear. Tap Done in the upper-right corner when you are finished.
- Adjust text position — Tap and drag the text box to change the position of the text.
- Delete the text — To delete a text box, tap and drag the text box to the trashcan icon at the bottom of the screen.
-
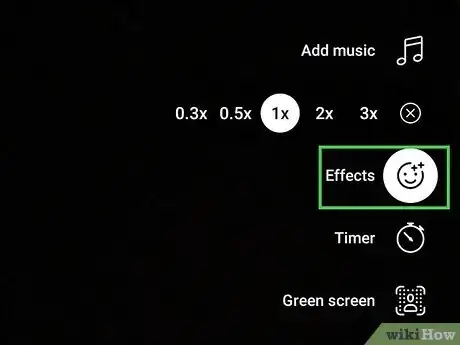
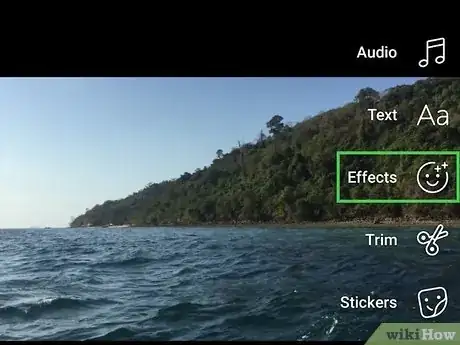
3Tap Effect to add an effect. You can use effects to add visual enhancements to your reel. To do so, tap Effect in the menu to the right. Then tap one of the circle icons at the bottom to preview and add an effect.
- To remove effects, tap the icon that resembles a circle with a line through it at the bottom of the screen. It's the first effect in the list of effects.
-
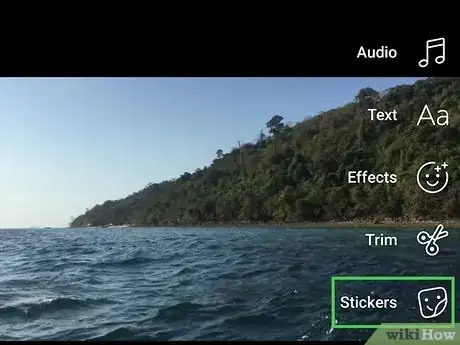
4Tap Sticker to add a sticker. Stickers allow you to add pictures, emojis, and gifs to a reel. Tap Stickers in the menu to the right. Scroll through the stickers and emojis. To add a GIF, tap GIF at the top and use the search bar to search for a GIF. Tap the sticker or GIF you want to add. Then tap and drag the sticker to where you want to add it.
- To delete a sticker, tap and drag it to the trashcan icon at the bottom of the screen.
- You cannot adjust the duration of a sticker or GIF.
Publishing the Reel
-
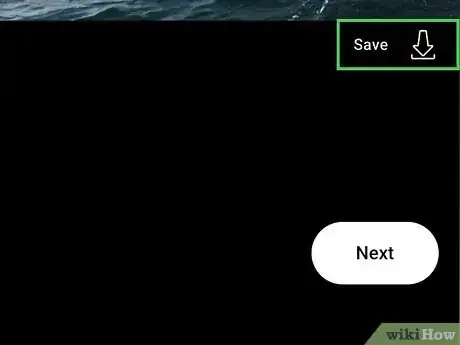
1Tap Save to save a copy of your reel (optional). When you are finished editing your clips, adding audio, text, and stickers, tap Save in the menu to the right to save a copy of your reel to your phone.
-
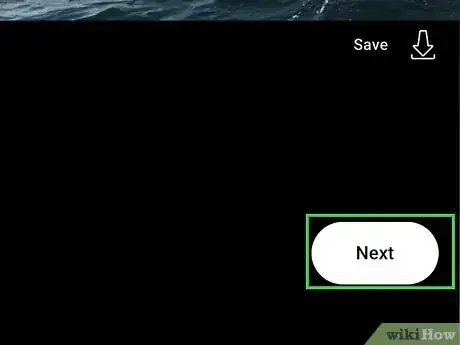
2Tap Next. When you are ready to post your reel, tap the white button that says Next in the lower-right corner.
-
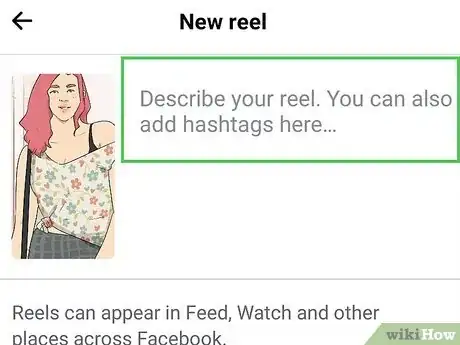
3Write a description for your reel. To add a description for your reel, tap "Write a description" at the top, and then write a brief description for your reel.
- Additionally, you can add a hashtag (#) followed by a keyword to add search terms to your description.
-
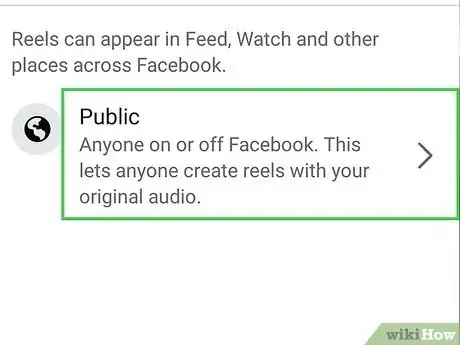
4Select an audience for your reel. Tap the radio option next to an option below "Who can see this?" to select an audience for your reel. By default, "Public" is selected as your audience.
-
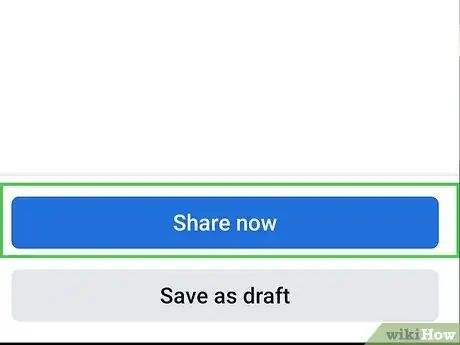
5Tap Share Now. It's the blue button at the bottom of the screen. This publishes your Facebook reel.
- Alternatively, you can post a reel on Instagram and cross-post it to Facebook.[2]
Expert Interview
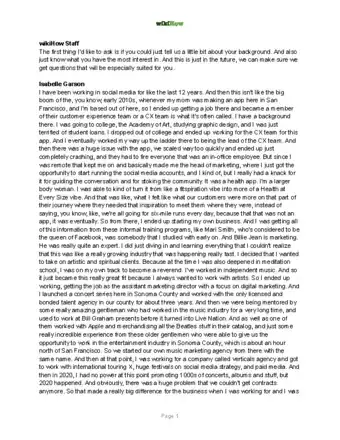
Thanks for reading our article! If you'd like to learn more about making reels, check out our in-depth interview with Isabelle Garson.
References
About This Article
1. Open the Facebook app on your smartphone.
2. Tap Reels on your personal or professional page.
3. Tap Create reel.
4. Tap the icon with two overlapping photographs in the lower-right corner.
5. Tap Select multiple in the upper-right corner to select multiple videos.
6. Tap Edit in the lower-left corner to edit your video clips.
7. Tap Next when you are finished editing your clips.
8. Tap text, audio, and stickers to your reel.
9. Tap Next.
10. Add a description to your video.
11. Tap Share now.
