This article was co-authored by wikiHow staff writer, Travis Boylls. Travis Boylls is a Technology Writer and Editor for wikiHow. Travis has experience writing technology-related articles, providing software customer service, and in graphic design. He specializes in Windows, macOS, Android, iOS, and Linux platforms. He studied graphic design at Pikes Peak Community College.
The wikiHow Tech Team also followed the article's instructions and verified that they work.
This article has been viewed 129,916 times.
Learn more...
This wikiHow teaches you how to insert your own images into a document you created using a Microsoft Office template. Many templates, such as brochures and fliers, come with sample images that can be replaced with your own. You can also insert your own images into various locations in your document, such as your company's logo or your signature.
Steps
-
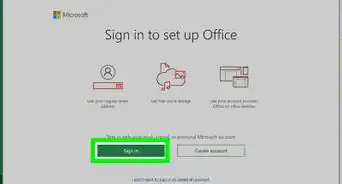
1Open Microsoft Word. If you're using Windows you'll usually find it in the Start menu, often in a folder called Microsoft Office. If you have a Mac you'll find it in the Applications folder or on the Launchpad.
-
2Click a template. When you open Word, there are a variety of templates in the main window on the right that you can choose from. Select a template that would work well with the type of document you'd like to create.
- If you've already created your document, you can open that instead.
Advertisement -
3Click an image you want to replace. This selects the image.
- If are unable to click the picture, it may be a background image. To select a background image, click the Insert tab, and then click Header followed by Edit Header. Then click the background image to select it.
- If you want to add a brand new image, just click the Insert menu at the top of the screen, select Pictures, and then skip to step 6.
-
4Click the Format tab. This tab appears in the panel at the top when you select an image.
-
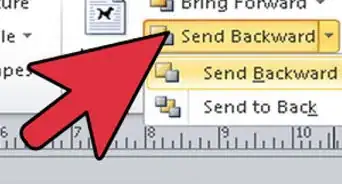
5Click Change Picture. It's in the "Adjust" section in the panel at the top of the screen. This opens a file browser.[1]
-
6Navigate to the picture you want to use and double-click it. This replaces the old image with the image you want to use. You may need to adjust the image formatting. You can do so using the following steps:
-
7Adjust the image. While the image is selected, you can change it to work with your document.
- To move an image, simply click and drag it to where you want it (you may need to adjust the text-wrap settings to Behind text or In front of Text. You can change it back after you move the image).
- To adjust the size of the image, click the image and drag the dots in the corners of the image.
- To adjust the text-wrap settings, click the image, then click Wrap Text under the "Format" tab. Then click your preferred text wrap settings.
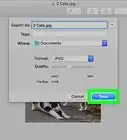
- If you want to add a logo image against a colored background, you may need to remove the background and save the image as a PNG image.
-
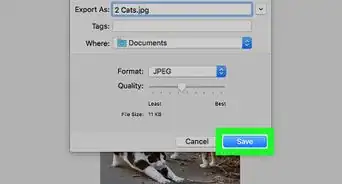
8Save your work. After you have finished your work, you can save your file using the following options:
- Click File.
- Click Save As.
- Click Browse and select a save location.
- Type a name for the file.
- Click Save.


References
About This Article

1. Open Word.
2. Click a template.
3. Click an image you want to replace.
4. Click the Format tab at the top of the screen.
5. Click Change Picture.
6. Navigate to the picture you want to use and double-click it.