wikiHow is a “wiki,” similar to Wikipedia, which means that many of our articles are co-written by multiple authors. To create this article, 10 people, some anonymous, worked to edit and improve it over time.
This article has been viewed 139,999 times.
Learn more...
Image Capture is an application used by the Macintosh OS X operating system that allows users to upload pictures from digital cameras, memory cards or scanners. The Image Capture application can access your device regardless if it is connected to your computer or a network. To use a scanner with Image Capture, all you need to do is connect it to your computer or to the network. Here are steps on how to add a scanner to your computer or to the network, as well as how to access it using the Image Capture application.
Steps
-
1Verify your scanner is compatible with Macintosh OS X.
- Look on the scanner's box to determine its compatibility.
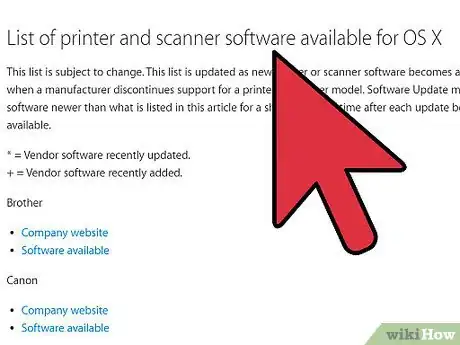
- Visit Apple's support website at http://support.apple.com/kb/ht3669 to verify its compatibility with Macintosh OS X.
-
2Add a scanner to your computer.
- Install the scanner's software and drivers. In most cases, you can visit the scanner manufacturer's website to download the latest drivers.
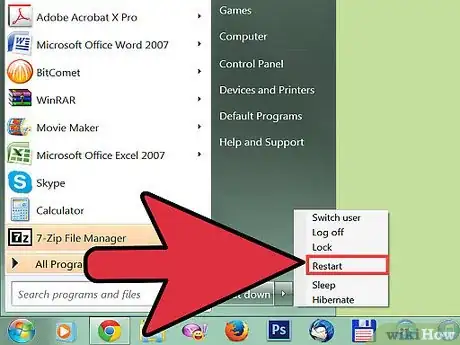
- Reboot your computer.
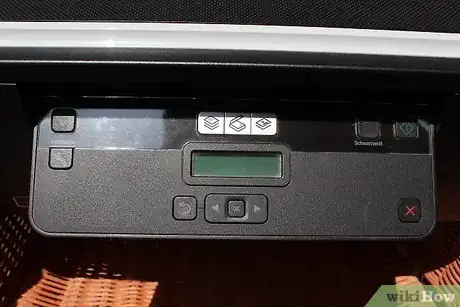
- Connect your scanner to the USB or FireWire port on your computer.
- Turn on your scanner.
Advertisement -
3Add your scanner to a shared network.
- Choose "System Preferences" from your main Apple menu.
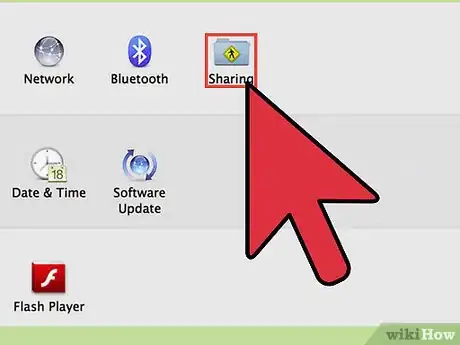
- Choose "Sharing" from the View menu.
- Enable "Scanner Sharing" by clicking in the box to its left.
- Select the name of the scanner that you want to share with the network by clicking on it.
-
4Access the scanner from Image Capture.
- Navigate to your Applications folder and open Image Capture.
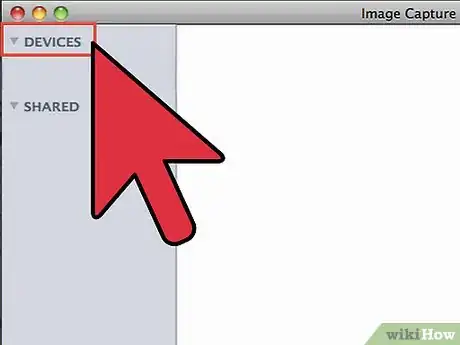
- Look in the left pane of Image Capture to locate the "Devices" and "Shared" sections. Scanners connected to your computer are under "Devices;" scanners shared by multiple computers on a network are under the "Shared" section.
- Select the scanner you want to use by clicking on its name under "Devices" or "Shared."
-
5Scan images using the Image Capture application.
- Set the item you want to scan on the scanning bed of your scanner.
- Navigate to your Applications folder and open Image Capture.
- Select your scanner mode. A pop-up menu will appear if your scanner supports different mode settings. Select your desired mode from the list, which may include options such as Transparency Positive or Negative, Flatbed or more.
- Enable "Detect Separate Items" by clicking in the box to its left. This feature will automatically straighten, select and separate your scanned items if you place more than one item on the scanner.
- Designate a "Scan To" folder destination.
- Click on the arrows in the "Scan To" drop-down menu to choose the folder where you want to store your scanned items.
- Choose an existing folder or select the "Other" option to choose a folder not shown. You can also choose an application such as Aperture, Preview or iPhoto or an email application to display the scanned item in a new email.
- Click on the "Scan" button to begin the scanning process.
