This article was co-authored by wikiHow staff writer, Darlene Antonelli, MA. Darlene Antonelli is a Technology Writer and Editor for wikiHow. Darlene has experience teaching college courses, writing technology-related articles, and working hands-on in the technology field. She earned an MA in Writing from Rowan University in 2012 and wrote her thesis on online communities and the personalities curated in such communities.
This article has been viewed 31,408 times.
Learn more...
Windows 10 comes with many hidden features that can help boost your productivity and make your PC easier to use. What if you want to cut down on the time it takes to search for files and apps? This wikiHow will teach you how to add a search box next to the Start button in Windows 10.
Steps
-
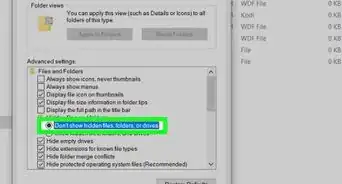
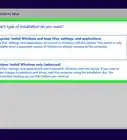
1Right-click the taskbar. This is the bar on your screen that contains the Start menu logo.
-
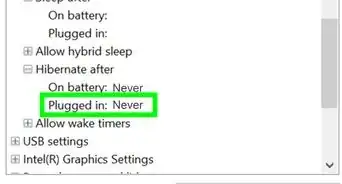
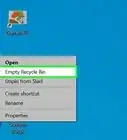
2Hover your mouse over Search. It's usually the second listing on the menu.Advertisement
-
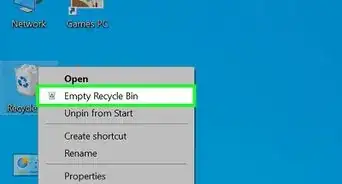
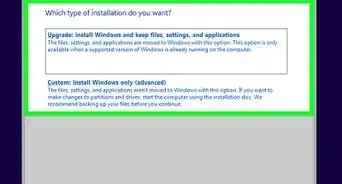
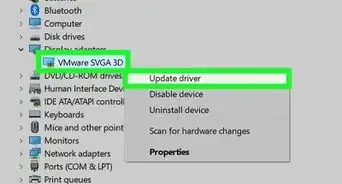
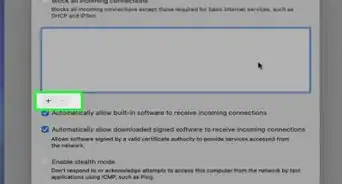
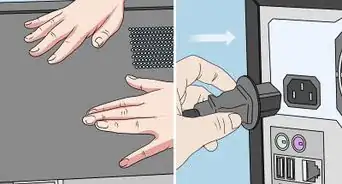
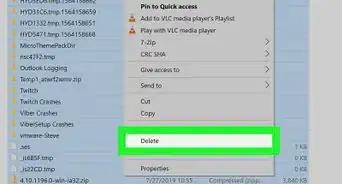
3Click to select Show search box. This adds the Windows 10 search box to your taskbar. If you don't see this option, open taskbar settings (the gear icon at the bottom of the menu when you right-click the taskbar) and click to disable "Use small taskbar buttons."
- If you have "Use small taskbar buttons" enabled, you will only get to pick between having the search feature hidden or displaying the search icon.[1]


-Step-17.webp)

References
About This Article

1. Right-click the taskbar.
2. Hover your mouse over Search.
3. Click to select Show search box.
4. Enter your password and click Sign in.


-Step-17.webp)