X
This article was co-authored by wikiHow Staff. Our trained team of editors and researchers validate articles for accuracy and comprehensiveness. wikiHow's Content Management Team carefully monitors the work from our editorial staff to ensure that each article is backed by trusted research and meets our high quality standards.
This article has been viewed 74,196 times.
Learn more...
Shortcuts can be helpful in all aspects of life. On the computer, you can save precious time by having a shortcut that takes you to the site you visit most often without opening your browser. In Windows, there are several ways to add web site links as shortcuts to your to your Start menu.
Steps
Method 1
Method 1 of 3:
Windows 10
-
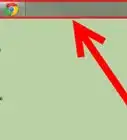
1Open the web browser of your choice. Type the URL address of the web site you want to turn into a shortcut into the text box located at the top of your browser.
-
2Click the website's favicon. A “favicon” is always located to the left of your website's URL address. By default, a website's favicon will be a page. If a website is secure, the website's favicon will be a lock.
- Once your page has loaded, click and hold the left mouse button on this icon.
Advertisement -
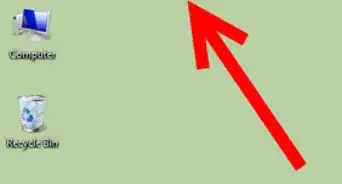
3Drag and drop the favicon from the URL bar to your desktop. This will create a shortcut with the web page's title as the name.
-
4Right-click the newly created shortcut and select Copy. This will save your shortcut to your computer's clipboard and will allow you to paste a new version of this shortcut wherever you need it.
-
5Open the Programs folder. You will see a long list of icons. These are the programs that are currently on your computer.
- Press the Windows key and “R” at the same time (Win+R).
- In the new window, type 'shell:programs'.
- Hit “Enter”.
-
6Right-click in the opened folder.
- Select “Paste” from the drop down menu. This will install your new shortcut into the Programs folder.
-
7On the Start Menu, locate the new shortcut. Open the Start Menu at the bottom of your screen and select All Apps to see your new shortcut.
-
8Drag and drop your icon into the Start Screen. Dragging and dropping your shortcut to the Start Screen will help it be more visible.
- Click and hold your shortcut.
- Drag it over to the tiled screen and place it wherever you'd like.
-
9Finished! You'll now be able to see your new shortcut in both the Start Menu and the Start screen.


Advertisement
Method 2
Method 2 of 3:
Windows 7 and 8
-
1Open the web browser of your choice. Select a browser that you use often and are familiar with.
-
2Open your desired web page. In the web page address box, copy the entire selection starting from http:// to the end of the line.
- Use “Ctrl+C” or right click on the highlighted text and select “Copy” from the menu.
-
3Create your shortcut on the Desktop.
- Right click the Desktop.
- In the new menu, hover over “New”.
- Select “Shortcut” from the second dropdown menu.
-
4Paste the copied URL into the textbox. Paste the URL you copied from your browser into the text box under “Type the location of the item”.
-
5Name your shortcut. Give your shortcut an appropriate name so that you can easily find it in the future.
-
6Click Finish. Your Shortcut will now appear on the desktop.
-
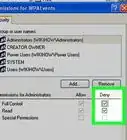
7Right click the icon. Select “Pin to Start” in the drop down menu.
- Pin to Start will attach your shortcut to the Start Menu.
-
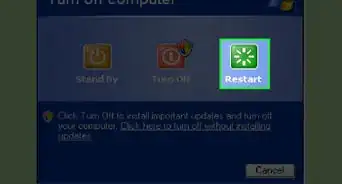
8Click the Start Menu. You can find your new shortcut in this menu and can now be used as desired.


Advertisement
Method 3
Method 3 of 3:
Windows XP
-
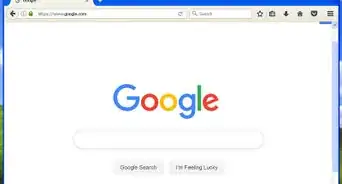
1Open the web browser of your choice. From there, open the web page you want and copy the text in the URL box.
- Right click this box and select “Copy” in the drop down menu or use the shortcut Ctrl+C.
-
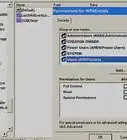
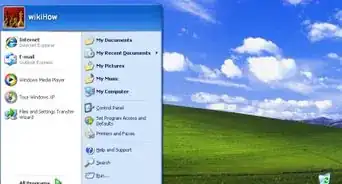
2Right click on the start button and select "Explore". By clicking “Explore”, a window for the Start Menu will open up.
-
3Create a new shortcut. This is where you'll enter the URL you wish to use as a shortcut.
- Right click in the Explorer window.
- In the menu that appears, hover over “New”.
- Select "Shortcut" from the secondary menu.
-
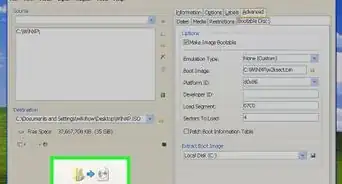
4Enter the desired URL into the text box. A dialogue box to create your shortcut will open.
- Click the text box under 'Type the location of item'.
- Paste the URL you copied earlier into this box.
- Press “Next”.
-
5Give your shortcut a unique name. Use an appropriate name that will help you easily identify your shortcut.
-
6Click "Finish". This will close the Shortcut dialogue menu and bring you back to your Desktop.
-
7You're done! Now when you open the Start Menu, the URL shortcut should be there.


Advertisement
Community Q&A
-
QuestionHow do I create a tile for Facebook in Windows 10?
 NSACommunity AnswerDownload the Facebook app in the tile called "Store".
Advertisement
- In Windows 10, you also can type the name of your shortcut in the Start menu's search bar to find it quickly.
Submit a Tip
All tip submissions are carefully reviewed before being published
Thanks for submitting a tip for review!
Advertisement
-
If you want all users on the Computer to have the link displayed in the Start menu, select "Explore All Users" in the first step after right clicking on the Start menu.⧼thumbs_response⧽
-
In Windows 10, from the Start menu, you can drag and drop your new shortcut into the right tiled column where it's more visible.⧼thumbs_response⧽
-
If you want all users on the Computer to have the link displayed in the Start menu, select "Explore All Users" in the first step after right clicking on the Start menu.⧼thumbs_response⧽
Submit a Tip
All tip submissions are carefully reviewed before being published
Thanks for submitting a tip for review!
Advertisement


About This Article

wikiHow Staff
wikiHow Staff Writer
This article was co-authored by wikiHow Staff. Our trained team of editors and researchers validate articles for accuracy and comprehensiveness. wikiHow's Content Management Team carefully monitors the work from our editorial staff to ensure that each article is backed by trusted research and meets our high quality standards. This article has been viewed 74,196 times.
How helpful is this?
Co-authors: 19
Updated: May 6, 2021
Views: 74,196
Categories: XP Instructions
Advertisement