X
wikiHow is a “wiki,” similar to Wikipedia, which means that many of our articles are co-written by multiple authors. To create this article, volunteer authors worked to edit and improve it over time.
This article has been viewed 49,770 times.
Learn more...
Corner cabinets can add storage and display space in any room without being too intrusive to the room. Corner cabinets are generally triangular in shape to fit right in the corner of your bathroom. Corner cabinets are sometimes on some legs or sometimes can be stuck to the wall floating off the floor.
Steps
-
1Create a plan that includes the dimensions of the corner cabinet, the type of wood that you will use and what tools you will need to complete the project.
- The dimensions of the two side pieces should be: 84 inches (213.36 cm) high by 22 inches (55.88 cm) wide and 84 inches (213.36 cm) high by 21.25 inches (53.98 cm) wide. The dimensions of the triangular top and bottom pieces are (side by side by hypotenuse) 22 inches (55.88 cm) by 22 inches (55.88 cm) by 31.11 inches (79.02 cm). The dimensions of the triangular shelves are 21 inches (53.34 cm) by 21 inches (53.34 cm) by 29.70 inches (75.44 cm).
-
2Measure the dimensions of the cabinet top, bottom and side pieces on a piece of paper. Cut out the pieces, then trace them onto your sheets of wood.Advertisement
-
3Cut out the top and bottom pieces, the side pieces and the shelves using a table saw or circular saw.
-
4Attach your side pieces together. Lay the smaller side piece that is 21.25 inches (53.98 cm) wide on the floor. Stand the wider side on its edge right next to the smaller side piece. Make sure that the edges match up for a tight fit.
- Nail through the face of the wider side piece into the edge of the smaller piece. Make sure that the nail goes in perfectly straight so there is no damage to either piece of wood. Your side pieces should now make a "V" shape.
-
5Attach the top and bottom pieces to the side piece. Stand the side pieces up on end. Take the triangular top piece and lay it on the top of the side pieces. Make sure that the edges are perfectly aligned for a clean finish.
- Nail the pieces together making sure that the nail goes in perfectly straight so there is no damage to either piece of wood. Repeat this process for attaching the bottom piece.
-
6Measure where you would like to place your shelves from the bottom up. The spacing between the shelves should be 16.5 inches (41.91 cm). From the bottom, measure up 16.5 inches (41.91 cm), and mark the spot on the back of the cabinet. From that first mark, measure up another 16.5 inches (41.91 cm) and mark that spot. Follow that process 3 more times, for a total of 5 times.
-
7Pre-drill small holes where you marked the shelve locations. Using a level, make sure that the shelves are level. Nail through the pre-drilled holes in order to attach each shelf to the cabinet. Again, make sure that you nail with precision.
-
8Sand all of the surfaces of the cabinet using a rough-grit piece of sandpaper to remove any rough spots or blemishes in the wood. Repeat with a finer grit of sandpaper to get a smooth surface.
-
9Apply the stain of your choice carefully with a rag. Make sure that the stain is applied evenly and that there are no drip marks. Apply as many coats of stain as needed, letting each coat dry completely each time.
-
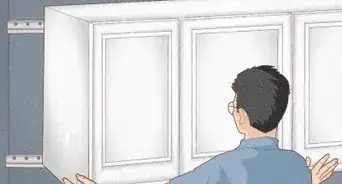
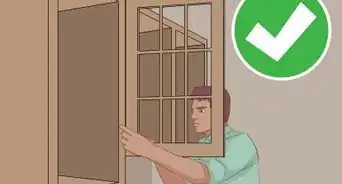
10Attach the cabinet to the corner walls, using proper anchor bolts. This will prevent the cabinet from moving and shifting. Try to attach the cabinet to the studs in the wall.


Advertisement
Community Q&A
-
QuestionThe upper cabinet is level, but there's a gap at the top. How do I hide that?
 Community AnswerIt depends on the size of the gap, but a piece of molding should do the trick.
Advertisement
Warnings
- Make sure you measure twice and cut once when cutting out your pieces from the sheet wood. For accuracy reasons, check your measurements often.⧼thumbs_response⧽
- When making your cuts, make sure that all of the cut edges are square. If one of your cut edges is not completely square, then it will throw off how tightly the pieces of the finished product fit together.⧼thumbs_response⧽
Advertisement
Things You'll Need
- Wood
- Pencil
- Paper
- Tape measure
- Scissors
- Table saw
- Handsaw
- Hammer
- Nails
- Electric drill
- Wood screws
- Safety goggles
- Sandpaper (varying grits)
- Stain
- Anchor Bolts


About This Article
Advertisement