wikiHow is a “wiki,” similar to Wikipedia, which means that many of our articles are co-written by multiple authors. To create this article, 37 people, some anonymous, worked to edit and improve it over time.
This article has been viewed 159,499 times.
Learn more...
Building forts from pillows, blankets, and furniture is a time-honored tradition that provides great hideouts! You can easily build a fun-filled fort in your bedroom using just a few things you already have around the house.
Steps
Making a Pillow Fort
-
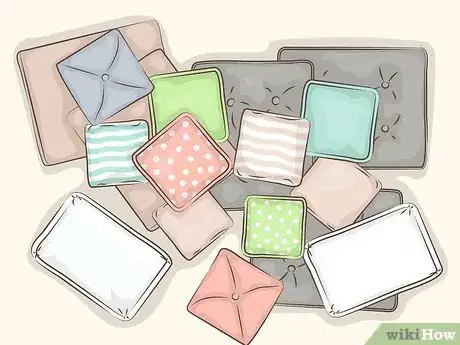
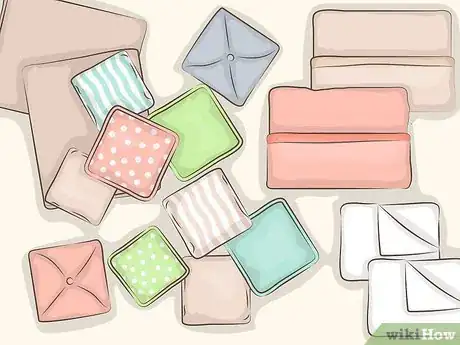
1Gather as many pillows and cushions as possible. You can start with your bedroom pillows. Ask your parents if you can use extra pillows from the linen closet, sofa cushions, and the like.
-
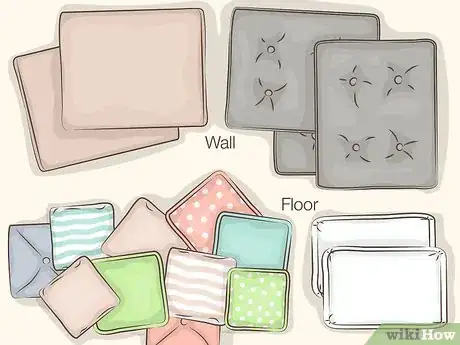
2Sort your pillows into groups. Soft, fluffy pillows are good for creating a luxurious floor for your fort, but aren’t as good for walls. Couch cushions and other rigid or stiff pillows work best for walls.
- Memory foam pillows are also a good choice for walls because they are heavy and hold their shape.
Advertisement -
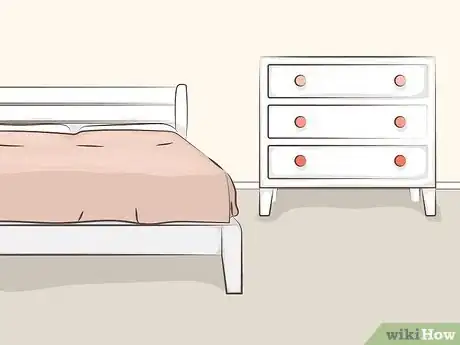
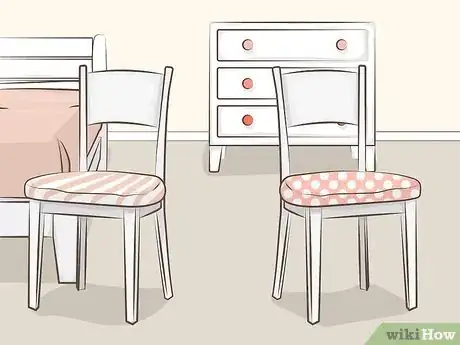
3Select the furniture you will use for your fort. If you’re building the fort in your bedroom, you can obviously use your bed. Chairs, desks, and dressers are also good options. You can ask your parents if you can bring in furniture from other rooms, too.
-
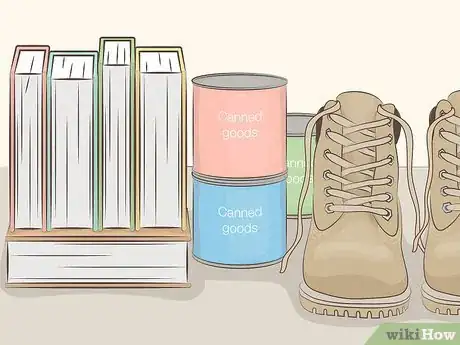
4Gather weighty items to help support your pillows. Heavy books are good to use as support, but you can also use shoes, large toys, and even canned goods (but ask your parents about that first). You’ll use these items to help prop up your pillow walls.
-
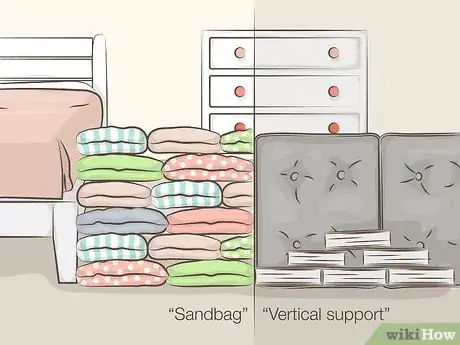
5Build the walls. There are two basic wall construction techniques, which you can choose from depending on what types of pillows you have. Start building at your bed and use it as your primary support structure.
- The “sandbag” technique is best for soft, floppy pillows. Start the fort at your bed and place a row of pillows in a line outward until you have a wall as long as you want your fort. Then place another row of pillows on top of that one, and build the wall as high as you want it. Don’t go too high, though, or the fort may collapse.
- The “vertical support” technique is best for firmer, rigid cushions like sofa cushions. Start the fort at your bed and build the wall outward by placing the cushions on their narrow sides in a line. Support the cushions on both sides with heavy items like books to keep them from falling over.
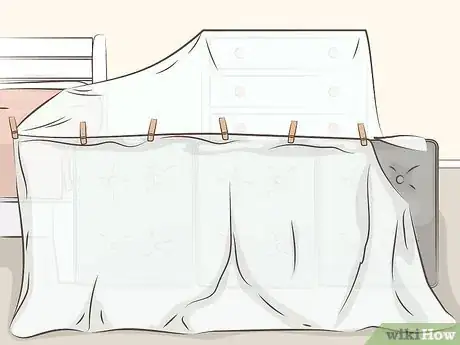
- For extra sturdy walls, wrap a blanket around your walls to create a solid panel. Secure the blanket with clothespins or binder clips, then use heavy items to support the wall panels.[1]
-
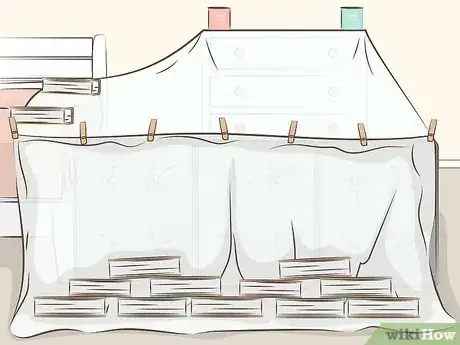
6Construct your roof. Use sheets for the roof if you have them, because they are lighter and less likely to make your fort collapse under their weight. Stretch the sheets across the tops of your walls. Use clothespins or binder clips to connect sheets together if you need to.
- If you have a bunk-bed, you can create a vaulted ceiling! Tuck a sheet under the mattress on the top bunk, then pull it down toward the fort walls. Use clothespins or binder clips to secure the sheet to the edges of the cushions.
- Use flat sheets for the roof if you can find them. Fitted sheets don’t work as well because of their elastic corners.
-
7Secure the roof by using heavy objects like books to pin the edges of the sheet to the floor. Alternatively, you can tuck the edges of the sheets under furniture, such as the legs of your desk or your bed.
-
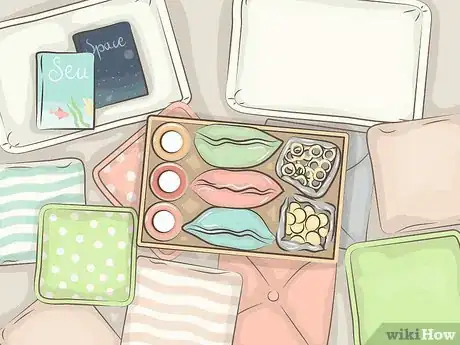
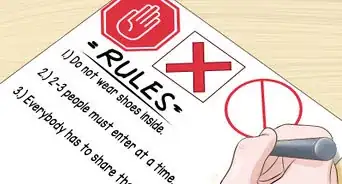
8Supply your fort. All forts need rations, so get some good snacks and drinks to stash away in your fort. If you’re planning to use the fort at night, you may also want a flash light or even some twinkle lights. And of course, you’ll want some books and games for entertainment.
- Never use candles or other open flames inside a bedroom fort! Bedding is highly flammable.
Making a Teepee Fort
-
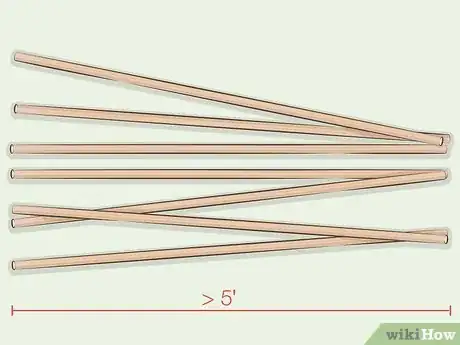
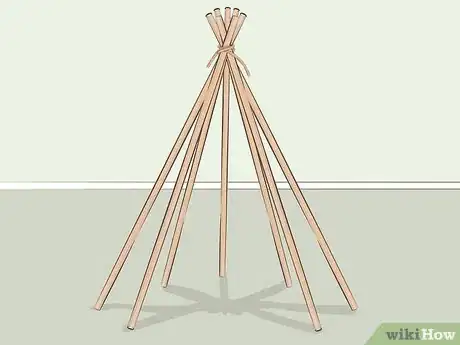
1Gather some long sticks or poles. If you have a backyard, you may be able to get some long sticks from there. You’ll need between 5-7 fairly straight, sturdy sticks that are at least 5 feet long. If you don’t have a backyard to gather sticks from, you can ask your parents if they will purchase some long dowel rods (or even curtain rods or broomsticks) from the hardware store for you.
-
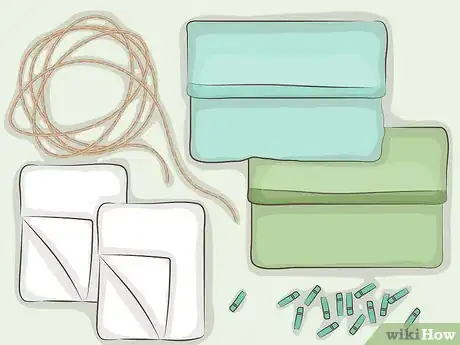
2Gather your other materials. You’ll need twine, rope, or thick rubber bands to tie the poles together. You’ll also need several sheets or blankets to form the walls of your teepee and some clothespins or binder clips.
-
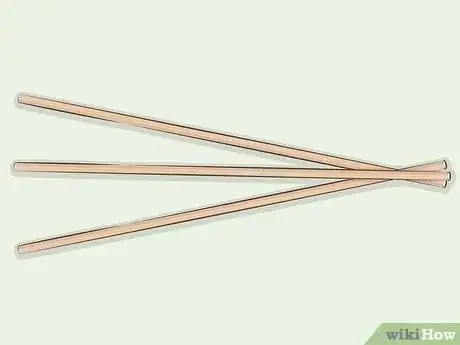
3Lay out three sticks in a tripod formation. Lay two sticks on the ground to form an inverted “V” shape. Lay another stick in the middle of the “V” so that it looks almost like an upside-down “W”.
-
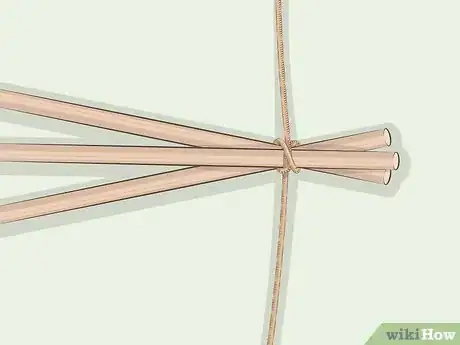
4Tie the sticks together. The most secure way to do this is to use a clove hitch knot around the tops of the sticks. If you don’t know how to tie one, make sure to wrap the rope twine under the poles as well as around them. Leave a “tail” of rope.
- If you’re using rubber bands, use several around the tops of the sticks to secure them.
-
5Get a friend to help you raise the teepee. It’s much harder to raise the teepee on your own, so ask a friend or your parents for help. It should look like a camera tripod once it’s raised. Arrange the legs so that it’s fairly stable.
- After the tripod is raised, place the other sticks around the center tripod. Use the rope tail to tie them to the frame, or secure them with rubber bands.
-
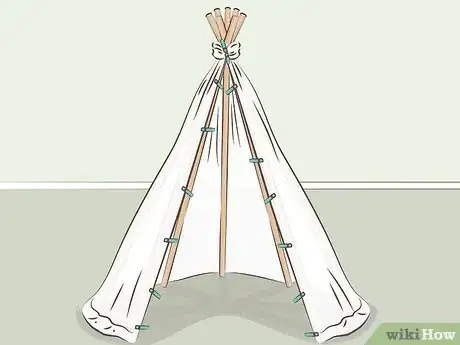
6Drape the sheets over the teepee frame. Use clothespins or binder clips to secure the sheets to the sticks or poles. You can also use string or twine to tie the sheets to the frame.
- If you get permission from your parents to do so, punching holes in the sheets with a hole-punch makes it much easier to tie the sheets to the teepee frame. Only use old, worn-out sheets for this, and definitely ask your parents first.
-
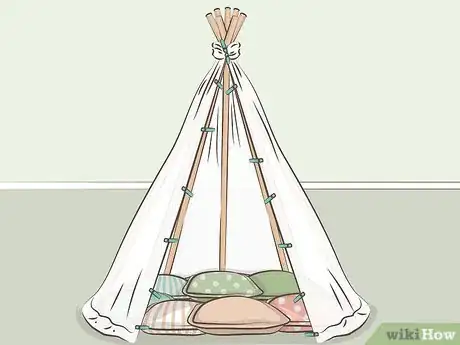
7Place some pillows on the floor inside the teepee. This will make a comfortable base for you to hang out in.
-
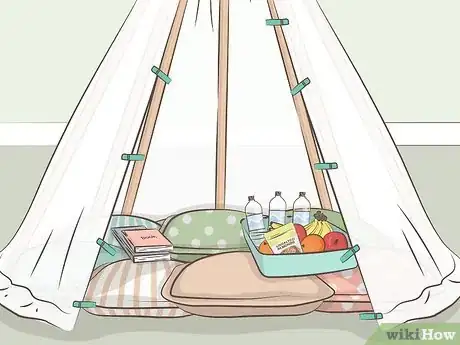
8Bring in some supplies. You’ll probably want some snacks and drinks to enjoy in your fort. Books, games, and maybe a laptop will give you fun things to do.
- If you want to decorate the inside of your teepee, you can string twinkle lights around the sticks and plug them in.
Making a Blanket and Furniture Fort
-
1Gather your construction materials. For this type of fort, you’ll want as many pillows, blankets, and sheets as you can find. You’ll also need several items of furniture that you can move around into a circle.[2]
- Get an adult to help you with very heavy furniture such as dressers. Don’t try to move your bed, just build around it.
-
2Move your furniture into a circle around your bed. The bed is probably too big and heavy to move, so just pull the other furniture into a ring using the bed as your starting place.
- Chairs, desks, and tables work well, as do nightstands and dressers.
-
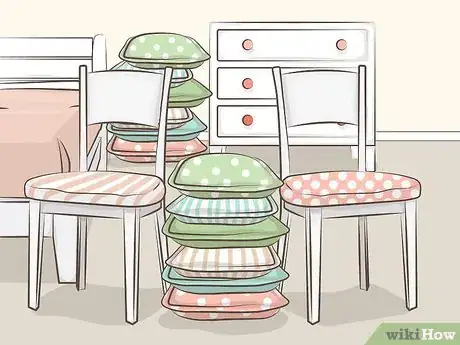
3Fill up any gaps in the furniture with pillows. If you want some light to come in, you can leave places such as under chairs open. For a completely secure fort, fill in all the holes.
-
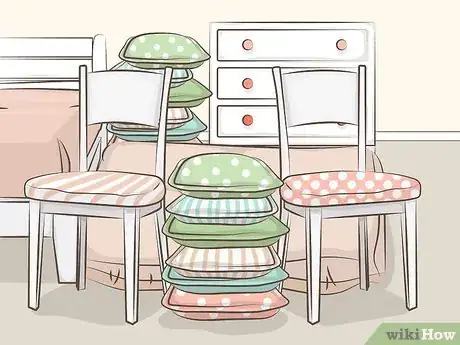
4Place the flooring. You’ll want the floor of your fort to be soft and cozy, so lay down some soft pillows. You can also use fluffy bath towels or down comforters, if you have them. If you use pillows, spread a blanket across all of them to create a solid floor.
-
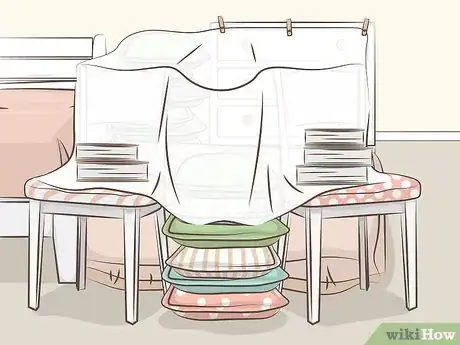
5Construct the roof. Use sheets to build your roof because they don’t weigh as much as blankets. Secure your roof sheets to the furniture using heavy objects such as books, as well as fasteners like clothespins and binder clips.
- You can tuck the roof sheets into dresser drawers and secure them to the drawers with clothespins or binder clips. This will give you a higher, angled roof.
- Tuck some roof sheets under your mattress for a secure hold.
- If you used furniture with hard, flat surfaces such as desk tops and chair bottoms, you can hold the sheet onto them with a stack of books or another heavy item.
- You can also pinch sheets between heavy furniture and the wall. Just tuck the sheet behind something heavy, like your headboard, and then push it all the way to the wall.
- Use rubber bands or string to secure blankets and sheets to the tops of chairs that have protrusions or spindles, such as kitchen chairs.
-
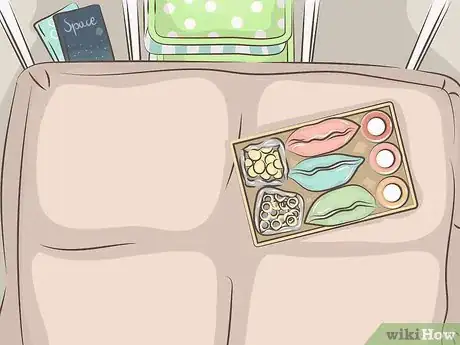
6Supply your fort. Bring some snacks and drinks into the fort. If you’ve used furniture like chairs or dressers, you can stash your supplies under the chairs or in the drawers. You may also want a flashlight, a laptop, and some books and games. A friend is always nice, too.
Making Other Types of Forts
-
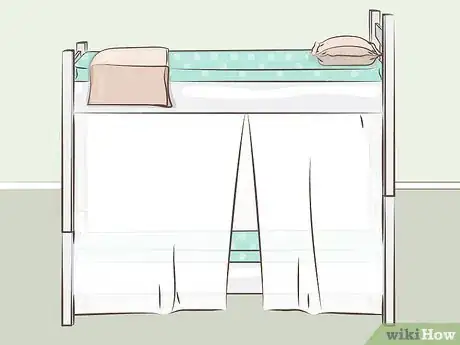
1Make a bunk-bed fort. If you have a bunk-bed, it’s super easy to build an instant fort in your room. Get a few sheets or blankets and tuck them under the mattress on the top bunk. Drape the sheets down to the floor on all sides.
-
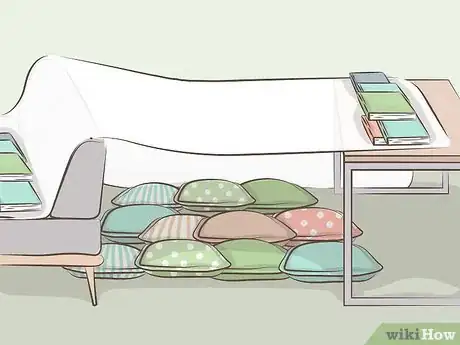
2Make a tunnel fort. This type of fort is very easy to build, but it is a lot smaller than some other types of forts.
- Get two large pieces of furniture, such as a couch and a table, and put them side by side about 2-3 feet apart.
- Stretch a sheet or blanket across the gap between the furniture to create the roof.
- Secure the roof by placing something heavy on top of it on each side to weigh it down. Heavy books work very well for this.
- Put some pillows or cushions on the floor of the tunnel to make a cozy floor. Now you have a fort!
-
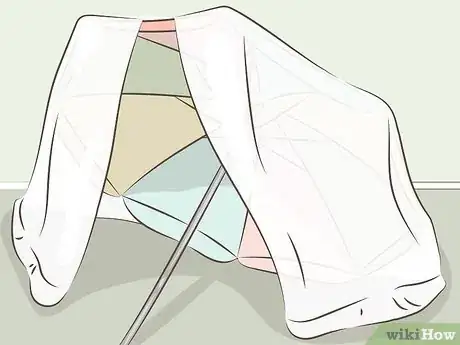
3Make a beach umbrella fort. You can also use a small umbrella, but it won’t have as much room in the fort. If you have several umbrellas, place them in a circular formation. Then, stretch sheets over the top. Voila, instant fort![3]
Community Q&A
-
QuestionWhat are some fun things to put in my fort?
 Community AnswerElectronics, like laptops, tablets, etc. Also, you can put magazines and all the things that keep you busy, but make sure you're not too loud. Keep sharp things out of there, it is meant to be a soft, cozy place.
 -
QuestionI want to make a certain corner in my room cozy but not turn it into a fort. Any ideas?
 Ellabella202Community AnswerGather bean bags, blankets, a rug and some stuffed animals. You can also add a lamp for gentle lighting.
 -
QuestionI don't have a lot of pillows, so how can I fill things in and stuff?
 Community AnswerYou can use stuffed animals or any other soft item that can work as a decoration in your fort and/or cover holes in your room. For example, roll up sheets or duvet covers, use cushions off the couch and use towels.
Warnings
- Never bring flammable things like candles into your fort.⧼thumbs_response⧽
- If you are going to sleep there make sure you can stretch, roll, toss and turn without the fort collapsing!⧼thumbs_response⧽
- Don't bring any type of liquids unless you have a lid and it is on properly.⧼thumbs_response⧽
Things You’ll Need
- Sheets or blankets
- Pillows
- Heavy books
- Furniture and cushions
- Clothespins or large binder clips
- Rubber bands, twine, or rope
- Long sticks or poles
- Umbrella
- Something to sit on
References
- ↑ http://www.nytimes.com/2012/04/19/garden/lessons-in-the-art-of-pillow-fort-construction.html?pagewanted=all
- ↑ https://www.pacificcoast.com/blog-d-i-y/how-to-build-the-best-pillow-fort-of-all-time.html
- ↑ http://www.nytimes.com/2012/04/19/garden/lessons-in-the-art-of-pillow-fort-construction.html?pagewanted=all
About This Article
If you want to build a fort in your room, you’ll need as many pillows, blankets, and cushions as you can find! The easiest way to build a fort is to set up a wall of cushions opposite your bed. Sturdy sofa cushions work best, but you can also make a wall by stacking small cushions or using a chair. Then, drape a bed sheet from the wall to your bed and weigh it down with heavy objects like books or large toys. Once you’ve secured the roof, lay down some cushions in your fort and throw a blanket or 2 down. Now you can grab some snacks, games, or a laptop to watch a movie, and enjoy your fort! For more tips, including how to make a teepee fort, read on!
