This article was co-authored by Sarah Stearns. Sarah Stearns is a DIY Specialist, Artist, Maker, Blogger, and the Founder of SarahMaker.com. With over ten years of experience, she specializes in fun, approachable crafts like crocheting, making polymer clay jewelry, quilting, and creating Cricut projects. Her work has been featured in several publications, such as Scientific American, Good Housekeeping, Vox, and Apartment Therapy. Sarah holds a BA in Psychology from Vanderbilt University.
This article has been viewed 34,639 times.
A Cricut machine is a wonderful crafting tool that allows you to cut out shapes from sheets of paper, cardboard, plastic, and a variety of other materials. After your Cricut blade has been used repeatedly, it will get dull, will stop cutting cleanly, and will need to be replaced.[1] In order to change the blade, you will need to get a proper replacement blade and insert it into the machine correctly. Once you know how to change your Cricut blade, you will be able to cut a variety of things in your machine once again and you will get crisper and cleaner cuts.
Steps
Finding Replacement Blades
-
1Pick out a fine-point replacement blade if you want to cut paper. There are a few different types of tips that you can choose from when replacing your blade. The blade that your machine came with is a fine point blade, which is good for cutting paper and other thin materials, such as vinyl or iron-on sheets.
- If a material is easily torn with your fingers, it's likely thin enough to be cut with a fine-point blade.
-
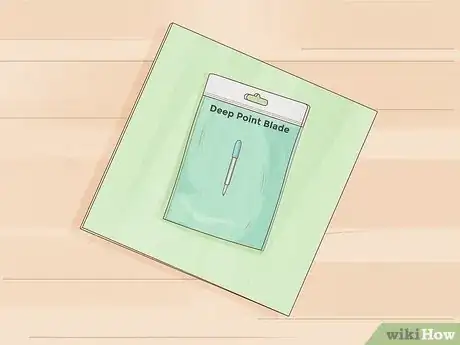
2Get a deep-point blade if you want to cut thick materials. You can also purchase a deep point blade, which is better for cutting thick materials, such as felt or card stock. This is a good supplementary blade to use for special projects in addition to the regular fine-point blade.
- If you are unsure if you need a deep-point blade, you can try using a fine-point blade first. If it doesn't cut all the way through your material or the cut is uneven or jagged, then you should try using a deep-point blade instead.
- Consider having several different blades that you can change out depending on what you want to cut.
Advertisement -
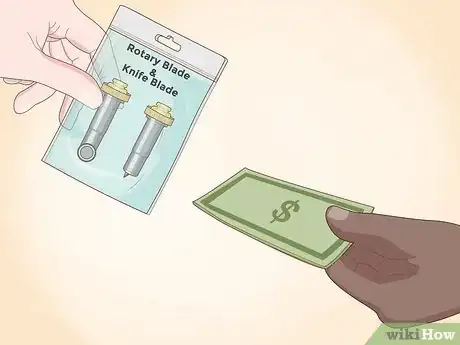
3Consider buying a rotary or knife blade if you have a Cricut Maker machine. Advanced Cricut machines have additional types of replacement blades available. The rotary blade is made specifically to cut fabric. The knife blade is made to cut extra thick materials, such as balsa wood, that a deep-point blade can cut through easily.
- Rotary and knife blades can only be used in Cricut Maker machines. Do not buy one if you have an older model Cricut machine.
-
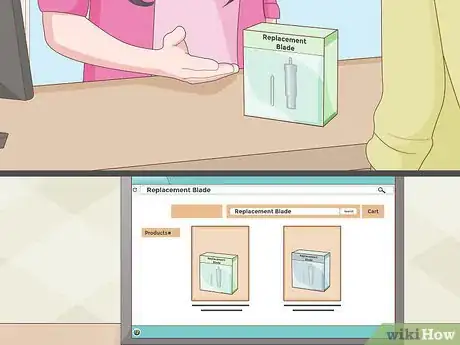
4Purchase a replacement blade from a craft store or an online retailer. Replacement Cricut blades are usually available at all stores that sell Cricut machines. All Cricut blades are a universal shape that fit into the housing the came with your machine, so you don’t have to worry about whether the blade will go in your housing.
- However, the housing that the blade sits in is not always interchangeable. If you have multiple Cricut machines, be sure that you keep your specific housing with your machine.
Point Blades
-
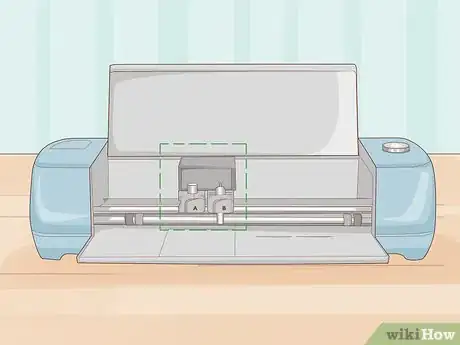
1Locate the cutting assembly. The cutting assembly is the part of your Cricut machine that holds the blade. It is typically a box that moves along a shaft at the front of the machine. It will have the blade housing sticking out of one side of the assembly and will have an “A” and a “B” on the front of it.
-
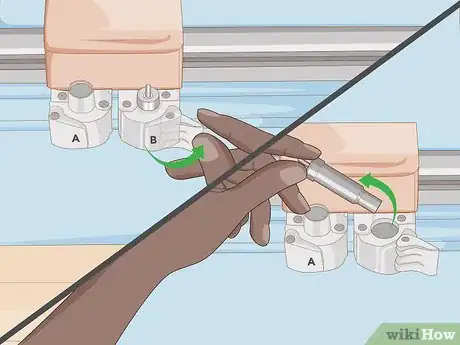
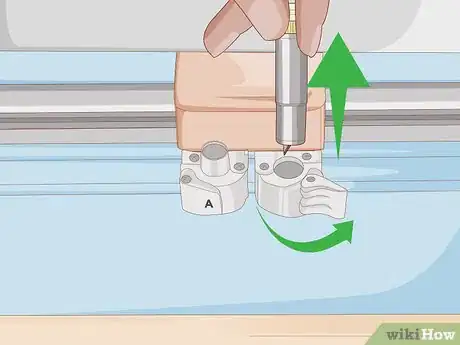
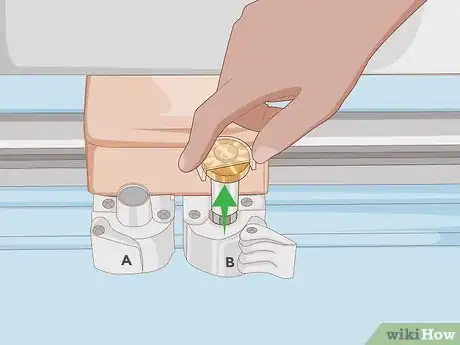
2Loosen the blade housing. Pull open the handle on the clamp that has a “B” on the front of it. After you pull the tap on the front of the clamp open, lift the circular piece that holds the blade, called the blade housing, up and out of the machine.[2] [3]
- If you have an older Cricut machine, you will first need to unscrew the arm that is holding the blade housing. The screw is large and can be unscrewed by turning it with your fingers. Then you will be able to open the clamp on the front of the housing.
-
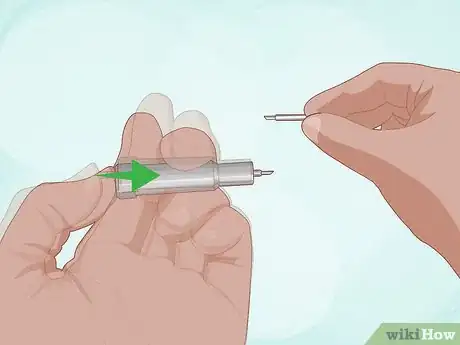
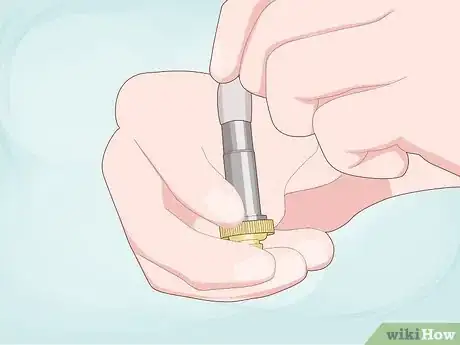
3Push the plunger at the top of the housing to release the existing blade. At the top of the blade housing, opposite the blade at the bottom, is a small piece of metal the sticks up out of the housing. When you press it, the blade should drop right out. If it doesn’t, carefully grab the blade with your other fingers and pull it out.[4] [5]
- Set the old blade aside until the new blade is installed. At that point, you can cover the old blade in the protective cover the new blade came in and throw it away or store it for later use.
-
4
-
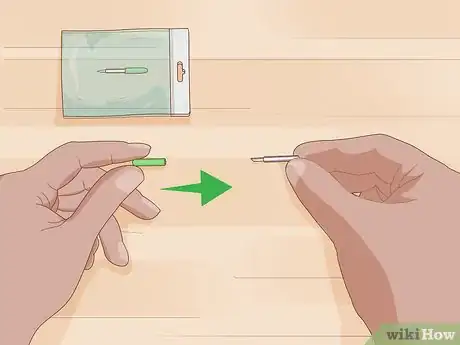
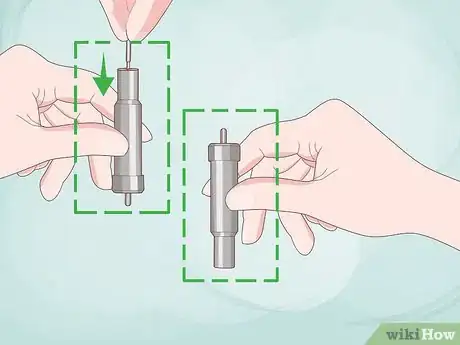
5Insert the blade into the slot on the bottom of the blade housing. Slide the non-sharp end of the new blade into the housing.[8] This is the same spot where the old blade came out of the housing. The magnet on the inside should hold it in place immediately once it is inserted. You will know it is in place when the cutting end is sticking out of the end of the housing only slightly.[9]
-
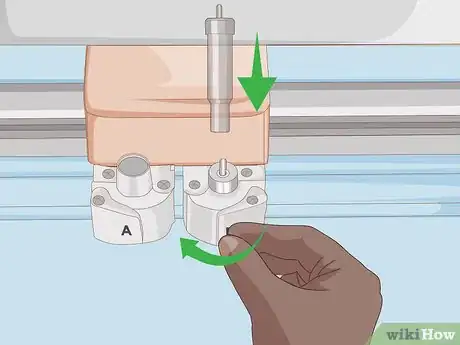
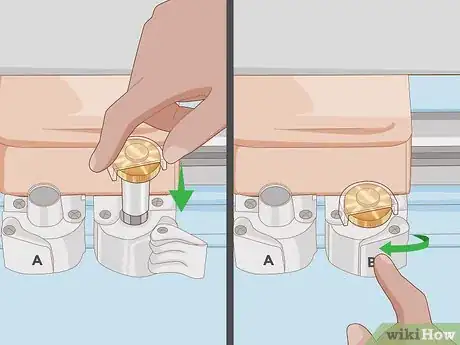
6Clamp the housing into place. Take the housing with the new blade and put it back in position in the cutting assembly. Once the housing is in place as it was before you replaced the blade, close the clamp, which will hold the housing in place.[10]
- Be sure that the blade housing is sitting down as far as possible in the cutting assembly. If it is sitting high in the assembly, it won’t cut properly.[11]
Knife Point Blade
-
1Remove the blade housing from the cutting assembly. Just as with the other types of blades, you need to release the blade housing from the assembly by pulling the tab that has a “B” on it towards you. This will release the clamp that holds the housing.[12]
- The cutting assembly is the box on the Cricut that holds the blade. It is at the front of the machine, with tabs on it that say "A" and "B."
- Once the clamp is open, you can easily lift the housing up out of the assembly.
-
2Slide a protective cover onto the blade. Knife-point blades require a bit of care when you change them out, as their cutting surface is larger than the other blades. Once you pull the blade housing out of the cutting assembly, place a protective cap over the cutting blade.[13]
- The protective cap you use will come with the replacement blade that you purchased.
-
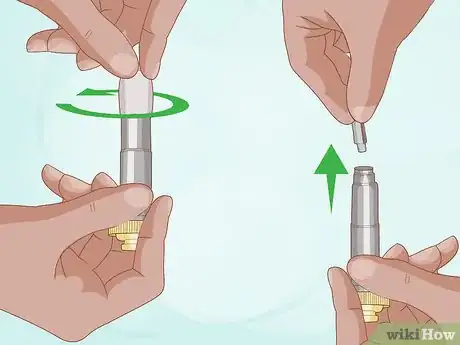
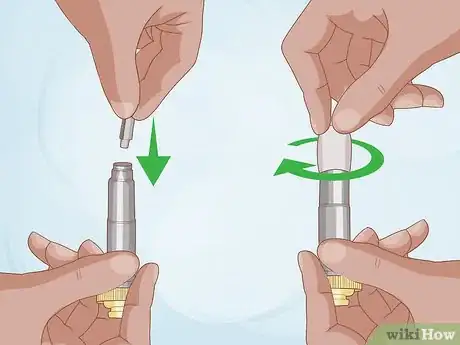
3Detach the old blade. The knife-point blade is detached from the housing by twisting the protective cap that you placed over the blade. This cap is designed to hold firmly onto the screw and release the old blade. Once the screw is off counter clockwise, the old blade should fall right out.[14]
- Once the screw is unscrewed, it will stay in the top of the protective cap. The old blade will drop out of the housing and can be disposed of in the garbage or stored for later use. [15]
- Keep the locking screw inside the protective cap. You will use this to lock in the new blade.
-
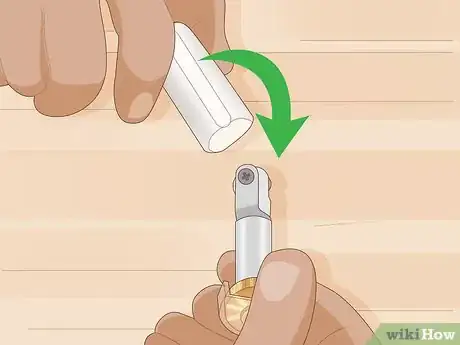
4Place the new blade in the housing. Carefully pick up the new blade by the sharp end. Place it in the housing, making sure the rib on the blade slides into the groove inside the housing. Then slide the protective cap back on the end, which will position the screw on the end. Once the screw is in position, you simply need to turn the cap until the screw is tight.
- Once the screw holding on the knife blade is tight, you can pull off the protective cap and dispose of it or store it to use when swapping out the knife blade later.
Rotary Blade
-
1Take the blade housing out of the cutting assembly. The cutting assembly is a box at the front of the machine with tabs that say "A" and "B" on it. Release the clamp marked “B” on the housing assembly by pulling the tab gently towards you. This will release the blade housing, which you can then lift up and out of the assembly.[16]
- Be careful as you are lifting it out of the machine that you keep your fingers and other body parts away from the cutting blade at the bottom.
-
2Put a protective cover over the blade. A rotary blade is very sharp and it rotates easily, so it's important to keep it covered while you change it out. Remove the protective cap from the new blade and carefully place it over the old blade that's attached to the machine.
-
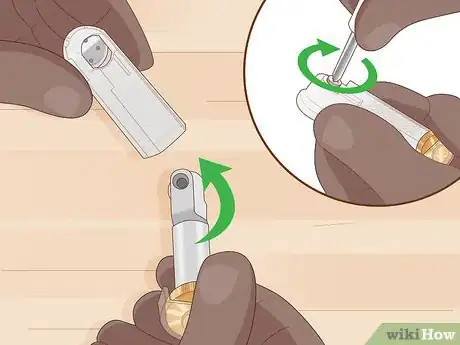
3Unscrew and remove the old blade. Hold the blade assembly firmly in one hand. Use the screwdriver that came with your new rotary blade to unscrew the screw on the side of the blade housing. Once the screw is loose, the old blade should drop into the bottom of the protective cover.[17]
- Keep track of the screw you removed, as you will use it to attach the new rotary blade.
- Pull the protective cap off once that screw is removed. The old blade will remain at the bottom of the cap and you can throw the cap and old blade away or store it for later use.
-
4Attach the new blade. Slide the new blade onto the blade housing, keeping it in the protective cap it came in. Screw it in place with the screw you removed from the old blade, making sure the screw is tight.[18]
-
5Put the blade assembly back into the machine. Once the new blade is in place, remove the protective cap but be careful not to touch the blade. Then insert the blade housing back into the cutting assembly and close clamp “B” to secure it in place.[19]
References
- ↑ Sarah Stearns. DIY Specialist. Expert Interview. 4 October 2021.
- ↑ https://learn.cricut.com/cricut-explore-one%E2%84%A2/machine/changing-blade
- ↑ Sarah Stearns. DIY Specialist. Expert Interview. 4 October 2021.
- ↑ https://learn.cricut.com/cricut-explore-one%E2%84%A2/machine/changing-blade
- ↑ Sarah Stearns. DIY Specialist. Expert Interview. 4 October 2021.
- ↑ https://learn.cricut.com/cricut-explore-one%E2%84%A2/machine/changing-blade
- ↑ Sarah Stearns. DIY Specialist. Expert Interview. 4 October 2021.
- ↑ Sarah Stearns. DIY Specialist. Expert Interview. 4 October 2021.
- ↑ https://learn.cricut.com/cricut-explore-one%E2%84%A2/machine/changing-blade
- ↑ Sarah Stearns. DIY Specialist. Expert Interview. 4 October 2021.
- ↑ https://help.cricut.com/hc/en-us/articles/360009432114-Cricut-Maker-Blade-Installation-Tips
- ↑ https://learn.cricut.com/cricut-explore-one%E2%84%A2/machine/changing-blade
- ↑ https://help.cricut.com/hc/en-us/articles/360009433914
- ↑ https://help.cricut.com/hc/en-us/articles/360009433914
- ↑ https://help.cricut.com/hc/en-us/articles/360009433914
- ↑ https://learn.cricut.com/cricut-maker%C2%AE/machine/cricut-maker-changing-rotary-blade
- ↑ https://learn.cricut.com/cricut-maker%C2%AE/machine/cricut-maker-changing-rotary-blade
- ↑ https://learn.cricut.com/cricut-maker%C2%AE/machine/cricut-maker-changing-rotary-blade
- ↑ https://learn.cricut.com/cricut-maker%C2%AE/machine/cricut-maker-changing-rotary-blade


