This article was co-authored by wikiHow staff writer, Sam Browning. Sam Browning is an Emerging Technology Writer for wikiHow. Sam has not only written countless step-by-step articles for social media and tech, but he also has experience writing instructional articles on technology for Davidson College and reviewing video games. He is currently pursuing a degree in English with a minor in Digital Studies at Davidson.
This article has been viewed 18,774 times.
Learn more...
Facebook’s temporary profile picture feature is a great way to express your current thoughts or feelings. If you want to shorten or extend the amount of time that temporary picture is up, it's quite simple! This wikiHow article will teach you how to change the date and time your temporary Facebook profile picture is set to expire.
Steps
Using Facebook in Your Browser
-
1Open Facebook. If you are not already signed in, you should sign in to your account as well.
-
2Click your profile. You can access your profile by clicking your profile picture in the top right of the window.Advertisement
-
3Click the camera icon under your profile picture. The small grey and black camera icon is located at the bottom right of your profile picture.
-
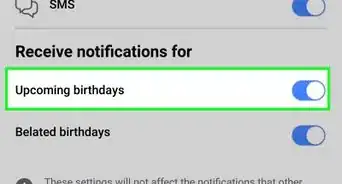
4Choose Change end time. This will be the second option in the dropdown menu that appears under the camera icon.
- To immediately switch back to your previous profile picture or make your temporary picture permanent, choose Switch to previous picture now or Keep as permanent picture from the dropdown menu instead.
-
5Enter a new end date and time. You can change the date and time by clicking in each box and typing the new value or selecting an option from each dropdown menu that appears.
-
6Click Confirm. You have now successfully changed when your temporary profile picture will expire!


Using the Facebook App
-
1Open Facebook. The Facebook app icon is a lowercase white “f” on a blue background.
-
2Tap the Menu ☰. The menu button is located at the bottom right of the screen and has three horizontal lines as its icon.
-
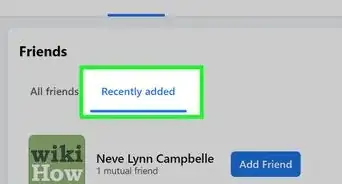
3Press See your profile. You can find this button in the top left of your screen. It should also display your profile picture and your name.
-
4Tap the camera icon under your profile picture. The small black and grey camera icon is located at the bottom right of your profile picture.
-
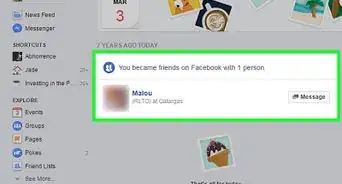
5Select Edit End Time. This button has a clock icon and is the first option in the pop-up menu.
-
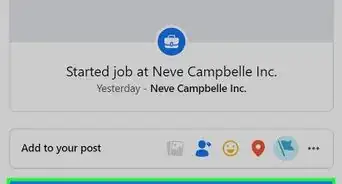
6Tap Change end time and enter the new date and time. To change the expiration date and time, tap the boxes containing the current end date and time and change them using the pop-up menus that appear.
- If you would like to go back to your previous profile picture or make your current picture permanent, select either Switch to previous picture now or Keep as permanent profile picture instead.
-
7Press Set. You have now successfully adjusted the duration of your temporary profile picture!


About This Article

1. Open the Facebook website or app.
2. Go to your profile.
3. Press the camera icon at the bottom right of your profile picture.
4. Choose Change end time or Edit End Time.
5. Set a new end date and time and confirm your choice with Confirm or Set.