This article was co-authored by Steve Masley. Steve Masley has been designing and maintaining organic vegetable gardens in the San Francisco Bay Area for over 30 years. He is an Organic Gardening Consultant and Founder of Grow-It-Organically, a website that teaches clients and students the ins and outs of organic vegetable gardening. In 2007 and 2008, Steve taught the Local Sustainable Agriculture Field Practicum at Stanford University.
There are 11 references cited in this article, which can be found at the bottom of the page.
This article has been viewed 101,974 times.
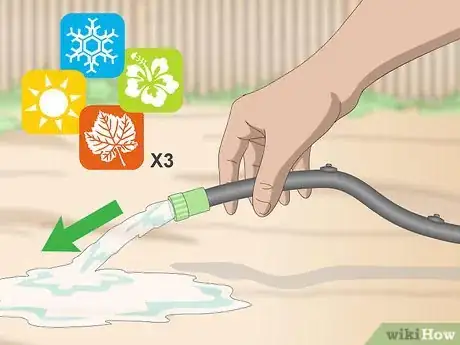
A drip irrigation system is a great way to consistently water your plants or lawn. Unfortunately, the tubing in the drip system can become clogged by mineral or bacterial buildup. Flushing the system with water at least 3 times a season can dislodge smaller obstructions and prevent clogs from forming in the first place. If your system is really stopped up, an acid flush may be necessary. Luckily, both methods can be done rather easily as long as you follow the right steps!
Things You Should Know
- For clogged emitters, close the main line and remove the caps. Add 3-4 drops of muriatic acid to break up the clogs. Then, flush the system with water.
- For clogged drip lines, mix water and hydrochloric acid in a bucket. Put the main line into the bucket, turn on the pump, and run the system for 60 minutes.
- Flush the system with water 3 times per season to prevent buildup and blockages.
Steps
Flushing the System with Water
-
1Flush the system with water 3 times per season. Flush your system with water 3 times per season to prevent large buildup or blockages. Regularly maintaining it may prevent you from having to do an acid flush in the future.[1]EXPERT TIPSteve Masley has been designing and maintaining organic vegetable gardens in the San Francisco Bay Area for over 30 years. He is an Organic Gardening Consultant and Founder of Grow-It-Organically, a website that teaches clients and students the ins and outs of organic vegetable gardening. In 2007 and 2008, Steve taught the Local Sustainable Agriculture Field Practicum at Stanford University.Home & Garden Specialist

 Steve Masley
Home & Garden SpecialistRinsing out the system will prevent bigger problems later on. According to the team at Grow it Organically: "When you run water through the irrigation system, any particles or dirt in the line are going to be flushed out, so they won't end up in the emitter. When you're getting ready to use the system in the spring, flush the lines and check the filters, and then you usually won't have problems in the summer."
-
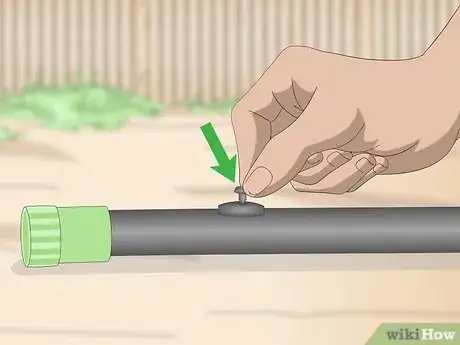
2Insert plugs into all the emitters. Emitters are the holes in the tubing of your drip system. Your system should have come with plastic black or green plugs that fit inside of the emitter holes. Press the plugs into the emitters along the length of the tubing. Unscrew the cap at the end of the mainline if it isn’t removed already so that water can flow out of it freely.[2]
- Plugging up the emitters will increase the water pressure and help loosen clogs.
- If you lost the plugs that came with your system, you can purchase new ones through the system's manufacturer or you can purchase 3rd party drip irrigation plugs online.
Advertisement -
3Turn the system on to flush it. Turn the handle for your system to the on position. The water should freely flow through the tubing and out of the end of the mainline, flushing out clogs and obstructions.[3]
- It’s normal for the water to be brown initially.
-
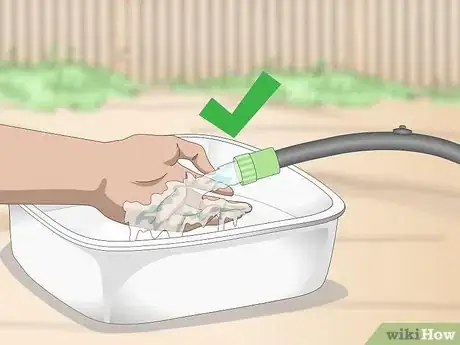
4Examine the water for dirt or bacteria buildup. The water should run clear after about 10 seconds. If the water does not run clear and looks brown, you most likely have bacterial buildup in your system. Flushing the system with hydrochloric or phosphoric acid can remove these buildups.[4]
- No water should be coming out of the emitters during this time if you plugged them all up correctly.
-
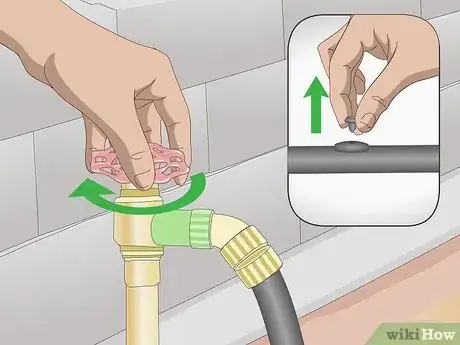
5Close the main line and remove the caps from all emitters. Screw the plug into the end of the mainline and remove the caps that you inserted into the emitters. Turn the system back on and take notice of any emitters that aren’t dripping water.[5]
-
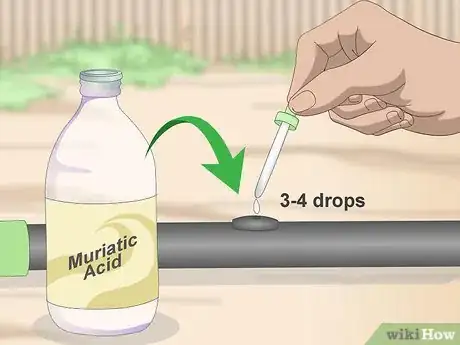
6Put 3-4 drops of muriatic acid on clogged emitters. You can purchase muriatic acid online or at some hardware stores. Wear rubber gloves, protective eyewear, and long clothes when handling the acid. Use the dropper to suck up a small amount of acid and drip the acid on the clogged emitters. Once you've done that, turn on the system again to see if the acid cleared the clogged emitters. If the emitters aren’t producing any water, they are clogged.[6]
- Carefully handle the acid so you don't spill it and make sure that it doesn't come in contact with your skin. If it does, rinse the affected area for 15 minutes with cold water.
- If the acid fizzes, you’ll have to do an acid flush to remove any mineral buildup inside of the tubing.
- One of the most common types of clogs are calcium carbonate or magnesium carbonate buildup.
- You can flush the system again with water to wash away any residual acid.
Using Acid to Flush the System
-
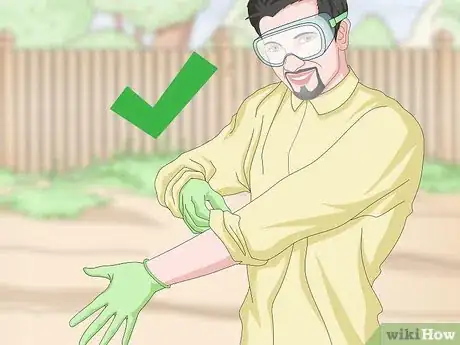
1Wear the proper safety equipment. Wear safety goggles, rubber gloves, and clothing that covers your entire body. Purchase a wash or neutralizer for acid in case you have an accidental spill. Keep the amount of exposed skin to a minimum.[7]
- You can purchase safety equipment and neutralizer online or at some hardware stores.
- If you accidentally spill acid on your skin, you should rinse it thoroughly with the neutralizer and seek medical attention if burning persists.
-
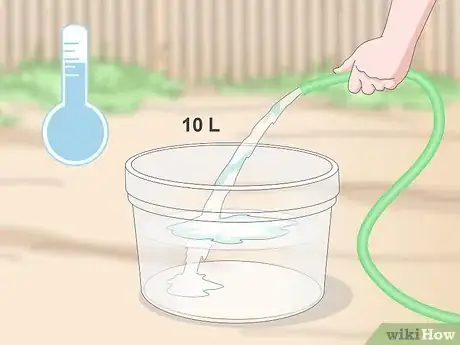
2Fill a 10 L (2.6 US gal) plastic bucket halfway with cold water. Water will help dilute the acid and will prevent it from damaging your plants. Make sure the bucket is plastic so that the acid doesn’t burn through it.[8]
-
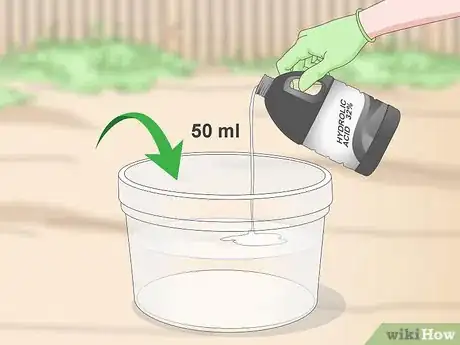
3Add 50 ml (0.013 US gal) of hydrochloric acid into the bucket. Purchase either 33% hydrochloric acid or 85% phosphoric acid to clear your clogged drip lines. Carefully pour the acid into the bucket of water. Mix the solution together with a wooden stirring stick.[9]
- You can purchase acid online.
-
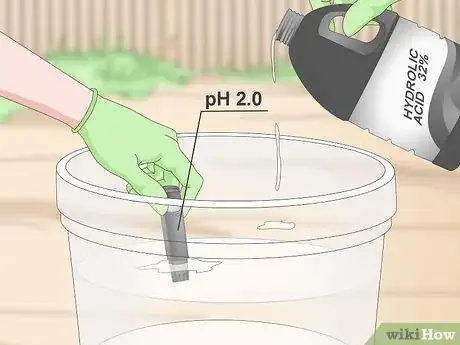
4Continue adding acid until the pH reaches 2.0. Test the solution with pH test strips to determine the solution's pH level. The ideal pH to clean your irrigation system is 2.0. Place the test end of the pH test strip into the solution. If the pH isn’t low enough, continue pouring small amounts of acid into the bucket until it reaches the desired pH.[10]
- The low pH of the acid and water solution will remove mineral buildup inside of the tubing.
-
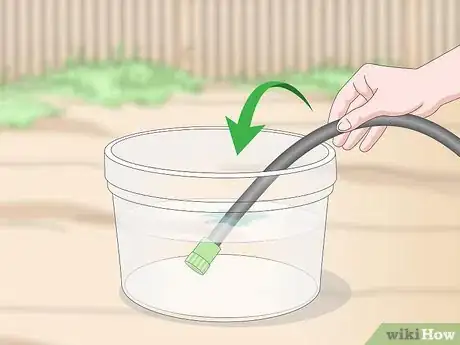
5Put the main line into the bucket of acid. Connect the tube that usually runs from your water source into the bucket of acid. In some systems, there is a special flush tube that is there to specifically flush your system with chemicals. If your system has this, use that tube instead.[11]
- If you have a larger drip system that has a well for a water source, slowly pour the acid and water solution into the source.
-
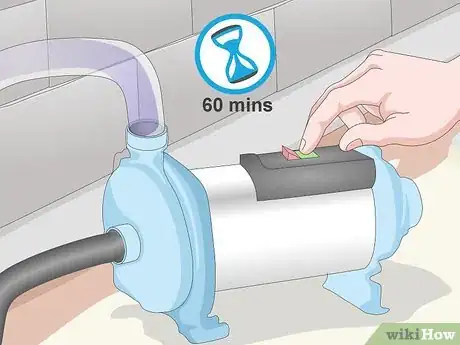
6Turn on the pump and run the irrigation system for 60 minutes. When you turn on the pump for your drip irrigation system, the acid solution will be sucked up and should go through the mainline and clear any mineral buildup from the inside of your tubes. Continue running the system for an hour to fully flush the system.[12]
-
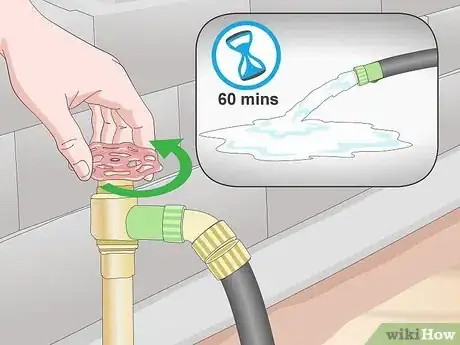
7Flush the system with clean water for an hour. Reconnect your system to a freshwater source and turn it on for an hour. This will finish flushing the leftover acid from the system and should clear any mineral or bacterial buildup.[13]
-
8Store the acid in a secure container and away from the sunlight. Make sure to store the hydrochloric or phosphoric in a well-ventilated area away from flammable materials and other acids. It's best to label the cabinet or area so that other people know that acid is in the container.[14]
- Hydrochloric and phosphoric acid are highly dangerous if ingested or spilled and should be kept away from children and animals.
- If you need to dispose of the acid, take it to a disposal center or neutralize it with sodium hydroxide before pouring it down the drain. Never pour active acid down the drain or it can destroy your pipes.[15]
Community Q&A
-
QuestionIs there an easy way to remove a broken 1/4" connector from a 1/2" line?
 Community AnswerRemove all emitters at the ends of the 1/4" tubing. Then, remove the end cap from the 1/2" supply line and turn your system on, allowing water to run out the ends of all the opened lines for several minutes and flushing any debris from all tubing. Turn the water off, replace the emitters, and close the end of the 1/2" supply line. Realistically, it's a lot of work and may not be necessary. If your system is functioning despite the broken off connector pieces floating around in there and your plants are getting watered, don't sweat it.
Things You’ll Need
- Drip irrigation system
- Muriatic acid
- Dropper
- 33% hydrochloric acid or 85% phosphoric acid
- Safety goggles
- Rubber gloves
- 10 L (2.6 US gal) plastic bucket
References
- ↑ https://www.dpi.nsw.gov.au/__data/assets/pdf_file/0004/666031/maintaining-a-drip-irrigation-system-for-perennial-horticulture.pdf
- ↑ https://youtu.be/v1PjCvFyZ4M
- ↑ https://youtu.be/v1PjCvFyZ4M
- ↑ http://www.naandanjain.com/uploads/Articles/Maintenance%20NDJ_Drip_eng_010813F-7.pdf
- ↑ https://www.dpi.nsw.gov.au/__data/assets/pdf_file/0004/666031/maintaining-a-drip-irrigation-system-for-perennial-horticulture.pdf
- ↑ https://youtu.be/v1PjCvFyZ4M?t=1m21s
- ↑ https://davesgarden.com/guides/articles/cleaning-and-maintaining-your-drip-irrigation-system
- ↑ http://www.naandanjain.com/uploads/Articles/Maintenance%20NDJ_Drip_eng_010813F-7.pdf
- ↑ https://youtu.be/32_lgthWw88?t=51s
- ↑ https://youtu.be/32_lgthWw88?t=1m3s
- ↑ https://youtu.be/32_lgthWw88?t=1m18s
- ↑ https://www.dpi.nsw.gov.au/__data/assets/pdf_file/0004/666031/maintaining-a-drip-irrigation-system-for-perennial-horticulture.pdf
- ↑ https://www.growcom.com.au/wp-content/uploads/2013/12/Drip-line-maintenance-acid-treatment.pdf
- ↑ https://www.bu.edu/ehs/files/2011/03/Chemical-Segregation-and-Storage-Chart.pdf
- ↑ https://sciencing.com/dispose-acid-2315203.html
About This Article
Drip irrigation systems can commonly become clogged by mineral or bacterial buildup resembling salt or sludge, but you can clean them by flushing the system with water. To flush the lines with water, plug all of the emitters, which are the holes in the tubing, so the water can’t escape through them. Then, turn on the water to force it through the line to clear it. Keep your system clean and clear of clogs by flushing it with water at least 3 times a season. To learn how to flush your drip system with acid to clear out clogs, keep reading!





-Oven-Step-15.webp)
