X
wikiHow is a “wiki,” similar to Wikipedia, which means that many of our articles are co-written by multiple authors. To create this article, volunteer authors worked to edit and improve it over time.
This article has been viewed 83,545 times.
Learn more...
RAID is a great way to add additional security and redundancy to a computer workstation. A RAID array is a setup of two or more hard drives that have been synchronized to provide protection against data loss due to a malfunctioning hard drive. Nowadays, most newer motherboards support RAID, and it is no longer as expensive or difficult to set up as it was in the past. In this article, you'll learn how to setup and how to configure RAID on your computer.
Steps

Method 2
Method 2 of 2:
Installation
-
1Keep in mind when you are handling the inner parts of any computer or its components make sure the power source is turned off and unplugged. Also, make sure you have yourself grounded to prevent damage from static electricity.
- Making sure that the computer has been shut off and unplugged will prevent accidental damage to the computer parts as well as accidental injury to the user.
- Grounding yourself will prevent accidental shock damage generated by static electricity.
- When handling any electrical computer component, don't touch any of the metallic chips or circuitry. The oils on your hands and fingers can and will damage the parts from working correctly.
-
2Install the RAID adapter in your PC. Install the adapter in an available PCI or PCI Express slot. You will need to consult the instructions in both your RAID adapter manual and your motherboard manual, as the directions will vary depending on the individual models involved. If your motherboard already came with RAID, then you can just skip this test.
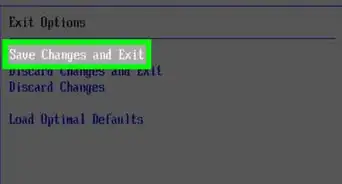
- You must set the controller mode to RAID. This is done in the system bios. During the start up of your system, a specific keystroke will bring you to this screen.
-
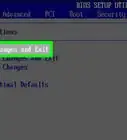
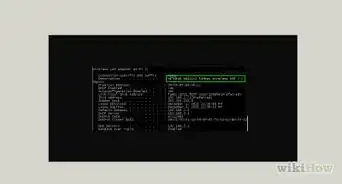
3Configure the RAID adapter in your BIOS. During your PC's boot up sequence, press the key combination to bring up the configuration panel for your RAID adapter. You will find this information in the adapter's manual. Typically, the combination is either Ctrl+R or Ctrl+A.
- In some cases, depending on your computer hardware setup, you may be asked to run your computer's CMOS setup program in order to set up your hard drives for RAID.
-
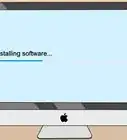
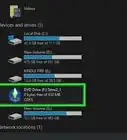
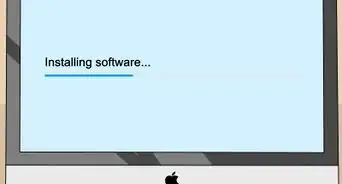
4Partition and format the array. Install the adapter in your operating system. During the boot-up sequence of your computer, keep your eyes open for any messages prompting you to install a third-party SCSI or RAID driver. If you see it, then you will need to press F6 to initiate the installation process. In this case, you will be prompted to insert the floppy disk that came with your adapter, as this disk holds all of the third-party drivers.


Advertisement
Things You'll Need
- RAID adapter
- RAID adapter drivers


About This Article
Advertisement