This article was co-authored by Marvin Woo and by wikiHow staff writer, Janice Tieperman. Marvin Woo is a licensed electrician and the Owner of Woo's Electrical & Appliance based in East O’ahu. With over two decades of experience, he specializes in troubleshooting issues and maintaining residential electrical systems. Marvin is both licensed and insured to complete electrical work in the state of Hawaii.
There are 13 references cited in this article, which can be found at the bottom of the page.
This article has been viewed 60,159 times.
Wiring your speakers and amp can be a huge undertaking, especially if you don’t have a lot of electrical experience. While it’s always best to leave complex projects to the pros, there are few ways you can connect your speakers to an amp from the comfort of your own home. The process may be a bit painstaking, but with a few speaker wires, terminal connectors, and a soldering iron, you can hook up your speakers to your amp.
Steps
Hooking up Car Speakers
-
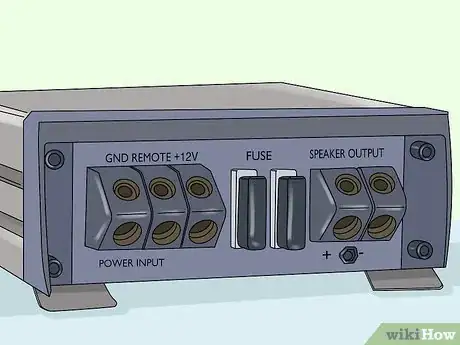
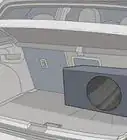
1Install an amp in your vehicle. Find a large area in the back luggage section of your car that can fit an amp. For more compact cars, like a sedan, find a space behind, beneath, or between your back passenger seats to fit the device. As you set up your amp, you’ll need 3 leads, or long wires, to connect the device to your car speakers.[1]
- If you’re having trouble installing an amp on your own, talk to an audio electrician for assistance.
- You can find the supplies you’ll need at an auto parts store.
Tip: While you can purchase a whole new stereo system for your car, you can also use the stereo that’s already installed. This technology may differ depending on what car you have, so it may help to ask an audio electrician for their recommendations.[2]
-
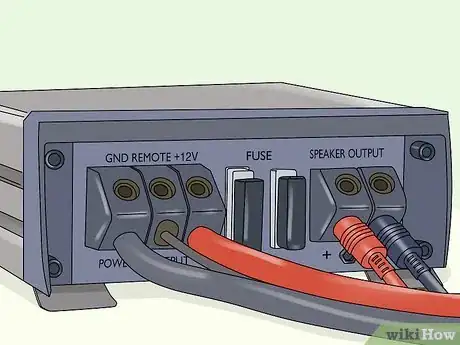
2Connect the RCA, speaker, and remote turn-on leads to your amp. Feed the RCA cable along the bottom of the doors, then plug it into the back of the amp. Once you’ve done this, plug the speaker and remote turn-on leads into the back of the amp.[3]
- These wires may be different colors, depending on the manufacturer.
- If your stereo is in the front of the car, you can run the wires along the floor, or near the bottom of the car doors.
- These leads connect your car’s stereo/receiver to your amp.
Advertisement -
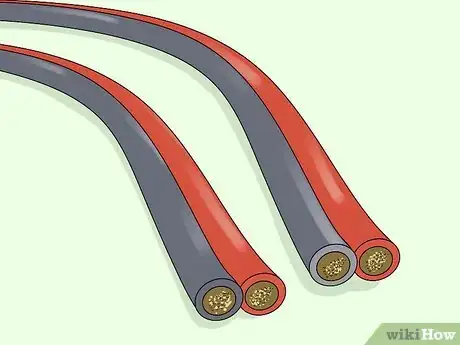
3Cut out at least 4 sections of speaker wire that can fit in your car. Visit a hardware store or other shop that sells wiring supplies. Purchase several lengths of speaker wire, as these will connect your car speakers to the newly installed amp. Speaker wires consist of 2 separate wires, which connect to the positive and negative terminals on your amp.[4]
- These 2 small and thin wires are surrounded with black insulation.
- Car speakers and amps rely on negative and positive terminals, or power sources, to produce sound.
-
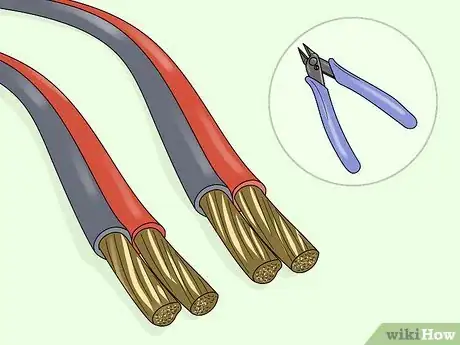
4Remove 1 cm (0.39 in) of wire coating from 1 end of the wires. Use wire cutters or pliers to remove a small section of outer black insulation, then pull off a small segment of plastic coating from the ends of each black and red wire. Repeat this process on the opposite end of the speaker wire. Discard the leftover plastic once you’ve removed it from the wire, and make sure that an even amount of bare wire is exposed on both ends.[5]
- You’ll need to remove the outer black insulation as well as the plastic coating on the 2 inner wires.
- The red goes with the positive terminal, while the black wire goes with the negative.
-
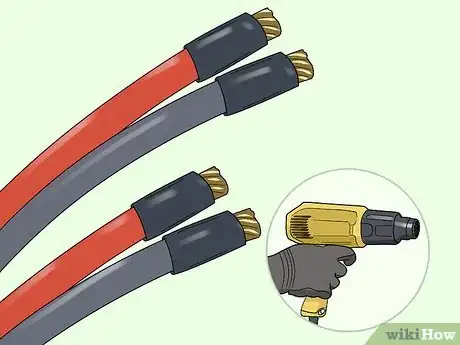
5Attach heat shrink tubing to the wires. Visit a hardware store and pick up some heat shrink tubing, which essentially looks like a plastic sheath or cover for your wires. Cut a small, 1 in (2.5 cm) section of tubing and slide it over the exposed section of the wires, which helps make them more secure. To secure the tubing to the wire, hover a heat gun at least 3 in (7.6 cm) away from the surface.[6]
- The base of the heat shrink tubing fits over both wires before splitting and covering each individual wire.
- If you’re unsure about how to use heat shrink tubing, ask a professional for help.
- Don’t touch or handle the tip of the heat gun when it’s turned on, or you could burn yourself.
-
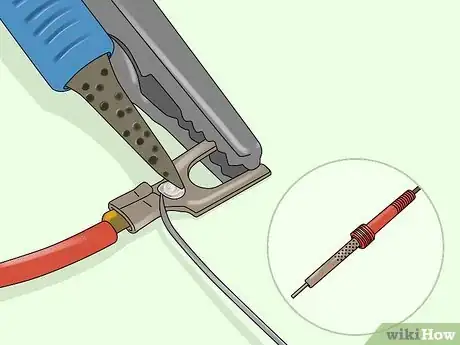
6Solder metal terminals to the end of your speaker wires. Slide a metal terminal clip onto the end of each exposed wire. Power up your soldering gun, then press the tip of the tool where the clip meets the wire. Repeat this process to add terminals to all the exposed ends of your speaker wire. [7]
- You’ll need to do this at least 8 times, so there’s a terminal on the end of each exposed wire.
- If you aren’t experienced in soldering, try practicing with some scrap wire beforehand.
- Check online or in a hardware store to see if you can buy wires with the terminals already attached.
-
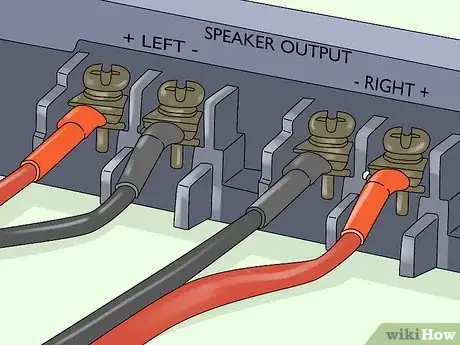
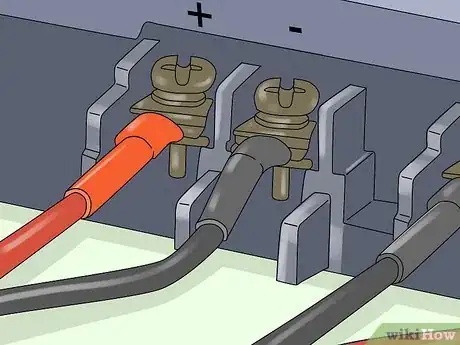
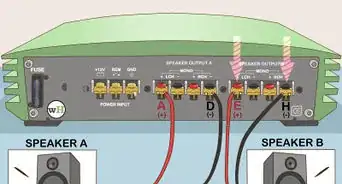
7Connect 4 speaker wires to right and left inputs on the amp. Search along the back of the amp for multiple sets of terminals. Use a screwdriver to loosen the screw attached to each amp terminal, then slide the wire connector into place. Be sure to connect the red wires to the positive terminal, and the black wires to the negative terminal. Once all the wires are in place, use a screwdriver to tighten the terminals and speaker wires in place.[8]
- Check the back of the amp for plus and minus signs, which correspond to the different terminals.
- Some speaker systems may be arranged differently, depending on the car you have.
- Keep track of which speakers the wires correspond to. For instance, 1 terminal will power the right front speaker, while another may power the left.
-
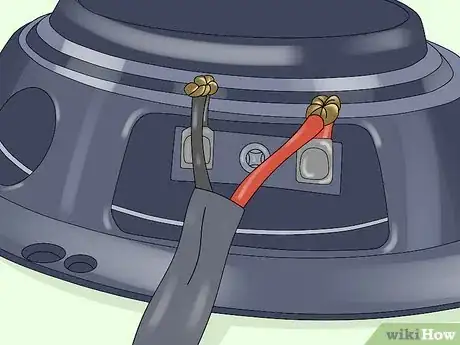
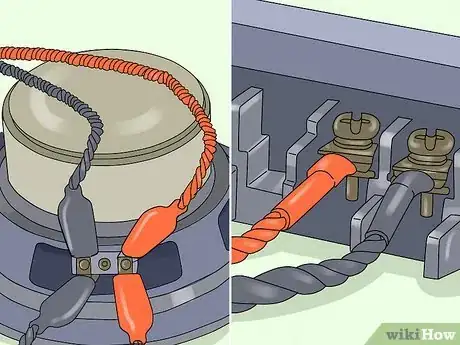
8Attach the other ends of the wire to a standalone speaker. Remove at least 1⁄2 in (1.3 cm) of insulation from the positive and negative ends of the speaker wire with a pair of pliers or wire cutters. Thread both sections of wire through the corresponding positive and negative terminals. Use your hands to bend and twist the exposed wire around the terminals, which secures it to the speaker.[9]
- You can also use small strips of electrical tape to help secure the wire to your speakers.
-
9Test your car speakers to make sure everything’s connected. Turn on your car like you normally would, and try playing the speakers. See if the music or radio sounds any louder with the new amp connection. If you can’t hear a difference, ask a professional to take a second look at your wiring.[10]
Attaching Speakers in a Series
-
1Wire your speakers in a series if they’re less than 8 ohms. Check the back of your speakers to see how many ohms, or electrical resistance, they have. Note that high quality amps may have a resistance of 4 ohms or so, while other speakers may have a different default setting.[11]
- If you’re having trouble figuring out your speaker settings, check the user manual for help.
-
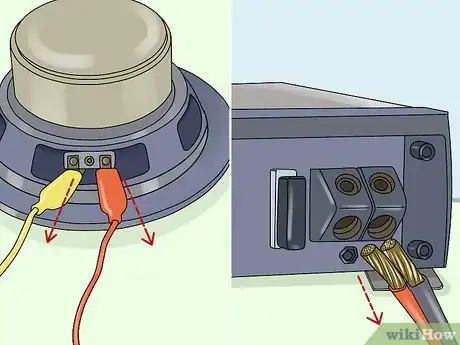
2Unplug your amp and speakers. Unplug your amps and speakers so no electricity is running through them. Since you’re working with live wires, you don’t want to give yourself a nasty shock![12]
-
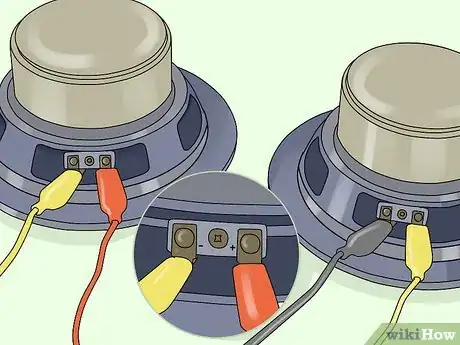
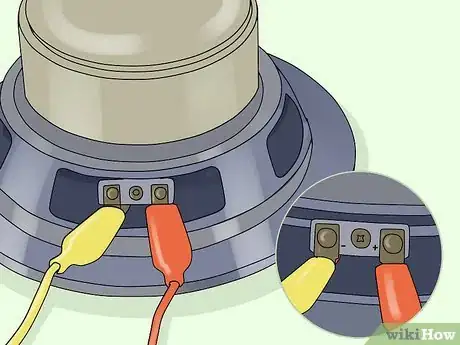
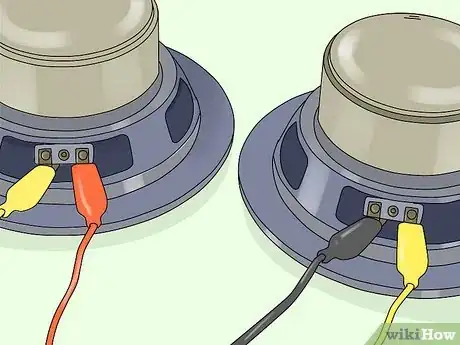
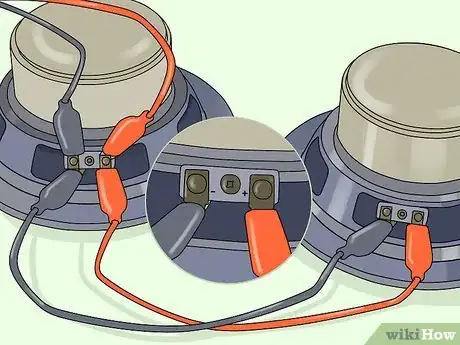
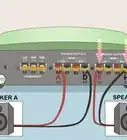
3Clip a speaker wire between the inner terminals. Take the wire terminal on the end of your speaker wire and plug it to the negative terminal on the rightmost speaker. Once you’ve done this, attach the opposite end of the wire to the positive terminal on the leftmost speaker. Many speakers let you clip or plug the wires into the terminal, which makes the wiring process easier.[13]
- You can use wires with clips or terminals for this. Wires with clips can be purchased online, while terminal connectors need to be soldered manually.
Did you know? The right terminal is positive, and the left is negative.
-
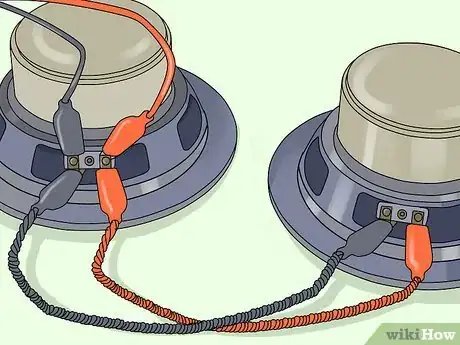
4Connect 2 ends of the harness wire into the 2 remaining terminals. Purchase a harness wire that splits in 2 wires on 1 end. Plug the wire clips into the remaining positive and negative terminals to complete the parallel setup.[14]
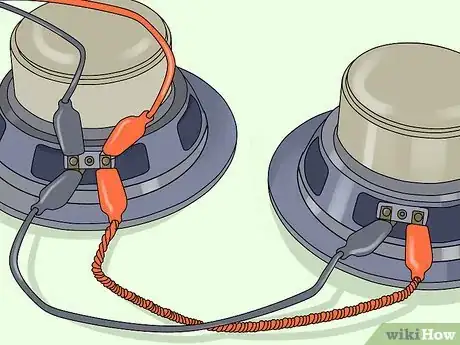
- This harness wire may look like 2 thin wires twisted together.
-
5Secure ending jack on the harness wire to your amp. Plug the opposite end of the speaker wire into the matching jack on your amp. Since you’re working with a harness wire, you don’t need to worry about connecting individual terminals, like you did with the speakers.[15]
- Double-check your amp’s user manual if you can’t find the jack.
Using a Parallel Set-up
-
1Opt for a parallel wiring system if your speakers are more than 8 ohms. Look on the back of your speaker to see what the total ohms reading is. If your speaker has more than an 8 ohms of electrical load, you’ll need to try a different setup to power it successfully.[16]
Warning: Always check that your speaker and amp are unplugged before you wire anything![17]
-
2Use a twisted pair of speaker wires to connect the positive terminals together. Visit a store that sells electronic supplies and pick up a twisted speaker wire. This looks like 2 different colored wires twisted together, and has 2 exposed wires on each end for the positive and negative terminals. Clip 1 color wire into the positive terminal on the rightmost speaker, then clip the opposite end into the positive terminal on the leftmost speaker.[18]
- If your wire is black and white, plug the white end into the positive terminal.
-
3Connect the negative terminals together with the rest of the twisted wire. Plug the other section of the twisted wire into the negative terminal of the rightmost speaker, then clip the opposite end of the wire into the leftmost speaker. Make sure that the positive and negative terminals on both speakers are connected with matching color wires.[19]
-
4Attach a harness wire from the speaker terminals to the amplifier. Check online or in an electronics shop for a twisted harness wire harness that connects the mono jack of an amp with a set of speaker terminals. Plug the clips into the positive and negative terminals behind the leftmost speaker, then clip the other end of the wire into the amp’s mono jack.[20]
Things You’ll Need
- Speaker wire
- Wire cutters
- Soldering iron
- Heat shrink tubing
- Heat gun
- Terminal connector clips
- Twisted wire
- Harness wire
References
- ↑ https://speakerchampion.com/step-step-instructions-installing-amplifier-car/
- ↑ https://www.popularmechanics.com/cars/how-to/a10359/installing-a-diy-car-amplifier-16639127/
- ↑ https://www.popularmechanics.com/cars/how-to/a10359/installing-a-diy-car-amplifier-16639127/
- ↑ https://m.youtube.com/watch?v=vxWSN60i5ew&t=4m11s
- ↑ https://m.youtube.com/watch?v=vxWSN60i5ew&t=1m50s
- ↑ https://m.youtube.com/watch?v=vxWSN60i5ew&t=1m42s
- ↑ https://m.youtube.com/watch?v=vxWSN60i5ew&t=2m31s
- ↑ https://m.youtube.com/watch?v=vxWSN60i5ew&t=3m44s
- ↑ https://m.youtube.com/watch?v=-OMunf6da8s&t=2m30s
- ↑ https://www.popularmechanics.com/cars/how-to/a10359/installing-a-diy-car-amplifier-16639127/
- ↑ https://geoffthegreygeek.com/how-to-connect-2-speakers-to-1-amplifier/
- ↑ https://m.youtube.com/watch?v=NvXO_AoUTqA&t=1m21s
- ↑ https://m.youtube.com/watch?v=NvXO_AoUTqA&t=1m47s
- ↑ https://m.youtube.com/watch?v=NvXO_AoUTqA&t=1m54s
- ↑ https://geoffthegreygeek.com/how-to-connect-2-speakers-to-1-amplifier/
- ↑ https://geoffthegreygeek.com/how-to-connect-2-speakers-to-1-amplifier/
- ↑ https://m.youtube.com/watch?v=NvXO_AoUTqA&t=1m21s
- ↑ https://m.youtube.com/watch?v=NvXO_AoUTqA&t=2m22s
- ↑ https://m.youtube.com/watch?v=NvXO_AoUTqA&t=2m22s
- ↑ https://geoffthegreygeek.com/how-to-connect-2-speakers-to-1-amplifier/
