This article was co-authored by wikiHow Staff. Our trained team of editors and researchers validate articles for accuracy and comprehensiveness. wikiHow's Content Management Team carefully monitors the work from our editorial staff to ensure that each article is backed by trusted research and meets our high quality standards.
wikiHow marks an article as reader-approved once it receives enough positive feedback. In this case, 87% of readers who voted found the article helpful, earning it our reader-approved status.
This article has been viewed 468,873 times.
Learn more...
Speaker impedance is a measure of a speaker's resistance to an alternating current. The lower the impedance, the more current the speakers will draw from the amplifier. If impedance is too high for your amplifier, the volume and dynamic range will suffer. Too low, and the amp could destroy itself trying to produce enough power. If you're just confirming the general range of your speakers, all you need is a multimeter. If you want to conduct a more accurate test, you'll need some specialized tools.
Steps
Quick Estimate
-
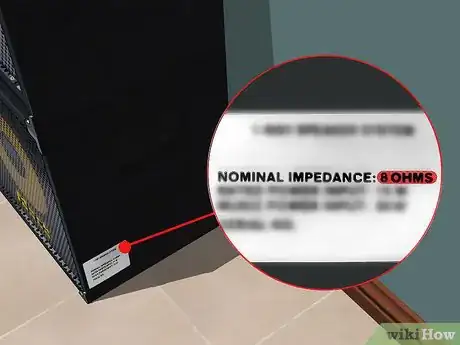
1Check the label for a nominal impedance rating. Most speaker manufacturers list an impedance rating on the speaker label or the packaging. This "nominal" impedance rating (usually 4, 8, or 16 ohms) is an estimate of the minimum impedance for typical audio ranges. This usually occurs at a frequency between 250 and 400 Hz. The actual impedance is fairly close to this value within this range, and rises slowly as you increase the frequency. Below this range, the impedance changes rapidly, peaking at the resonant frequency of the speaker and its enclosure.
- Some speaker labels display an actual, measured impedance for a specific listed impedance.
- To give you an idea of what these frequencies mean, most bass tracks fall between 90 and 200 Hz, while "chest thumping" sub bass can be as low as 20 Hz. The midrange, including the majority of non-percussion instruments and voices, covers 250 Hz to 2kHz.[1]
-
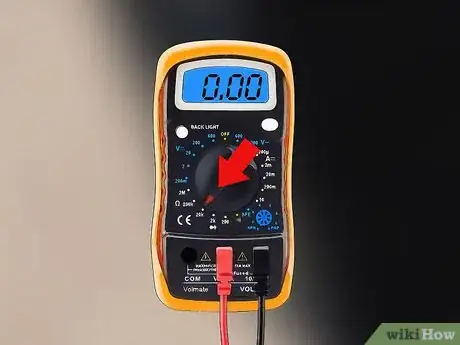
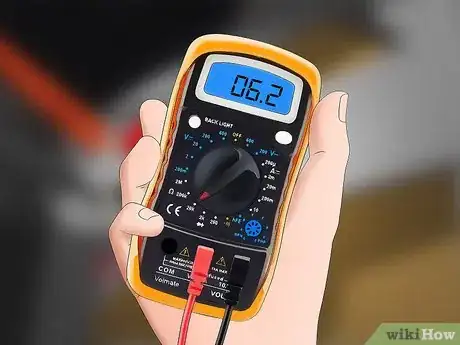
2Set a multimeter to measure resistance. A multimeter sends out a small DC current to measure resistance. Since impedance is a quality of AC circuits, this will not measure impedance directly. However, this approach will get you close enough for most home audio setups. (For example, you can easily distinguish between a 4 ohm and 8 ohm speaker this way.) Use the lowest range resistance setting. This is 200Ω for many multimeters, but a multimeter with a lower setting (20Ω) may give more accurate results.
- If there is only one setting for resistance, your multimeter is auto-ranging, and will find the correct range automatically.
- Too much DC current can damage or destroy the voice coil of a speaker. The risk is low here, since most multimeters only produce a small current.[2]
Advertisement -
3Remove the speaker from its cabinet or open the back of the cabinet. If you're dealing with a loose speaker with no connections or speaker box, then there is nothing you need to do here.
-
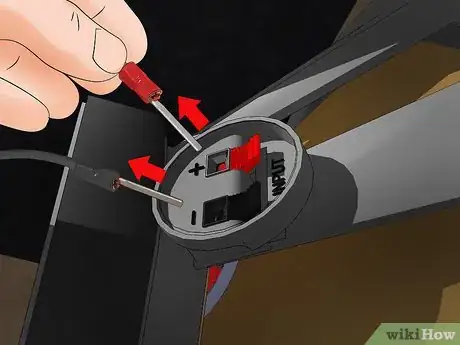
4Cut off the power to the speaker. Any power running to the speaker will ruin your measurement, and could fry your multimeter. Turn off the power. If the wires connected to the terminal are not soldered on, detach them.
- Do not remove any wires connected directly to the speaker cone.
-
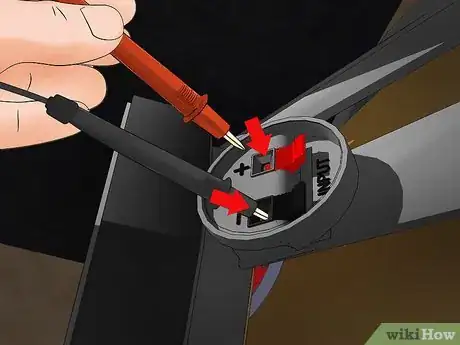
5Connect the multimeter leads to the speaker terminals. Look closely at the terminals and determine which is positive and which is negative. There is often a "+" and a "-" sign to identify them. Connect the multimeter's red probe to the positive side, and the black probe to the negative side.
-
6Estimate the impedance from the resistance. Typically, the resistance reading should be roughly 15% less than the nominal impedance on the label. For example, it's normal for an 8-ohm speaker to have a resistance between 6 or 7 ohms.
- The majority of loudspeakers have a nominal impedance of 4, 8, or 16 ohms. Unless you get a strange result, it's safe to assume your speaker has one of these impedance values for the purpose of pairing it with an amplifier.
Accurate Measurement
-
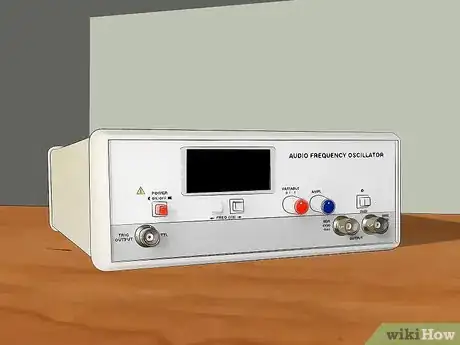
1Get a tool that generates a sine wave. A speaker's impedance varies with frequency, so you'll need a tool that allows you to send out a sine wave at any given frequency. An audio frequency oscillator is the most accurate option. Any signal generator or function generator with a sine wave or sweep function will work, but some models may give inaccurate results due to changing voltages or poor sine wave approximation.[3]
- If you are new to audio tests or DIY electronics, consider audio testing tools that connect to a computer. These are often less accurate, but novices may appreciate the auto-generated graphs and data.
-
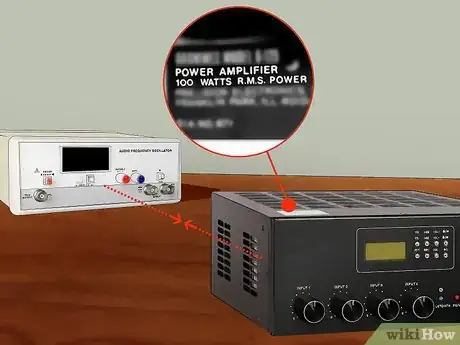
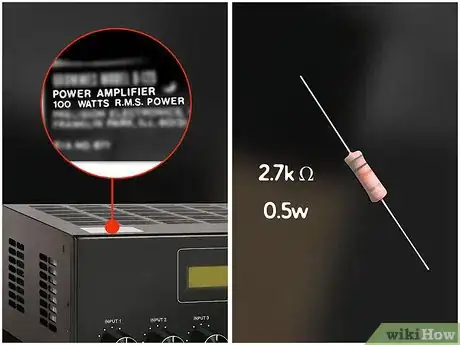
2Connect the tool to an amplifier input. Look for the power on the amp label or spec sheet in watts RMS. Higher power amplifiers produce more accurate measurements with this test.
-
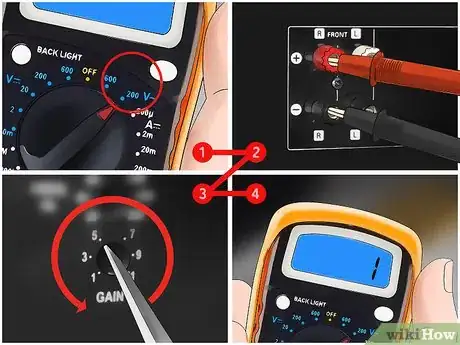
3Set the amp to a low voltage. This test is part of a standard series of tests to measure the "Thiele-Small parameters." All of these tests were designed for low voltages. Lower the gain on your amp while a voltmeter set to AC voltage is connected to the amp's output terminals. Ideally the voltmeter should read somewhere between 0.5 and 1 V, but if you don't have sensitive tools, just set it to below 10 volts.
- Some amps produce inconsistent voltage at low frequencies, which is a common source of inaccuracy in this test. For best results, check with the voltmeter to make sure the voltage stays constant as you adjust the frequency using the sine wave generator.
- Use the highest quality multimeter you can afford. The inexpensive models tend to be less accurate for the measurements later in this test. It may help to purchase higher quality multimeter leads at an electronics store.[4]
-
4Choose a high value resistor. Find the power rating (in watts RMS) closest to your amplifier's on the list below. Choose a resistor with the recommended resistance, and the listed wattage rating or higher. The resistance doesn't need to be exact, but if it's too high, you may clip the amplifier and disrupt the test. Too low, and your results will be less accurate.
- 100W amp: 2.7k Ω resistor rated to at least 0.50W
- 90W amp: 2.4k Ω, 0.50W
- 65W amp: 2.2k Ω, 0.50W
- 50W amp: 1.8k Ω, 0.50W
- 40W amp: 1.6k Ω, 0.25W
- 30W amp: 1.5k Ω, 0.25W
- 20W amp: 1.2k Ω, 0.25W
-
5Measure the exact resistance of the resistor. This may vary slightly from the printed resistance. Write down the measured value.
-
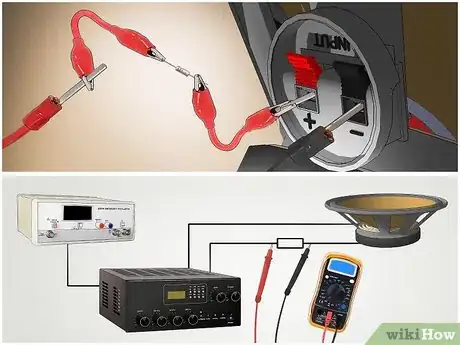
6Connect the resistor and speaker in series. Hook the speaker up to the amplifier, with the resistor between them. This creates a constant current source powering the speaker.
-
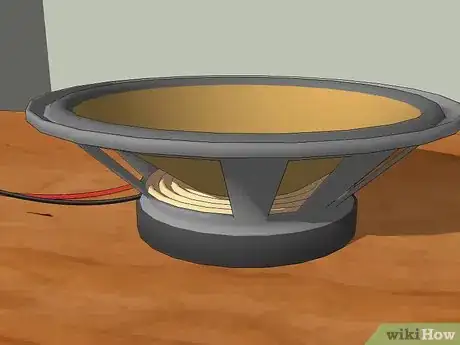
7Keep the speaker away from obstructions. Wind or reflected sound waves could disrupt this sensitive test. At minimum, keep the speaker magnet side down (cone up), in a windless area. If high accuracy is required, bolt the speaker to an open frame, with no solid objects within 2 ft (61 cm) in any direction.
-
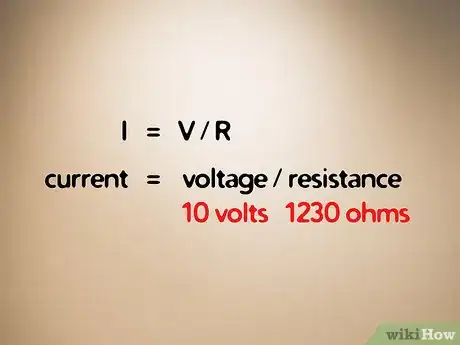
8Calculate the current. Using Ohm's Law (I = V / R or current = voltage / resistance), calculate the current and write it down. Use the resistor's measured resistance for R.
- For example, if the resistor has a measured resistance of 1230 ohms, and the voltage source is 10 volts, the current I = 10/1230 = 1/123 amps. You can leave this as a fraction to avoid rounding errors.
-
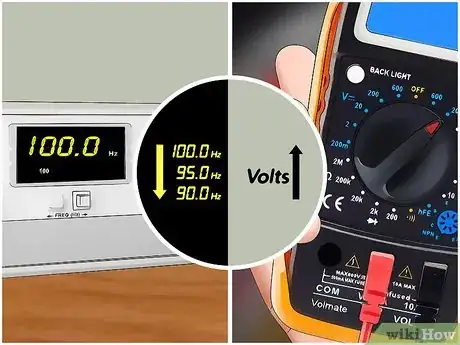
9Adjust the frequency to find the resonance peak. Set the sine wave generator to a frequency at the mid or upper range of the speaker's intended use. (100 Hz is a good starting point for bass units.) Place an AC voltmeter across the speaker. Adjust the frequency downward about 5 Hz at a time, until you see the voltage rise sharply. Tweak the frequency back and forth until you find the frequency where the voltage is highest. This is the resonance frequency of the speaker in "free air" (an enclosure and surrounding objects will change this).
- You can use an oscilloscope instead of a voltmeter. In this case, find the voltage associated with the greatest amplitude.
-
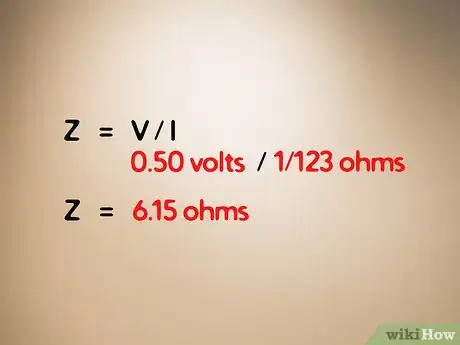
10Calculate the impedance at resonance. You can substitute impedance Z for resistance in Ohm's Law. Calculate Z = V / I to find the impedance at resonance frequency. This should be the maximum impedance your speaker will encounter in the intended audio range.
- For example, if I = 1/123 amps and the voltmeter measures 0.05V (or 50mV), then Z = (0.05) / (1/123) = 6.15 ohms.
-
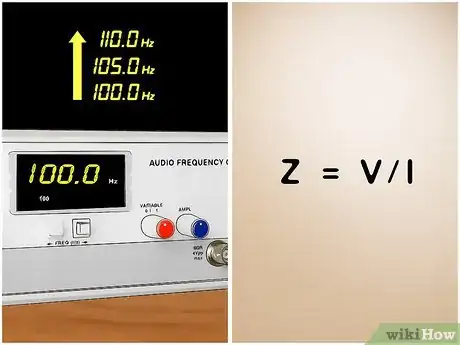
11Calculate impedance for other frequencies. To find the impedance across the speaker's intended frequency range, adjust the sine wave in small increments. Record the voltage at each frequency, and use the same calculation (Z = V / I) to find the speaker's impedance at each frequency. You may find a second peak, or the impedance may be fairly steady once you get away from the resonance frequency.
Community Q&A
-
QuestionMy built-in TV speakers are working, but the audio is not clear. What could be the reason?
 Community AnswerUnfortunately, most built-in television speakers are low quality. A soundbar is the simplest way to get good audio for your TV. If the audio has become worse or static-y since you bought the TV, try replacing the RCA or HDMI cable.
 -
QuestionHow do I wire four speakers together?
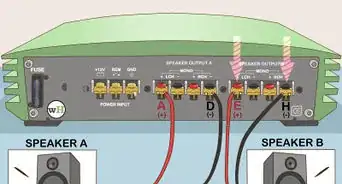
 Community AnswerOne way to wire four identical speakers together is a combination series/parallel system. Connect the - terminal on speaker A and the + terminal on speaker B. Connect the - terminal on speaker C to the + terminal on speaker D. Now connect the + amp terminal to the + terminals on A and C, and the - amp terminal to the - terminals on B and D. With this setup, the total impedance load on the amp is the same as the impedance of a single speaker.
 -
QuestionHow do I wire speakers in parallel?
 Community AnswerTo wire speakers in parallel, connect the positive amp terminal to all positive speaker terminals, and the negative amp terminal to all negative speaker terminals. To find the total impedance Zmax, solve for it in the equation 1/Zmax = 1/Za + 1/Zb + 1/Zc... where Za, Zb, and so on are the impedance ratings of each speaker.
Things You'll Need
Quick Estimate
- Speaker
- Digital multimeter
Accurate Measurement
- Speaker
- Digital multimeter
- Sine wave generator
- Amplifier
- Resistor
- Oscilloscope (optional)
References
- ↑ http://www.teachmeaudio.com/mixing/techniques/audio-spectrum
- ↑ http://techin.oureverydaylife.com/make-sure-speaker-wires-not-short-circuited-13944.html
- ↑ http://www.edaboard.com/thread72902.html
- ↑ www.sbacoustics.com/index.php/download_file/-/view/191/
About This Article
1. Find the nominal impedance rating on the label.
2. Set a multimeter to measure resistance.
3. Remove speaker from the cabinet.
4. Remove power from the speaker.
5. Connect the multimeter leads to the speaker terminals.
6. Estimate the impedance from the resistance.
