This article was co-authored by wikiHow Staff. Our trained team of editors and researchers validate articles for accuracy and comprehensiveness. wikiHow's Content Management Team carefully monitors the work from our editorial staff to ensure that each article is backed by trusted research and meets our high quality standards.
This article has been viewed 8,779 times.
Learn more...
Your chairs can say a lot about you and your style, and a great way to communicate what you want is to update them by giving them new seat covers! Reupholster your chairs for a permanent upgrade by removing the fabric and padding that is already there and replacing it with something new. Or, give your space a temporary face-lift by using removable seat covers, which are great if you want to change the look of your room for the seasons or special events, or if you’re just looking to stain-proof the chair underneath from messy kids. Whichever option you choose, you’re bound to enjoy the new and improved look of your chairs!
Steps
Reupholstering a Chair
-
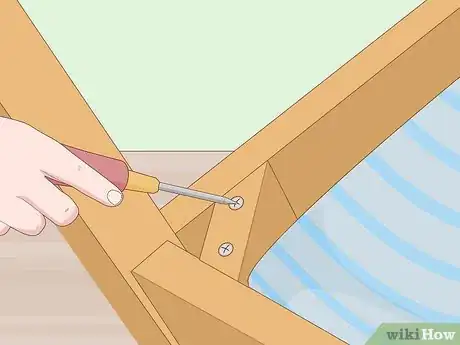
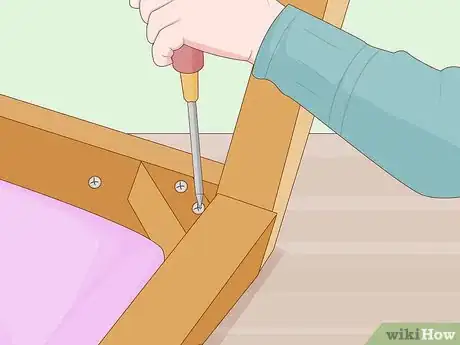
1Remove the seat from the chair so that you can remove the upholstery. This might look a little different just depending on what kind of a chair you’re working with and how it was originally assembled. Start by flipping the chair over to see how the seat is attached to the chair frame. Most often, you’ll use a screwdriver to detach the seat, but sometimes, you might need pliers, a hammer, or even something like an X-ACTO knife to start prying it loose.[1]
- When you’re done, you’ll be able to put the frame off to the side and set the seat on your worktable.
- Set the screws or nails off to the side somewhere safe so you can use them later when it’s time to reattach the seat to the frame.
-
2Uncover the chair base by removing the old cushion and fabric. Use a flathead screwdriver or pliers to pull out every single staple that is used to attach the dust cover, fabric, and batting. Set the fabric pieces off to the side once they’re removed—you can use them as a pattern to cut the new fabric to the right size.[2]
- For difficult staples, try putting the edge of a screwdriver or sturdy knife under the staple, and then tap the end of the apparatus with a hammer to create a fulcrum that will lift the staple up.
- If you’re working with more than one chair, use masking tape to mark each seat with its corresponding frame. Put a piece of tape on each part of the chair and write down the same letter or number so you can match them up later.
Advertisement -
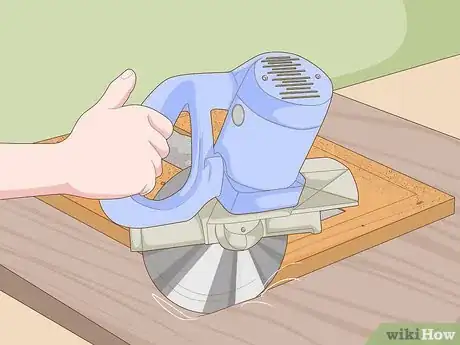
3Replace the seat with plywood if it’s cracked or worn down. Depending on the state of your chairs, you may not need to worry about this at all. After you’ve removed the cushion and fabric, examine the seat. If you need to, use the original seat as a template to cut a new one out of plywood with a circular saw or a table saw. Sand the edges with 200-grit sandpaper so that they’re smooth and won’t snag on the fabric.[3]
- The color of the plywood doesn’t matter. It’ll be completely covered by fabric and a dust cover, so no one will ever see it.
-
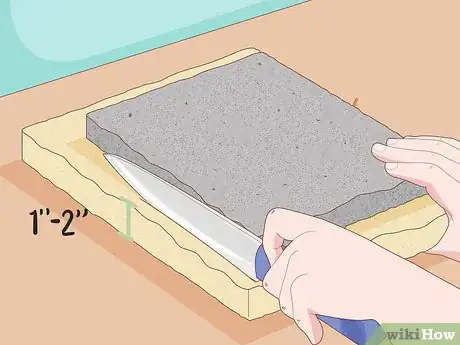
4Cut out foam to fit over the surface area of the seat. Use a bread knife to make long, smooth cuts in the foam, and pull the knife toward yourself with light pressure so that the material doesn’t tear. Most upholstery experts recommend using a medium-soft upholstery foam that is 1 to 2 inches (2.5 to 5.1 cm) thick, just depending on how much padding you’d like.[4]
- You can use the foam you removed earlier as a guide to trace and cut out the new foam. This will ensure a uniform size that will fit on the chair really well.
-
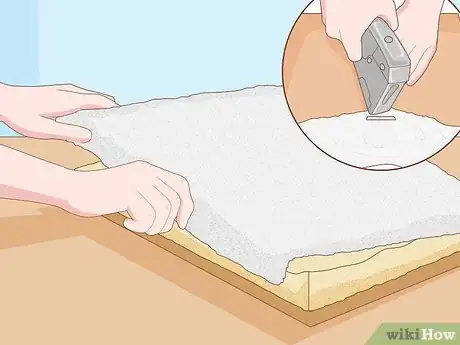
5Put batting overtop of the foam and staple it to the back of the seat. Use enough batting so that it extends past all the sides of the chair by about 4 inches (10 cm). Use a single staple on each side to hold the batting down in place. This will make it easier to attach the fabric later on because you won’t need to worry about the foam slipping out of place.[5]
- Batting typically costs $5 for about 7 feet (84 in) of material. Assuming you’ll need 1 to 2 feet (12 to 24 in) for each chair you’re reupholstering, buy enough packs from your local craft store to meet your needs.
- Use a hand stapler, electric stapler, or a pneumatic stapler. Don’t use a normal office-supply stapler, though, as it won’t provide enough force to keep the fabric in place.
-
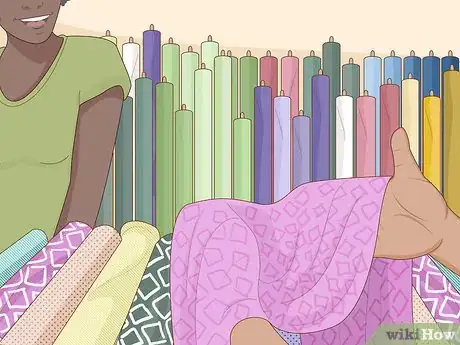
6Arrange the fabric so the pattern is straight. Visit your local fabric or craft store and browse the upholstery grade fabrics—this type of material is very strong, it’ll hold up well to wear and tear, and it’s usually stain resistant. Look online, too, if you don’t find anything you like at the store. If you’re using a solid color, you don’t need to worry about lining the fabric up, but if you’re using a patterned fabric, you’ll want to make sure the pattern will look right once it’s attached to the chair.[6]
- Measure the fabric you detached from the chair earlier to determine exactly how much material you’ll need for each seat. Generally, you’ll need 1 to 2 feet (12 to 24 in) per chair, but you can get more specific measurements if you use the old fabric as a guide.
-
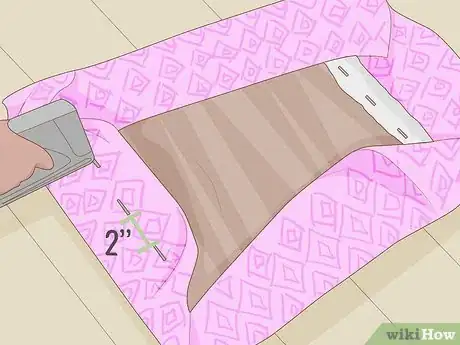
7Staple the fabric into place from the center to the edge on each side. Once the fabric is lined up how you want it, take a few moments to put a few sewing pins along the edges so it doesn’t get out of place when you flip the chair over. Then, carefully flip it over so you can access its underside. Start stapling in the middle of the side closest to you, and put a staple in every 2 inches (5.1 cm). Pull the fabric taut so that there are no wrinkles across the fabric. Stop about 2 inches (5.1 cm) from each corner. Repeat this on each side.[7]
- Flip the seat over periodically as you’re working to check that the pattern is still straight. It’s easier to make adjustments as you go rather than having to remove staples later on.
- If your seat is round, create small pleats around the edges to keep the fabric lying flat.[8]
-
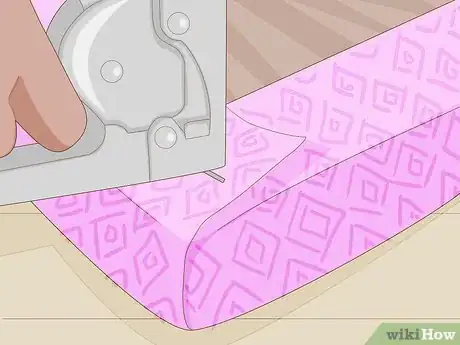
8Fold and staple the material in the corners into place. With the chair still flipped over on its back, fold the material in each corner so that it becomes smooth and doesn’t protrude from the chair. Fold the center that lines up with the corner of the chair under, so that it’s flat against the seat. Then, fold in the material on each side. Staple the material down with 1 or 2 staples, just depending on what’s needed to secure the fabric.[9]
- This prevents any unattractive bumps from sticking out from underneath the chair.
-
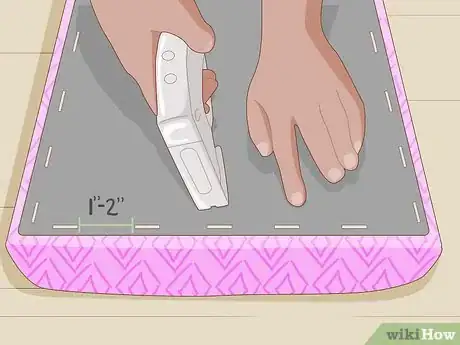
9Install a dust cover to hide the edges of the fabric. Find the material for the dust cover at your local craft store—look for a fray-resistant, upholstery-grade dust-cover fabric. The material will only need to cover the bottom of the seat and shouldn’t exceed the perimeter of the seat bottom. Use your stapler to secure the material to the back of the chair, stapling it every 1 to 2 inches (2.5 to 5.1 cm). Make sure to staple each corner into place, too, so that they don’t flap loose.[10]
- This makes your chair look a lot neater, as no one will be able to see potential fraying fabric or ragged cut lines.
-
10Reattach the seat to the chair frame and enjoy your handiwork. Once everything has been installed on the chair, it’s time to flip it back over and situate it on the chair frame. Reinstall the seat with screws or nails—whichever way it was put together in the first place.
- If the fabric starts coming loose at any time, just use your stapler to secure it back in place.
Using Removable Covers
-
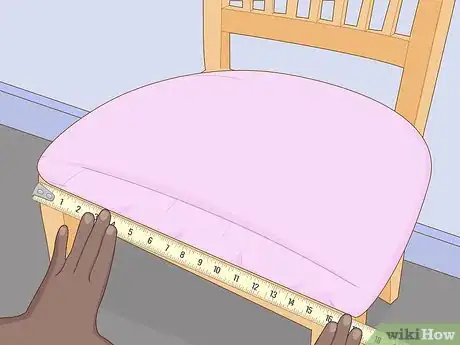
1Measure your chair to determine what size covers you’ll need. The width and depth of the seat are most important when you’re looking to cover a chair seat. If you’re going to purchase a cover that goes over the back of the chair, as you might if your entire chair is upholstered, then you’ll need those measurements, too.[11]
- Most removable covers are somewhat adjustable in size (they’ll either be stretchy so they can extend as wide as your seat, or they’ll come with adjustable ties so you can make them tighter or looser, depending on the chair size).
-
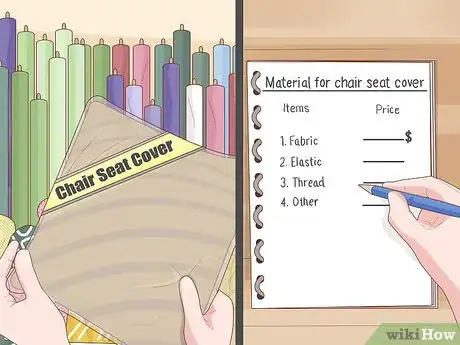
2Price out if it would be less expensive to buy or make your own covers. If you have a strong preference either way (like you definitely don’t want to make your own covers or you prefer to make things yourself), then do that. But if you’re on the fence about which option to choose, look up prices for buying the covers versus what it would cost for the materials (and your time) to make your own.[12]
- Keep in mind the cost of shipping if you buy covers online. If making your own, consider the cost of the fabric, any other materials you’ll need, like thread, elastic, or ties, as well as your time—it will take you several hours or more to make the covers, depending on how many chairs you have.
-
3Make your own covers if you have a specific fabric you’d like to use. When choosing the fabric, look for durable material that can stand up to a little wear and tear. Cotton, linen, and microfiber work well if you want your covers to look a little more elegant. If you’re looking for an option that will protect and keep your chair clean from stains, look for spandex.[13]
- If you’re looking for a bargain, you could even go thrifting and use a set of colorful sheets, thin blankets, or even curtains.
-
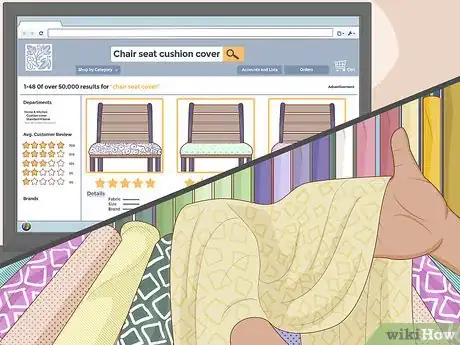
4Buy seat covers online or at a home goods store for a no-fuss option. Are you simply looking for a visual upgrade, or do you want to cover up worn fabric? Perhaps you want to protect the fabric that’s underneath or want to match your dining room’s decor for a special event. If you’re looking for a simple way to update a room, buying seat covers can be a quick, easy way to accomplish that.[14]
- Check out the reviews from other customers and make sure to look at the cleaning instructions to determine if you can wash the seat covers yourself or if they’ll need to be dry cleaned.
-
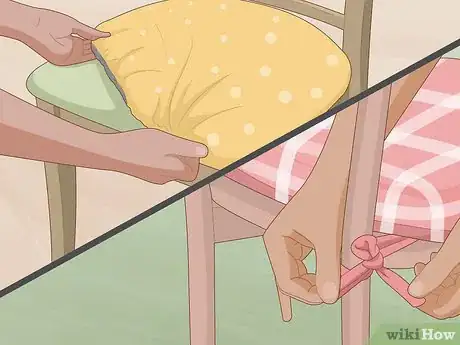
5Slip or secure the covers over top of your dining room or kitchen chairs. Some covers are made with elastic so they just pop over the chair seat and are good to go. Others will need to be tied into place around the chair legs. Take a few minutes to line everything up and secure the cover so that it’s ready to be used.[15]
- If your cover utilizes the tie-system, don’t double-knot or tie the strands too tightly. A loose loop and bow will look nice, plus you’ll more easily be able to untie them when you need to clean or replace the covers.
-
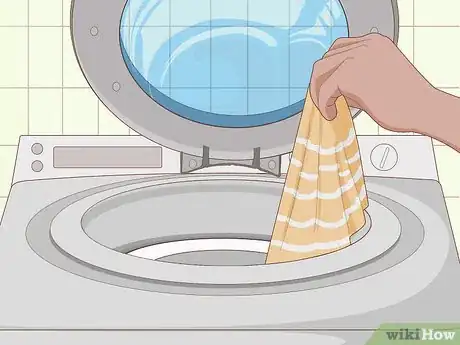
6Remove and wash the covers when they get visibly dirty. Make sure to follow the instructions. Most seat covers are made of more durable material and can be washed in the washing machine and then hung up to line-dry. Depending on the material, you may also need to iron out wrinkles after the cover has dried.[16]
- Depending on the level of use, you shouldn’t need to clean the seat covers more than once every 3 months. Of course, if you have young kids or pets, you may need to clean them more often if they’re more susceptible to stains.
Warnings
- Be careful when using the stapler, and keep your fingers out of the way! The last thing you want is to take a trip to the emergency room to have a staple removed from your hand.⧼thumbs_response⧽
Things You’ll Need
Reupholstering a Chair
- Flathead screwdriver
- Phillips screwdriver
- Pliers
- Hammer (optional)
- X-ACTO knife (optional)
- Plywood (optional)
- Bread knife
- Foam
- Sewing pins
- Batting
- Stapler
- Fabric
- Dust cover
Using Removable Covers
- Tape measure
- Fabric to make a cover (optional)
- Sewing machine (optional)
References
- ↑ https://www.familyhandyman.com/woodworking/furniture-repair/how-to-reupholster-a-chair/
- ↑ https://www.familyhandyman.com/woodworking/furniture-repair/how-to-reupholster-a-chair/
- ↑ https://www.familyhandyman.com/woodworking/furniture-repair/how-to-reupholster-a-chair/
- ↑ https://www.familyhandyman.com/woodworking/furniture-repair/how-to-reupholster-a-chair/
- ↑ https://www.bhg.com/decorating/do-it-yourself/fabric-paper-projects/diy-chair-upholstery-guide/
- ↑ https://www.bhg.com/decorating/do-it-yourself/fabric-paper-projects/diy-chair-upholstery-guide/
- ↑ https://www.familyhandyman.com/woodworking/furniture-repair/how-to-reupholster-a-chair/
- ↑ https://www.thecraftpatchblog.com/how-to-reupholster-round-chair-seat/#
- ↑ https://www.familyhandyman.com/woodworking/furniture-repair/how-to-reupholster-a-chair/
- ↑ https://www.bhg.com/decorating/do-it-yourself/fabric-paper-projects/diy-chair-upholstery-guide/
- ↑ https://visualhunt.com/dining-chair-covers-types-inspirations-and-diy-tips
- ↑ https://visualhunt.com/dining-chair-covers-types-inspirations-and-diy-tips
- ↑ https://visualhunt.com/dining-chair-covers-types-inspirations-and-diy-tips
- ↑ https://visualhunt.com/dining-chair-covers-types-inspirations-and-diy-tips
- ↑ https://visualhunt.com/dining-chair-covers-types-inspirations-and-diy-tips
- ↑ https://visualhunt.com/dining-chair-covers-types-inspirations-and-diy-tips
