X
wikiHow is a “wiki,” similar to Wikipedia, which means that many of our articles are co-written by multiple authors. To create this article, 11 people, some anonymous, worked to edit and improve it over time.
This article has been viewed 33,363 times.
Learn more...
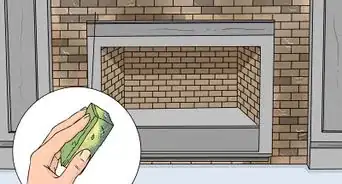
Tuckpointing is the process of removing and replacing deteriorated, damaged and missing mortar in between brick, block, stone and other masonry surfaces. It is a project more often left to professionals but, like anything else, can be done with enough thought, practice and planning.
Steps
-
1Assess the situation. The first step is to assess the area where damaged mortar will need to be replaced.
-
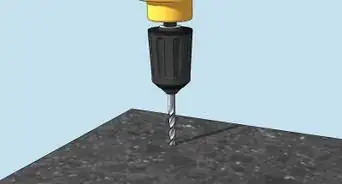
2Set-up. Using appropriate equipment(Ladders, scaffolding, aerial lifts etc.), set up to reach the area safely.Advertisement
-
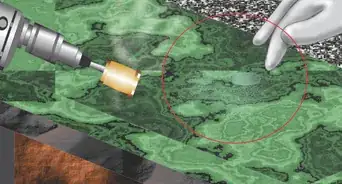
3Do grinding/joint removal. After set-up or if none is needed, the joints will need to be removed. Joint removal can be done in a variety of ways. A hammer and chisel, a raker bar (a specialized tool for the trade) or with a 4" angle grinder with a diamond masonry blade.
-
4Clean open joints. Once the joints are removed, the joints will need to be cleaned to remove dirt and debris left over from the joint removal process. This allows for better bonding of new mortar to old brick. Cleaning is done with a masonry brush, a hose or by blowing the joints clean with a leaf blower.
-
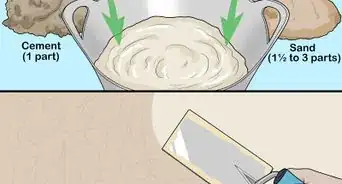
5Mix mortar. Mix premix mortar in wheelbarrow with hoe to specifications on product bag. The mortar must be weaker than the bricks, or it will destroy the bricks over time.
-
6Tuckpoint. Cleaned joints are ready to tuckpoint. Use a joiner or tuckpointing trowel to push mortar into the wall from a hawk board. Make sure the tool you are using is appropriate for the size of the joints.
-
7Do the brush work. Allow the mortar to cure for a short while, enough so that it has little moisture but is still pliable, then Brush excess mortar from the wall for a finished product.
-
8Clean. Apply a masonry cleaner 2-3 weeks after completion of the work to remove any residual haze left over from the tuckpointing
-
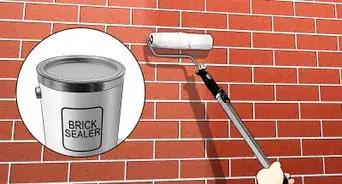
9Seal. After 30 days a sealer may be applied but is not necessary.


Advertisement
Warnings
- Severe injury can result in attempting a tuckpointing project. Be careful when operating an angle grinder and make sure any set-ups using ladders or scaffolding are safe and secure.⧼thumbs_response⧽
Advertisement
Things You'll Need
- Dust mask
- Gloves
- Protective eyeglasses
- Hammer/Chisel
- Angle grinder with masonry blade
- Hawk Board
- Tuckpointing jointer trowel
- Wheelbarrow
- Hoe
- Tarps
- Margin trowel
- Masonry brush
- Garden hose
- Extension cords


About This Article
Advertisement