This article was co-authored by wikiHow staff writer, Darlene Antonelli, MA. Darlene Antonelli is a Technology Writer and Editor for wikiHow. Darlene has experience teaching college courses, writing technology-related articles, and working hands-on in the technology field. She earned an MA in Writing from Rowan University in 2012 and wrote her thesis on online communities and the personalities curated in such communities.
This article has been viewed 16,120 times.
Learn more...
Are you tired of the default Windows 10 cursors? This wikiHow will teach you how to download and use custom cursors in Windows 10.
Steps
Downloading Cursors
-
1Find custom cursors to download. You can get a ton of free cursor sets for Windows 10 by looking online. Some popular cursor sets are on the free site DeviantArt (with the "Cursor" tag, https://www.deviantart.com/tag/cursor) and you'll need to create a free account to download any.
- The most popular and pretty easy to install is called Oxygen Cursors by LAvalon on DeviantArt. You can also get Numix Cursors by alexgal23, and Anathema Cursor by Anaidon-Aserra. Create a Deviant account and click the download icon under the thumbnail.
-
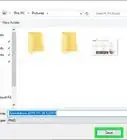
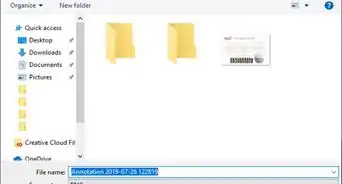
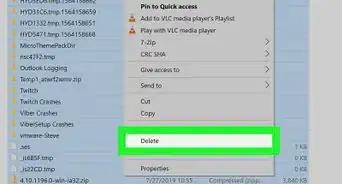
2Unzip the cursor file. Many cursor packs come in ZIP format (like .zip, .7s, or RAR), so you'll need to use a program like 7-Zip to unpack it. If the file is in .zip format, you can use the default Windows tool to extract the files by double-clicking it and then clicking Extract.
- The cursor pack should come with .cur and .ani files as well as an .inf file. CUR files are static cursors and ANI files are animated cursors.
Advertisement -
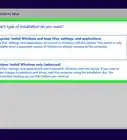
3Right-click the .inf file. It might be named "Install.inf" to make searching for it easier. A menu will pop up at your cursor.
-
4Click Install. Your machine may display a warning or confirmation page, but after you click OK, Allow, or Accept, the cursor file will install.
- They've been installed, but they haven't been changed in your Windows settings.


Changing Cursors
-
1Open Control Panel. You can press the Windows key, type "control panel," and click the search result that opens the app.
-
2Click the drop-down menu next to "View by:" and change it to Small Icons. You'll see it in the top right corner of the control panel.
- If this already displays "Small Icons," skip this step.
-
3Click Mouse. It's next to an icon of a wireless mouse.
-
4Click the Pointers tab. You'll see this tab at the top of the new window next to Buttons and Pointer Options.
-
5Click the drop-box under "Scheme" and select your installed cursor set. You'll see the cursor styles you installed with the INF files displayed here with the system cursors.
-
6Click Apply and OK. The mouse dialog window will close and you'll need to click the X to close the Control Panel.
- If your pack doesn't have an INF file, open the mouse settings again in Control Panel and click Browse when you've selected a cursor preview in the "Browse" box. You'll need to repeat this process for every cursor image you want to change (like Normal Select, Help Select, Working in Background, Busy, etc).


-Step-17.webp)

About This Article

1. Find custom cursors to download (you can find some at https://www.deviantart.com/tag/cursor).
2. Unzip the cursor file.
3. Right-click the .inf file.
4. Click Install.


-Step-17.webp)