X
wikiHow is a “wiki,” similar to Wikipedia, which means that many of our articles are co-written by multiple authors. To create this article, 11 people, some anonymous, worked to edit and improve it over time.
This article has been viewed 61,723 times.
Learn more...
Here's a simple guide to drawing an hourglass. Let's begin!
Steps
Method 1
Method 1 of 2:
A Basic Hourglass
-
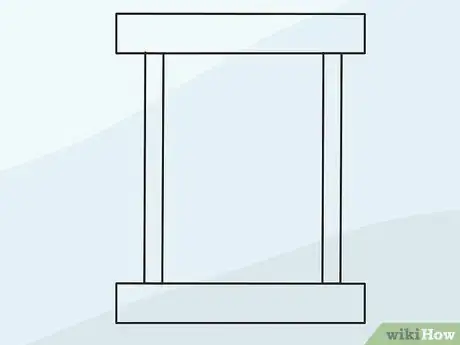
1Draw two horizontal parallel rectangles. They should be the same width.
-
2Now draw two vertical rectangles. These should also be the same width, but narrower, and somewhat "pulled in" from the edges of the horizontal ones.Advertisement
-
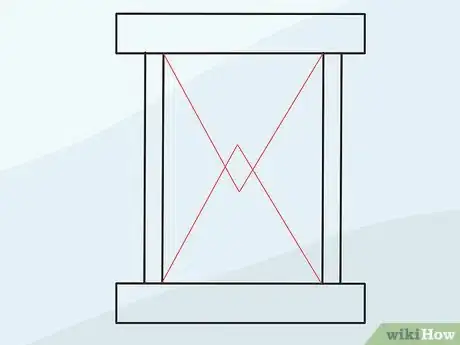
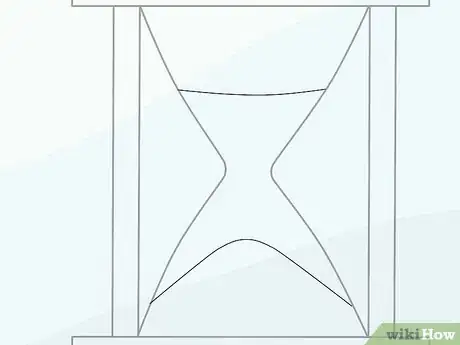
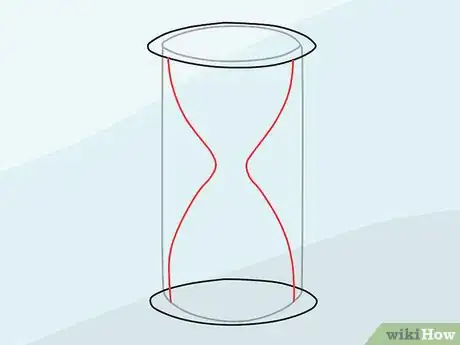
3Now, inside the "frame" made by those four rectangles, draw two triangles towards the center, the tops of which should overlap.
-
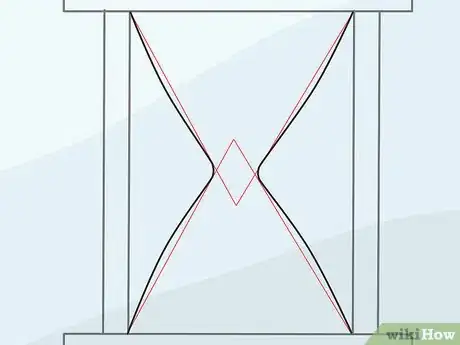
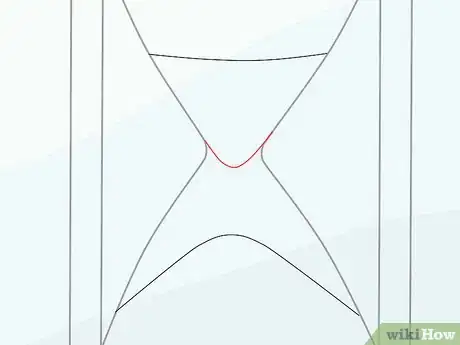
4Following the triangles (red) draw slightly curved lines- this is the contour of the hourglass. The connecting point of the lines should also be curved.
-
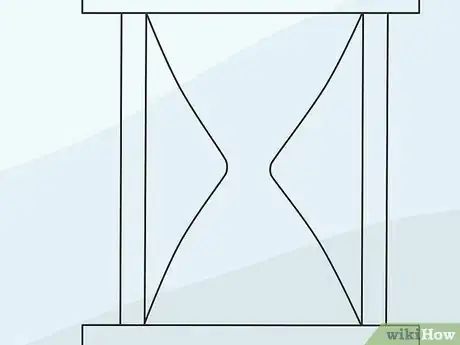
5Erase the red lines with a rubber.
-
6Draw two curved lines which would represent the level of the sand. Note: the bottom line should be more curved than the top line. Also, the more sand has already flown, the closer these lines should be to each other, and the more intense should the curves be.
-
7Draw another intensely curved line at the middle of the hourglass representing the sand falling through.
-
8Color in the sand and draw a straight line (the flow of the sand).
-
9Add two short, straight, diagonal lines on the top and bottom of the hourglass, at opposite diagonal sides (the so-called "glass effect").
Advertisement
Method 2
Method 2 of 2:
An Alternative Hourglass
Community Q&A
-
QuestionWhat if I don't know how to draw the curves?
 Community AnswerMaybe use the edge of something round or just practice.
Advertisement
Warnings
- Don't draw with a pen!⧼thumbs_response⧽
- If there are any objects in the background, make sure that they're visible through the glass!⧼thumbs_response⧽
Advertisement
About This Article
Advertisement

