This article was co-authored by Karen Leight and by wikiHow staff writer, Hannah Madden. Karen Leight is a Professional Hair Stylist and the Owner of Karen Renee Hair, a private salon suite inside the Salon Republic Hollywood in Los Angeles, California. With over 12 years of experience, Karen is a licensed cosmetologist specializing in hair color, balayage technique, and women’s and men’s precision haircuts.
There are 12 references cited in this article, which can be found at the bottom of the page.
This article has been viewed 40,754 times.
Getting that platinum look is a great feeling—but the upkeep of bleached hair (plus the damage it can cause) can be a lot to deal with. If you’re tired of your bleached hair and you want to go back to your natural color, you’re in luck! Dyeing your hair back to its original state is easier than you might think. In this article, we’ll tell you exactly how to fill, dye, and care for your hair to get your natural color back in no time.
Steps
Choosing Hair Dye
-
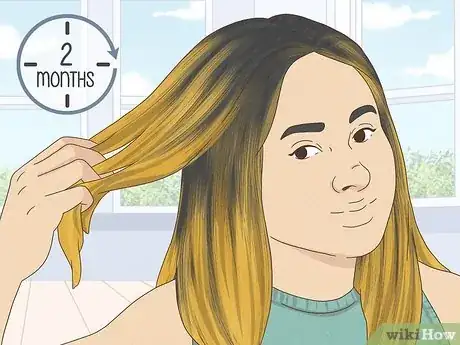
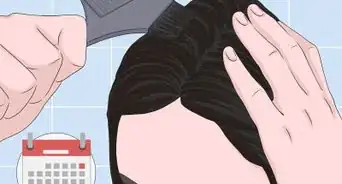
1Let your bleached hair grow out for about 2 months. If you just got your hair re-bleached, let it grow out for a couple of months so you can see your natural hair color. That way, you’ll be able to match it perfectly, and your new hair color will blend seamlessly into your roots.[1]
- If your hair isn’t fully bleached (meaning you got a balayage or highlights) and you can see your roots already, no need to wait! You can match your hair color to hair dye right away.
-
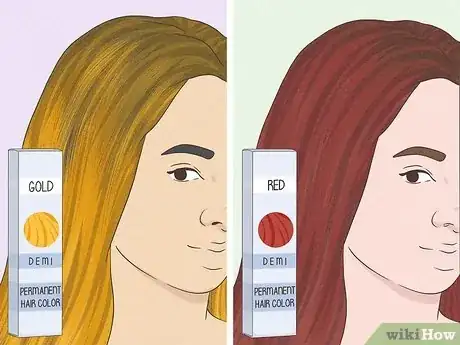
2Pick a red or gold demi-permanent color for your hair. When you dye bleached hair dark again, you need to fill your hair with a red or gold color to add some undertones (otherwise, your hair could turn out green or muddy colored). “Filling” your hair means dyeing it one color first, then adding your natural color back on top of it. Don’t worry—your filler color will be completely covered by the time you’re done dyeing your hair. Pick out a red or gold hair dye to use first before you pick out one to match your natural color.
- The color you choose is based on the undertones that you want in your hair. If you have warm undertones in your natural color, go for gold dye. If you have cool or neutral undertones in your natural hair, go for red dye.
- If you’ve had some experience dyeing hair, you can also use a tinted protein filler to add undertones back into your hair. However, this product is a little trickier to use, and you may want to ask a professional to apply it.
Advertisement -
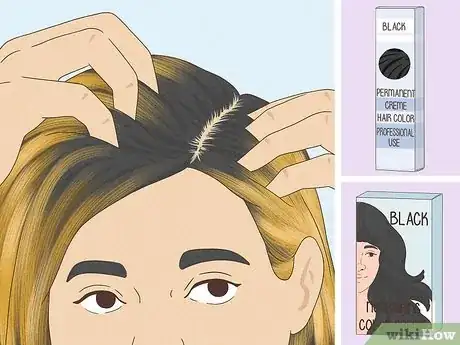
3Choose a hair dye that matches your natural roots. Check out your roots in the mirror, then purchase some dye that matches your color the best. You can go for box dye, which you can find at most drug stores, or splurge on professional-grade hair dye, which you can find at beauty supply stores.[2]
- Box dye is slightly cheaper, but it’s a little harsher and can dry out your hair. If you’re worried about damage, go for a professional dye.
- Try to find a demi-permanent hair color. This color lasts longer than semi-permanent, so you won’t have to re-dye your hair as often.
Dyeing Your Hair
-
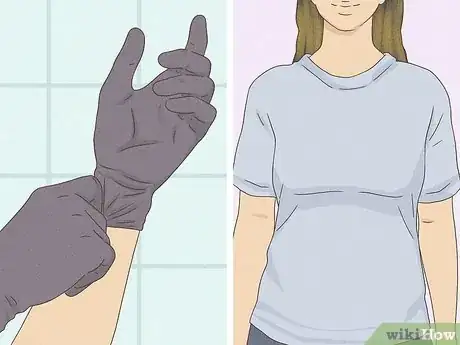
1Put on gloves and an old T-shirt. Protect your skin and your clothes from the dye, since it will stain. Put on disposable gloves and cover up your nice clothing with an old T-shirt you don’t mind getting dye on.[3]
- Many box dyes come with a pair of disposable gloves that you can use.
-
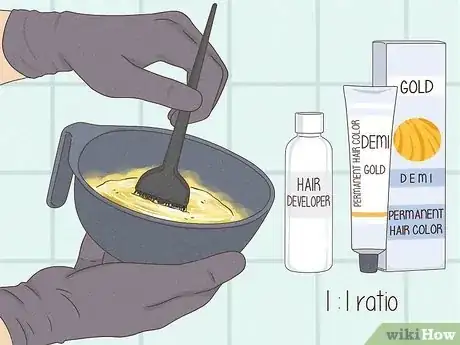
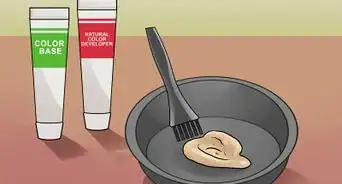
2Mix the filler dye according to the instructions. Before you dye your hair back to its original color, you’ll start with your filler dye to add in those undertones. Unbox your hair dye and mix it with the applicator, following the instructions on the box. Use a plastic bowl and a hair dye applicator brush to mix your products. Usually, you’ll mix your dye and applicator in a 1:1 ratio, but it does vary slightly based on the dye.[4]
- Once your products are combined, they should be smooth and have a creamy consistency.
-
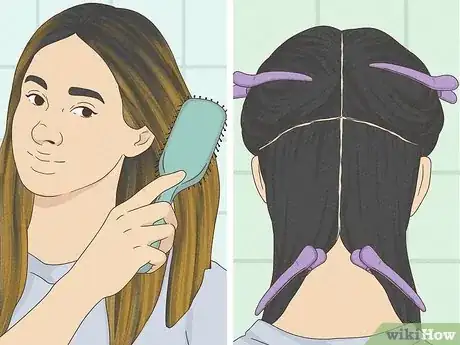
3Brush and divide your hair into 4 sections. Sectioning your hair ensures that you get full, even coverage all over. Brush out your hair completely, then divide it into 4 sections around your head: 2 in the front and 2 in the back. Clip your sections up with hair clips to keep them out of the way as you work the dye through.[5]
- If you have very thick hair, do 6 sections instead: 2 in the front, 2 on the sides, and 2 in the back.
-
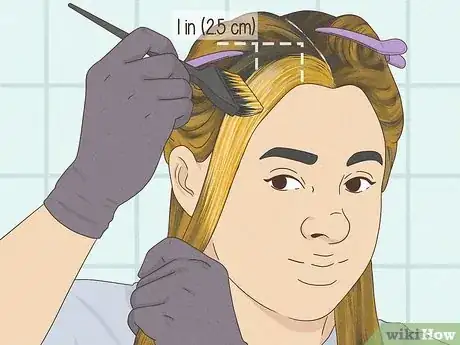
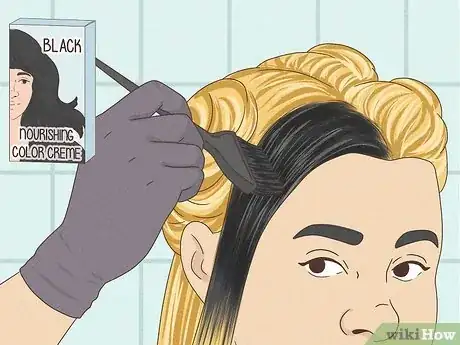
4Apply the dye from the roots down with a dye applicator brush. Take one section of your hair down, but leave the rest clipped up. Use your dye applicator brush to pick up some dye, then apply it to a 1 in (2.5 cm) wide section of your hair, starting at the roots and working your way down. Make sure you fully saturate each hair strand by gently rubbing the dye into your hair.[6]
- Focus the dye mainly on your bleached ends, but get some on your natural roots, too. That way, all of your hair will look the same color when you’re done.
-
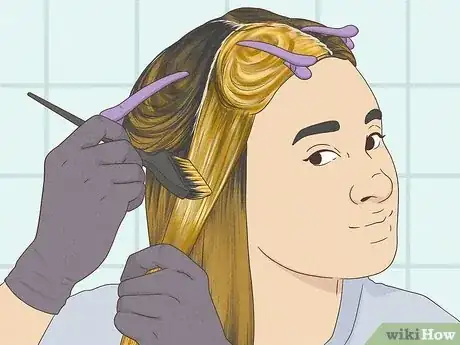
5Clip your dyed section up, then let down another section of hair. Keep using your hair dye applicator brush to apply your filler dye, working through all of your sections. Make sure your hair is fully saturated to ensure even coverage.[7]
-
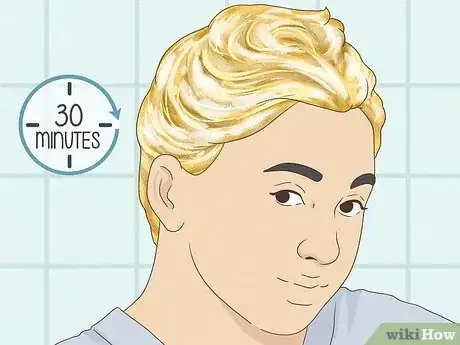
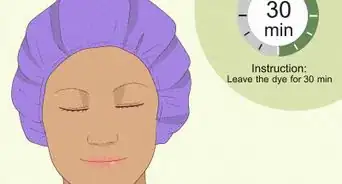
6Leave the dye on for about 30 minutes. Check the instructions on your specific hair dye to see how long it wants you to leave it on (usually, it’s around 30 minutes). Set a timer and try not to touch your hair until the time is up.[8]
- If you’re worried about getting hair dye on furniture in your home, cover your hair with a plastic bag while you wait.
-
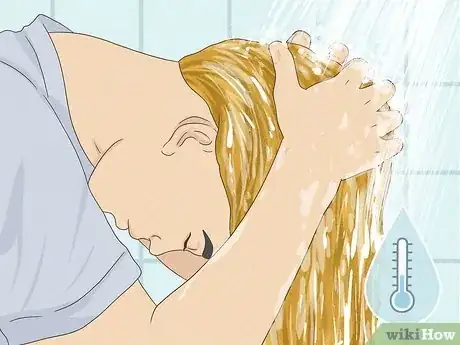
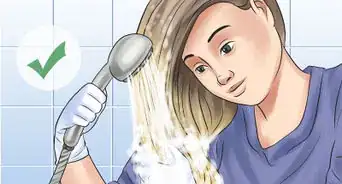
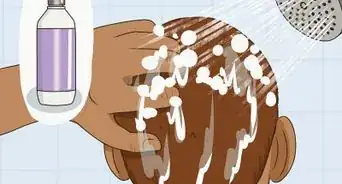
7Rinse your hair with cool water. Cool water helps the dye stick to your hair instead of washing it all out right away. Head to the shower and rinse your hair with cool water until the water runs clear.[9]
- Since you used a filler dye first, your hair is not going to be your natural color yet, and that’s okay! The next dye that you use will cover up the unnatural filler color.
-
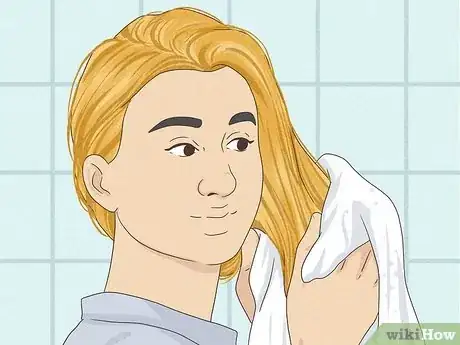
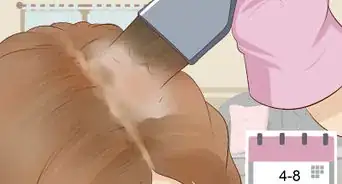
8Let your hair air dry. When you dye your hair, it’s in a fragile state already, so skip heat tools like hair dryers. Instead, towel dry your hair and let it air dry to give it a chance to recover before you dye it again.
- If your hair is very damaged or dry, wait a few days before coloring your hair again. However, if your hair is pretty healthy, you can move directly onto the next step.
-
9Dye your hair again with your natural hair color. Once your hair is filled, it’s ready to be dyed again! Follow the same steps as above, this time using the dye that matches your natural hair color. Use your hair applicator brush to apply the dye all over, wait the recommended amount of time on the box, then rinse it out with cool water.[10]
- Bleached hair tends to lose dye faster than naturally-colored hair, so you may have to re-dye your hair every few months.
Caring for Your Hair
-
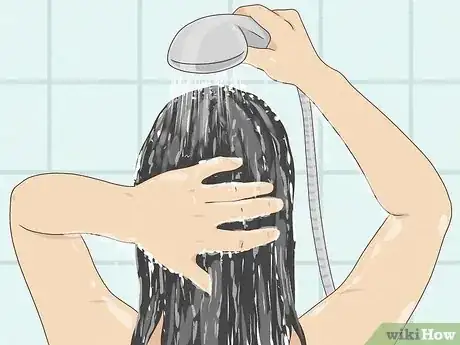
1Wash your hair every other day at most. Shampoo strips your hair of its natural oils, which can be drying and damaging. To make your color last longer, try to wash your hair every other day, or wait even longer if you can. That way, your hair won’t be so dry, and you won’t wash out your demi-permanent color as quickly.[11]
- Wait at least 24 hours before washing your hair after you dye it. This will keep your color lasting longer, and it also won’t dry out your hair as much.
- Remember that even though you dyed your hair back to its natural color, it’s still bleached underneath. You need to keep caring for your hair as if it was bleached to make sure it doesn’t get too dry or damaged.
-
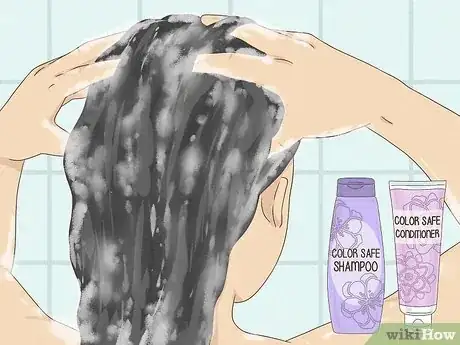
2Use color-safe shampoo and conditioner. Color-safe products are less drying, and they won’t strip your color out as quickly. Look for a formula that doesn’t have sulfates or silicones, since those can damage your hair.[12]
- When you shampoo your hair, concentrate the shampoo on your scalp instead of bringing it down the length of your hair. Shampoo can dry out your ends, and your hair is rarely dirty enough to need shampoo all over.
-
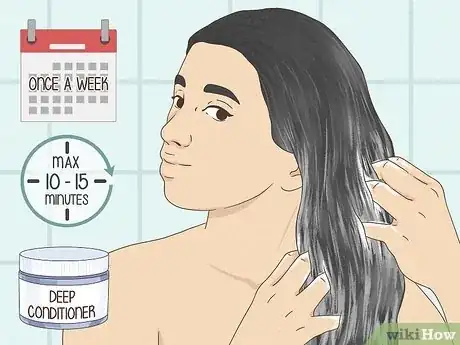
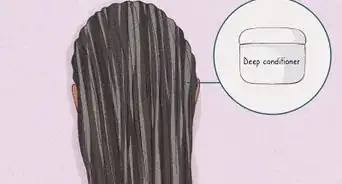
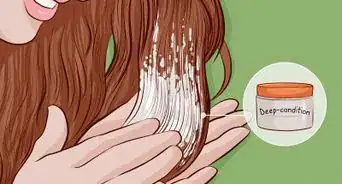
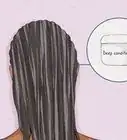
3Apply a deep conditioner or hair mask once a week. Deep conditioners penetrate further into your hair strands, leading to moisturized and hydrated hair. Use a deep conditioner or a hair mask at least once a week in the shower, leaving it on for 10 to 15 minutes at a time.[13]
- You can also use a leave-in conditioner to keep your hair hydrated all day long.
-
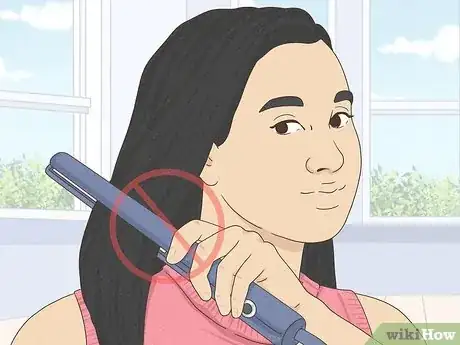
4Avoid heat styling tools. Tools like hair dryers, straighteners, and curlers can be very damaging, especially for bleached hair. To keep your hair healthy and happy, try to style it without heat as much as possible.[14]
- When you do use heat styling tools, turn them down to the lowest heat setting, and use a heat protectant on your hair beforehand.
References
- ↑ https://www.refinery29.com/en-gb/how-to-grow-out-hair-colour
- ↑ https://www.harpersbazaar.com/beauty/hair/advice/a586/home-hair-color-1110/
- ↑ https://www.goodhousekeeping.com/beauty/hair/g2754/haircolor-hacks-at-home/?slide=14
- ↑ https://www.goodhousekeeping.com/beauty/hair/g2754/haircolor-hacks-at-home/?slide=14
- ↑ https://www.youtube.com/watch?v=zf8zEpb1BiM&t=160s
- ↑ https://www.youtube.com/watch?v=43c8Kfb23ic&t=307s
- ↑ https://www.youtube.com/watch?v=43c8Kfb23ic&t=362s
- ↑ https://www.marieclaire.com/beauty/hair/advice/g2665/the-best-way-to-color-your-hair-at-home/
- ↑ https://www.marieclaire.com/beauty/hair/advice/g2665/the-best-way-to-color-your-hair-at-home/
- ↑ https://www.youtube.com/watch?v=43c8Kfb23ic&t=599s
- ↑ https://health.clevelandclinic.org/the-dirty-truth-about-washing-your-hair/
- ↑ https://www.aad.org/public/everyday-care/hair-scalp-care/hair/healthy-hair-tips
- ↑ https://www.vogue.co.uk/beauty/article/how-to-take-care-of-bleached-hair
- ↑ https://www.aad.org/public/everyday-care/hair-scalp-care/hair/habits-that-damage-hair
