This article was co-authored by wikiHow staff writer, Darlene Antonelli, MA. Darlene Antonelli is a Technology Writer and Editor for wikiHow. Darlene has experience teaching college courses, writing technology-related articles, and working hands-on in the technology field. She earned an MA in Writing from Rowan University in 2012 and wrote her thesis on online communities and the personalities curated in such communities.
This article has been viewed 7,613 times.
Learn more...
Whether you're selling, trading in, giving it away, or troubleshooting glitches, you'll probably need to factory reset your Google Home Mini. Resetting your Home or Nest Mini will erase all the data from your speaker and you might need to set it up again. This wikiHow article teaches you how to factory reset the Google Home Mini as well as the Google Nest Mini.
Steps
Google Nest Mini (2nd Gen)
-
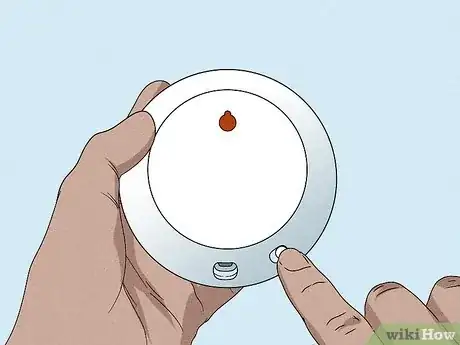
1Turn the microphone off. You'll see the toggle on the side of the speaker, and slide it to the off position.
- The lights on the top of the speaker will flash orange to indicate the microphone is off.
- To tell if you have the Gen 1 Mini or the Gen 2 Mini, flip it over. If you see a wall-mount screw slot, then you have a 2nd Gen Mini, also called the Google Nest Mini.
-
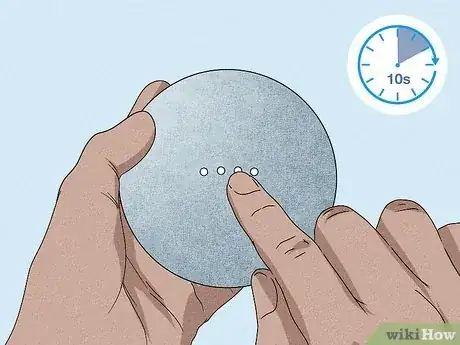
2Press and hold the top center of your Google Nest Mini. This is the same area where the lights are.
- You should hear a warning that you're about to wipe the device. Continue holding your finger down on top of the speaker to progress the factory reset.
- After 10 more seconds, you'll hear the confirmation beep that your Google Nest Mini reset and can stop pressing the top of it.[1]
References
About This Article
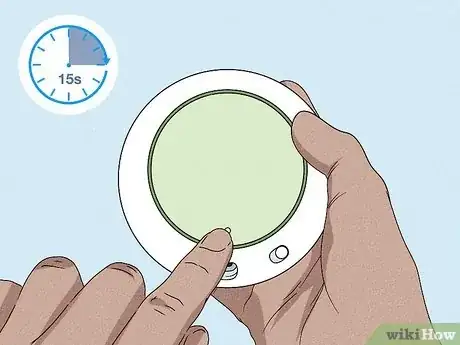
1. Press and hold the Reset button for about 15 seconds (Gen 1).
2. Turn the microphone off (Gen 2).
3. Press and hold the top center of your Google Nest Mini (Gen 2).
