wikiHow is a “wiki,” similar to Wikipedia, which means that many of our articles are co-written by multiple authors. To create this article, volunteer authors worked to edit and improve it over time.
This article has been viewed 150,601 times.
Learn more...
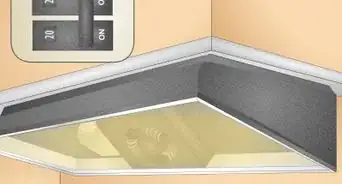
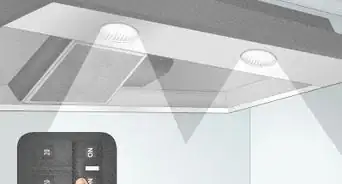
Most homes feature a hood over the stove for light and ventilation. If your home does not have one, or if yours needs to be replaced or upgraded (e.g. because it does not have an exterior vent), the process of installing one is not overly complicated. With a little know-how, this is a home improvement task that you can easily accomplish on your own. Follow these instructions, and you can accomplish this task over the course of an afternoon.
Steps
Preparing for Installation
-
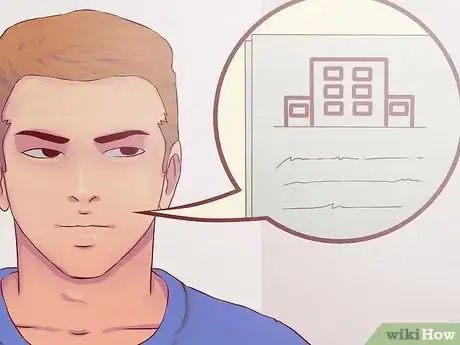
1Check to see if you need a permit. Depending on where you live, you may need a permit from the city to carry out this project.[1] Check into your local building codes to find out if you need one, and if so, how to apply for it.
-
2Measure the space. Take a measurement of the space where you plan to install the hood to ensure it will fit.
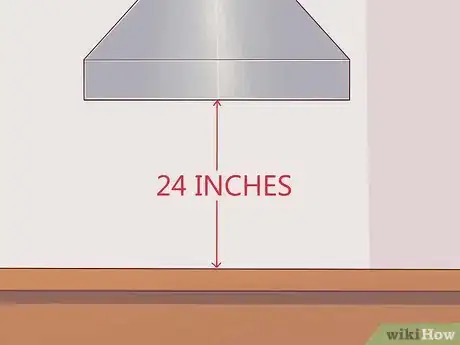
- Similarly, make sure the hood will hang 24 to 30 inches above the stove, and will cover the entire cooking space. Ideally, there should be a three inch overhang between the edge of the hood and the edge of the cooking space.[2]
Advertisement -
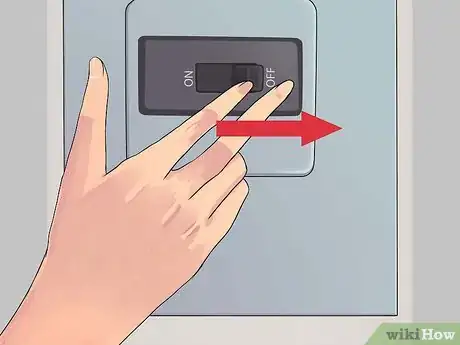
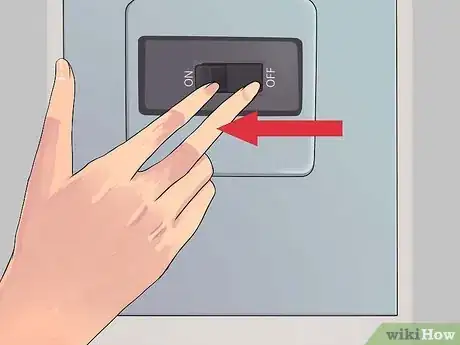
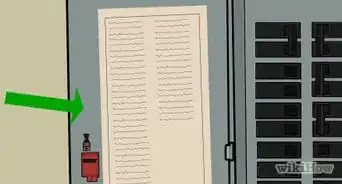
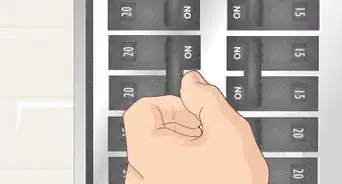
3Cut the power supply. Go to your circuit breaker or fuse box and cut the power supply to your range and the old hood, if there is one. This is necessary to prevent electric shock during installation.
-
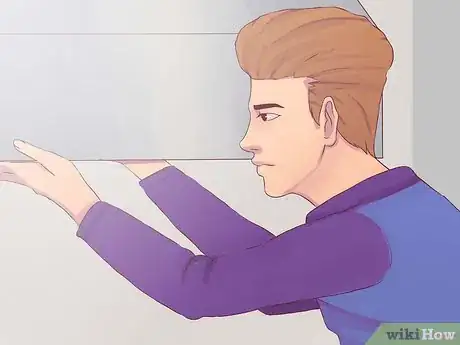
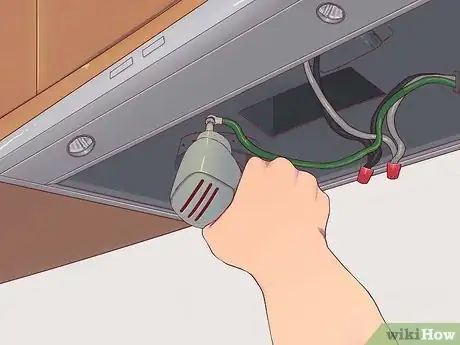
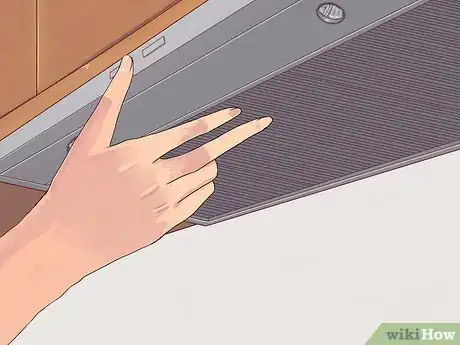
4Remove the old hood. If there's a hood already installed, start by removing the filters, then the cover that conceals the fan and motor. Finally, disconnect the power wires and unscrew the hood.[3]
-
5Unpack your new fixture. Remove the fan, hood, ducting, and all other components from their packaging.
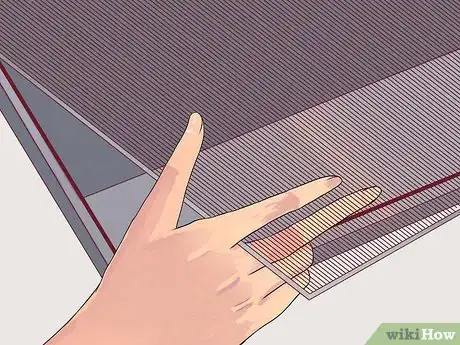
- If the fan and filters are attached, remove them to expose the wiring.[6] There may also be a panel over the electrical wiring that needs to be removed.
-
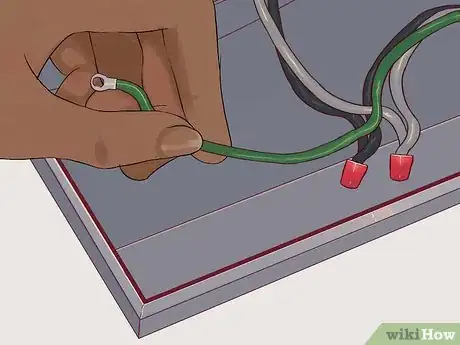
6Remove the duct and wiring knockouts. Determine from which direction the wiring will come and which direction the duct will go (either from above or behind the hood), based on how the old hood was installed. The new hood should have pre-cut areas that can can be knocked out with a hammer and screwdriver to accommodate whichever side the holes need to be on.
- Work carefully so as not to damage the metal of the hood as you remove the knockouts.
- The wiring knockout should create a small, round hole in the hood.
-
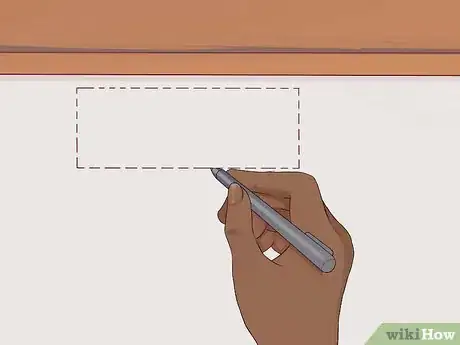
7Create an outline. The next step is to create outline on the wall where you will be cutting through for the vent and electrical wiring.
- One way to do this is to lift the hood up to where you will install it and have someone else create an outline by tracing inside the holes with a pencil.[7]
- Alternatively, you can measure the holes, then measure the space, find the center point of the wall, and align your holes accordingly. This method works well if you don't have a helper to trace the holes for you. The instructions that came with your hood should provide further guidelines on creating outlines for the holes via this method.[8]
- Make certain to plan for both duct and wiring holes.
- If the duct and wiring holes in your new hood match up exactly with the old one, you may not need to mark or cut your wall. In this case, you can skip parts 2 and 3 altogether and work with the existing holes and ducting.
Cutting a Hole
-
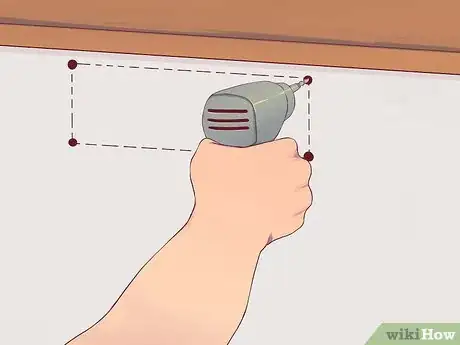
1Drill locator holes. Use a drill with a long bit to punch holes in the corners of your outline. Drill all the way through the interior wall and out through the exterior wall of your house.[9]
- These holes in the outside wall should line up exactly with the ones inside, allowing you to install a duct cap outside that will line up perfectly with your interior ductwork.
- If your stove is positioned against an interior wall, you will need to install additional ducting to create a vent to the outside. The duct can go up through the cabinets and between ceiling joists, and then out through the nearest exterior wall.
- However you position your duct, make certain it ultimately leads outdoors. Never create a ventilation duct that ends in your attic or anywhere else inside your home. This can create serious mold problems.[10]
-
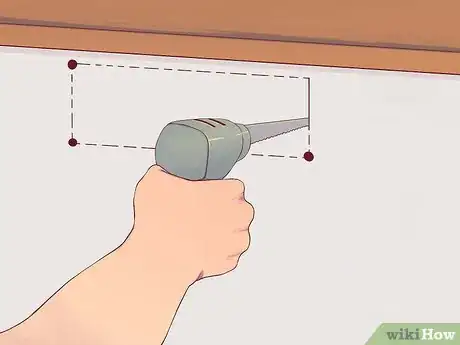
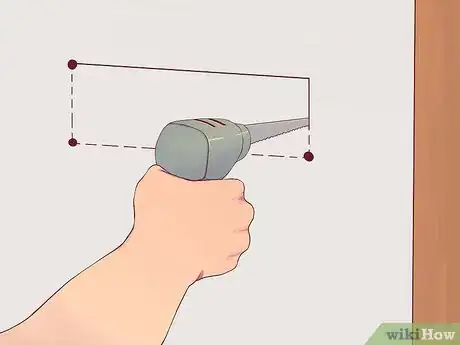
2Cut out the vent and wiring holes. Using a drywall saw, cut along the outline you drew on the wall, moving from one drill hole to the next.
- Drilling a hole in the outline for the electrical wiring will make it easier to cut out.
-
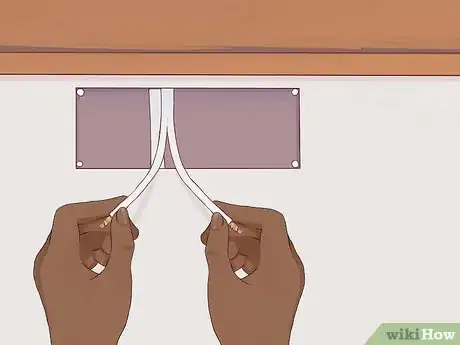
3Pull the wiring through. Pull at least 12 inches of wiring through the wiring hole to wire up your hood.[11]
-
4Cut an exterior vent hole. Go outside your house and find the locator holes on the side of the building. Use them to draw an outline for your exterior vent hole, then cut through the siding to create the hole
- Use a reciprocating saw, saber saw, or keyhole saw to cut all the way through, from the exterior to the interior. Remove any loose insulation or other debris that might get in the way of your duct.[12]
Installing a Duct Cap
-
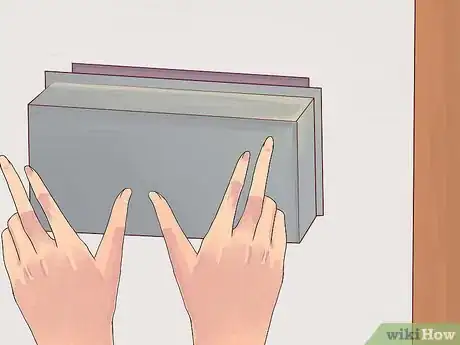
1Push the cap in. Place the duct cap in the hole and push it all the way in to see if the duct will be long enough to reach through to the vent hole on the other side.
- If it is not long enough, you'll need to purchase a duct extension, which can be attached to the cap with sheet metal screws and duct tape.[13]
- By the same token, if the duct is too long, trim the excess ductwork using metal shears.
-
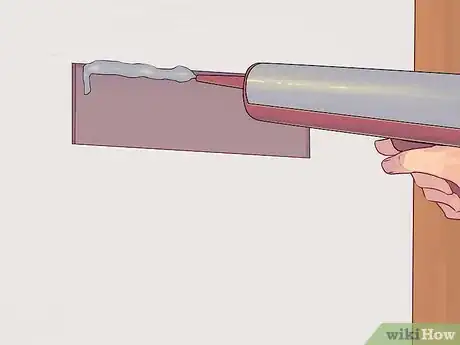
2Caulk around the hole. Remove the duct cap and apply caulk to the area around the hole where the edge (flange) of the vent cap will rest against the wall. This creates a better seal.[14]
-
3Install the duct cap. Press the cap firmly into place and attach it by driving screws into the exterior of the house.
-
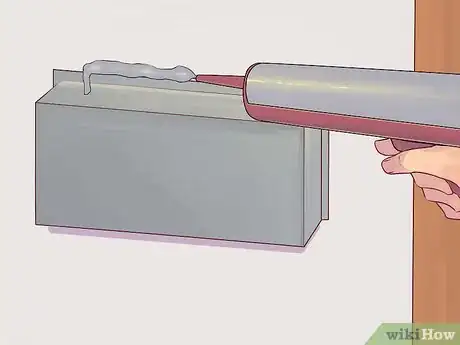
4Caulk the around the cap. Apply caulk generously around the cap's flange to fully seal it.[15]
Mounting the Hood
-
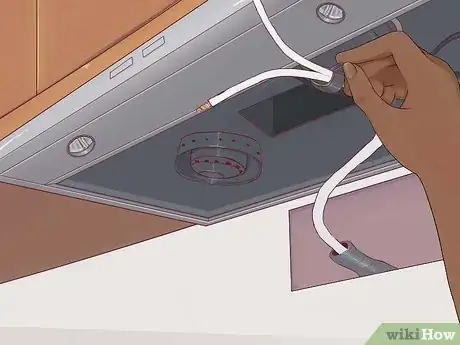
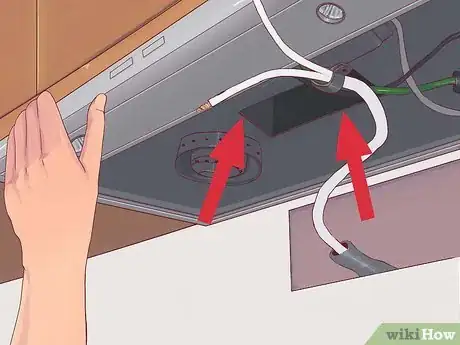
1Clamp the wiring. Return to the kitchen and have an assistant lift the hood. Pull the wiring from the wall through the hood's wiring hole and clamp it to the hood with a cable clamp.
-
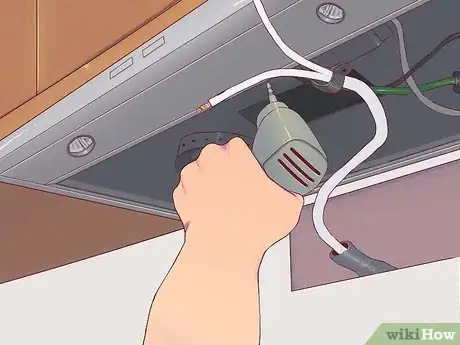
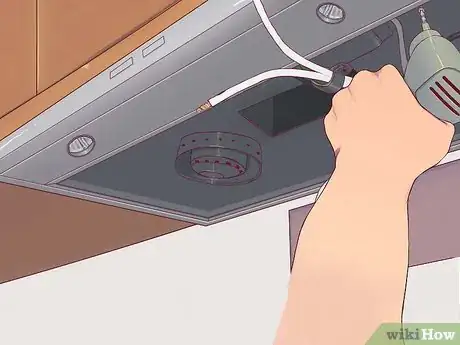
2Drive the screws halfway in. Slide the hood into place and drive the screws halfway into the cabinet you are affixing the hood to.[16]
- Push the hood upward to allow it to connect with the ductwork.
-
3Check the alignment. While the screws are only halfway in, check to make sure the hole in the hood aligns properly with the ductwork. If it doesn't, take the screws out and readjust the position of the hood.[17]
-
4Tighten the screws. Secure the hood firmly to the underside of the cabinets.
Wiring the Hood
-
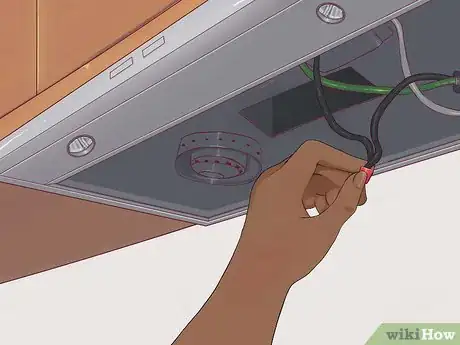
1Attach the black wires. Both the fan and light in the hood should have a black wire. Attach both of them to the black wire protruding from the wall by twisting the exposed ends together.[18]
- Cover the exposed ends with a wire nut.
- If there is not enough exposed wire, strip the sheathing off the ends with a pair of wire strippers.
-
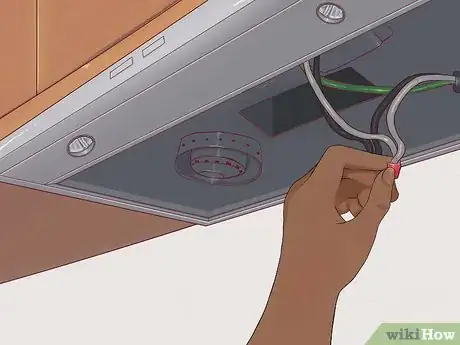
2Attach the white wires. Repeat the process in step one with the white wires from the fan, light, and wall.
-
3Attach the ground wire. Your home's ground wire should be green or exposed copper. Attach it to the green grounding screw and tighten the screw with a screwdriver.[19]
Finishing Up
-
1Install the cover, fan, lights, and filter. Tuck the wires into place and replace the cover. Following the instructions in the hood's manual, attach the fan and light bulbs, and slide the filter into place.[20]
-
2Turn the power back on. Go to the circuit breaker or fuse box and restore the power supply.
-
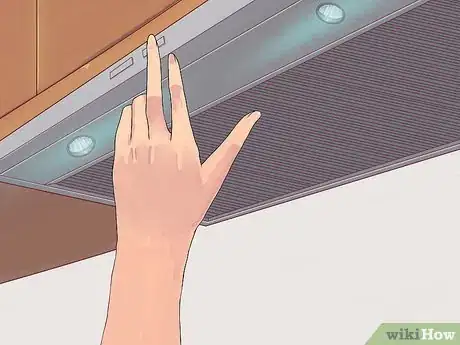
3Test it out. Turn on the lights and the fan to make sure they are operational. You should also go outside while the fan is running to make sure air is flowing freely through the duct.[21]
- Damp or greasy air that is not pulled through the duct may cause damage to your walls.
Community Q&A
-
QuestionWho I can ask to install a cooker hood?
 Community AnswerYou can contact to the nearest hardware store, they must have the contact details of the skilled person who could fit it perfectly.
 -
QuestionI fitted a new cooker hood, and when I power on the fan, the air is blowing back into the kitchen. What did I do wrong?
 Community AnswerYou need to reinstall the fan, reversing its direction.
 -
QuestionWhen replacing a fan, is there anyway to adjust the sizes without creating a new hole?
 Community AnswerYes, is called a duct reducer. It's a metal adapter that fits between the fan and the ducting pipework. Search for your two sizes; for example, "duct reducer 150 100."
Warnings
- If there wasn't a hood already installed in the location where you are putting yours, you may need the help of an electrician to locate or add the necessary wiring.⧼thumbs_response⧽
- Wear a dust mask and goggles while installing the hood to prevent eye injuries and the inhalation of harmful particles.[25]⧼thumbs_response⧽
- Ducted hoods must be connected to a duct. Do not try to install a ducted hood without ducting as you may do serious damage to the hood or your home.⧼thumbs_response⧽
References
- ↑ https://www.lowes.com/n/how-to/install-vented-range-hood
- ↑ https://www.lowes.com/n/how-to/install-vented-range-hood
- ↑ http://www.ronhazelton.com/projects/how_to_remove_and_install_a_vent_hood
- ↑ https://www.lowes.com/n/how-to/install-vented-range-hood
- ↑ http://www.ronhazelton.com/projects/how_to_remove_and_install_a_vent_hood
- ↑ http://www.homedepot.com/c/how_to_install_range_hood_HT_PG_AP
- ↑ https://www.lowes.com/n/how-to/install-vented-range-hood
- ↑ http://www.ronhazelton.com/projects/how_to_install_a_range_hood
- ↑ http://www.homedepot.com/c/how_to_install_range_hood_HT_PG_AP
- ↑ http://www.futurofuturo.com/rangehood-FAQ-10-mistakes-range-hood-installation.php
- ↑ https://www.lowes.com/n/how-to/install-vented-range-hood
- ↑ http://www.homedepot.com/c/how_to_install_range_hood_HT_PG_AP
- ↑ http://www.homedepot.com/c/how_to_install_range_hood_HT_PG_AP
- ↑ http://www.homedepot.com/c/how_to_install_range_hood_HT_PG_AP
- ↑ http://www.homedepot.com/c/how_to_install_range_hood_HT_PG_AP
- ↑ https://www.lowes.com/n/how-to/install-vented-range-hood
- ↑ https://www.lowes.com/n/how-to/install-vented-range-hood
- ↑ https://www.lowes.com/n/how-to/install-vented-range-hood
- ↑ https://www.lowes.com/n/how-to/install-vented-range-hood
- ↑ http://www.homedepot.com/c/how_to_install_range_hood_HT_PG_AP
- ↑ https://www.lowes.com/n/how-to/install-vented-range-hood
- ↑ http://www.futurofuturo.com/rangehood-FAQ-10-mistakes-range-hood-installation.php
- ↑ http://www.homedepot.com/c/how_to_install_range_hood_HT_PG_AP
- ↑ http://www.homedepot.com/c/how_to_install_range_hood_HT_PG_AP
- ↑ https://www.lowes.com/n/how-to/install-vented-range-hood
About This Article
Fitting a cooker hood is a useful project that you can accomplish in a few hours with some basic tools. Before you start, turn off the power supply to the range and the old hood so you don’t shock yourself. Then, unscrew the filter and the old hood. Once you’ve removed it, cut a small rectangle out of your wall where you can attach the new wiring. Then, pull the wiring through and use caulk to secure a duct cap over the hole. To mount the hood, have someone hold the hood up while you clamp the wires to the hood with a cable clamp. Then you can slide the hood into place, screw it in, and connect the wiring. To learn how to put the cover back on the hood, read on!
