X
wikiHow is a “wiki,” similar to Wikipedia, which means that many of our articles are co-written by multiple authors. To create this article, 21 people, some anonymous, worked to edit and improve it over time.
This article has been viewed 214,287 times.
Learn more...
Potholes or other damage to an asphalt driveway can often be filled in with cold asphalt filler. Here are some steps to help you have a successful project repairing your driveway.
Steps
-
1Measure or estimate the amount of filler material you will need to execute your repairs. A small pothole, less than two feet square can be repaired with about 50 pounds of cold mix asphalt filler.
-
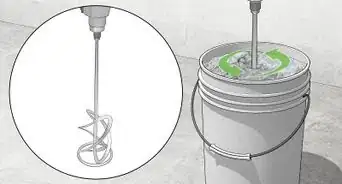
2Select the asphalt filler you want to use for your repair. Cold asphalt filler (a mixture of asphalt tar and rocks) is sold in plastic bags similar in size to cement bags weighing 50 pounds, and buckets ranging from one gallon to five gallons.Advertisement
-
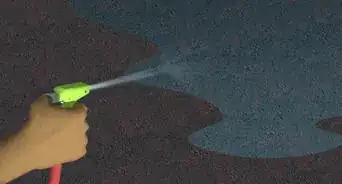
3Clean loose dirt and debris out of the hole with a garden shovel, a trowel, or other suitable tool. If the material in the hole is dry soil, you may want to use a garden hose to dampen it because the tar will not stick to dry dirt.[1]
-
4Let the hole dry in the sun if there is water in it because the tar will not stick to the wet dirt. You can also use a fan or blow dryer if you are in a hurry.
-
5Fill in holes that are more than three or four inches deep with a material that can be compacted tightly, such as clay, crushed concrete, or crushed limestone. For repairs where the material underneath the patch is not capable of being compacted with normal methods, you may want to over-excavate the hole and pour concrete to about two inches below the finished pavement grade to stabilize the area.[2]
-
6Fill the hole with the asphalt filler to about one half an inch above the adjacent paving. This will leave the finished patch level with the pavement after it is packed.[3]
-
7Pack it down with a hand tamp, a gasoline powered plate compactor, or even a hammer for very small holes. Make sure the cold asphalt mix is packed firmly into the hole or you will find the patch will fail quickly when it is exposed to traffic.[4]
-
8Cover the patch if possible. You can put a board or piece of plywood over the fix for a few days to ensure that it hardens more but this is optional. If you packed it down tightly, it can be driven over immediately.[5]
-
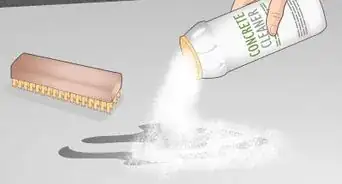
9Clean up your tools and any spilled material around your patch and admire your handiwork.
-
10Finished.


Advertisement
Community Q&A
-
QuestionWhat should the outside temperature be to use a coldpatch?
 Community AnswerAbove 65F, but I caution that really warm weather would keep it soft for a long time. A lot of people have an issue with it not setting up for a long time.
 -
QuestionWhat if the patch doesn't harden? Ours is still sticky and soft after two weeks.
 Community AnswerYou can use Aquapatch, which provides a permanent repair and hardens within an hour.
 -
QuestionShould I apply a sealer coat after packing/tamping it down?Community AnswerYou could. However, the asphalt in cold patch needs time to set up -- sometimes up to six months. Read the curing time on the package before applying a sealer on top of it. It is not necessary to put sealer on top of a patch, though.
Advertisement
Warnings
- Big holes will sag a little when cars drive over them so don't be afraid to fill the hole 1⁄4 inch (0.6 cm) higher in the center. The cars driving over will lower the filler with time.⧼thumbs_response⧽
Advertisement
Things You'll Need
- Shovel or other digging tools
- Plate tamp or plate compactor
- Asphalt mix
- Material to stabilize the base underneath the patch if needed
- Rubberized Work Gloves
- Respirator (If area is poorly ventilated)


References
- ↑ https://www.thisoldhouse.com/how-to/how-to-repair-asphalt-pothole
- ↑ https://www.asphaltsealcoatingdirect.com/info/how-repair-blacktop-asphalt-driveway-diy-homeowner
- ↑ https://www.asphaltsealcoatingdirect.com/info/how-repair-blacktop-asphalt-driveway-diy-homeowner
- ↑ https://www.craftfoxes.com/blog/diy-home-fixing-a-pothole-or-sinkhole-in-your-drive
- ↑ https://www.familyhandyman.com/smart-homeowner/diy-home-improvement/how-to-fix-a-sinking-driveway/
About This Article
Advertisement