This article was co-authored by Ryaan Tuttle and by wikiHow staff writer, Dan Hickey. Ryaan Tuttle is a Home Improvement Specialist and the CEO of Best Handyman, Inc. in Boston, Massachusetts. With over 17 years of experience, he specializes in building home service businesses, focusing on creating scalable and efficient brands. With the help of his global team, the companies have achieved over 10+ million in sales and received recognition through magazine features, and enjoy partnerships with wikiHow and Jobber field service software. Boston Magazine and LocalBest.com have named Best Handyman Boston the Best Handyman in Boston. Ryaan holds Construction Supervisor and Home Improvement Contractor Licenses.
There are 8 references cited in this article, which can be found at the bottom of the page.
This article has been viewed 8,793 times.
Sanding a concrete floor, wall, or countertop is a great way to make your concrete shine, but what’s the best way to do it? With the right tools and attention to cleanliness, sanding your concrete surfaces is a rewarding home improvement project you can show off to your visitors. We’ve put together a step-by-step guide to sanding concrete, including the exact materials you’ll need. If you’re ready to get sanding, read on!
Things You Should Know
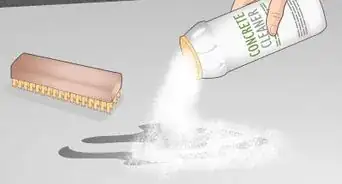
- Dust, wash, and fill any holes or cracks in your concrete before sanding.
- Use an orbital sander or walk-behind sander with diamond sanding discs, or handheld diamond sanding pads.
- Sand the concrete at least 3 times, working from coarse to fine with coarse (60-grit), medium (120-grit), and fine (200-grit) pads.
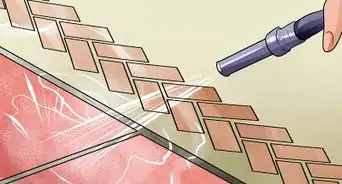
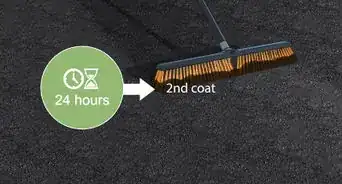
- Dust or rinse your concrete between sandings and apply a concrete finish to preserve the surface.
Steps


Things You’ll Need
- An orbital sander or walk-behind sander
- Diamond sanding discs (one coarse, one medium, and one fine)
- Handheld diamond sanding pads (1 coarse, 1 medium, and 1 fine)
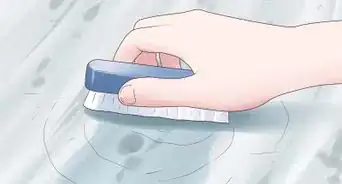
- A brush, broom, or mop
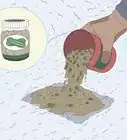
- Liquid dish soap and clean cloths or sponges
- Concrete patching slurry
- Trowel
- Safety goggles and a dust mask
- Shop vac
- Long level
- Epoxy concrete sealant
- Paintbrush and roller


References
- ↑ https://www.homegoliath.com/how-to-sand-concrete/
- ↑ https://homedecorbliss.com/can-you-sand-concrete-walls/
- ↑ https://homesteady.com/13413815/how-to-sand-concrete-walls
- ↑ https://www.bobvila.com/articles/how-to-fix-cracks-in-concrete/
- ↑ https://www.homegoliath.com/how-to-sand-concrete/
- ↑ https://powertoolgenius.com/how-to-sand-concrete/
- ↑ https://powertoolgenius.com/how-to-sand-concrete/
- ↑ https://powertoolgenius.com/how-to-sand-concrete/
- ↑ https://powertoolgenius.com/how-to-sand-concrete/
About This Article