wikiHow is a “wiki,” similar to Wikipedia, which means that many of our articles are co-written by multiple authors. To create this article, volunteer authors worked to edit and improve it over time.
There are 7 references cited in this article, which can be found at the bottom of the page.
This article has been viewed 76,217 times.
Learn more...
Ignoring even a small crack in a taillight lens can cause plenty of trouble for you in the future. Besides the obvious problem of perhaps receiving a ticket for the broken lens, a less obvious problem is water damage. Water can creep into the smallest opening, and if left unchecked, it can fog your taillight assembly interior and eventually short the taillight out. You can repair taillight lenses for much less money than buying a new assembly from the auto parts store, and it only takes minutes to do.
Steps
-
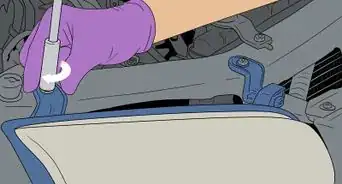
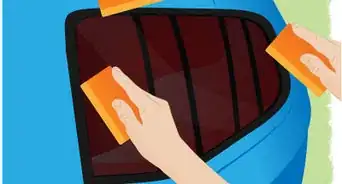
1Clean the taillight lens assembly thoroughly by spraying cleaner on a rag and wiping down the lens. Do not allow any liquid to get inside the housing.
-
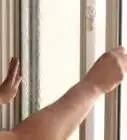
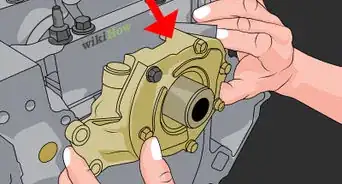
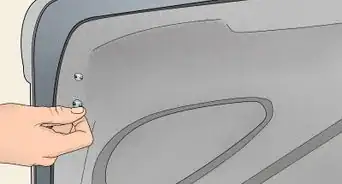
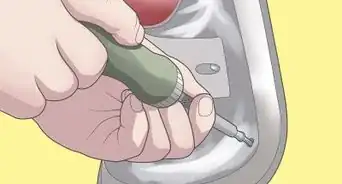
2Remove the lens from the housing using the appropriate screwdriver. If the lens is glued to the housing, do not try to pry it off as that will likely break it. Instead, remove the entire taillight assembly and follow these directions to remove the lens from the housing without damaging it.[1]
- Heat a kitchen oven to 200�F (99.3�C), and position oven rack in lowest position.
- Line a baking sheet large enough to hold the assembly with foil, and place the assembly on the baking sheet with the plastic lens facing up. Place in the oven for 15 to 20 minutes.[2]
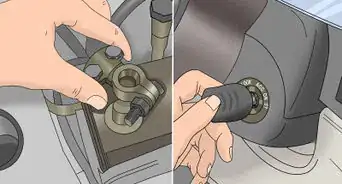
- Remove the baking sheet and assembly using oven mitts and carefully, using a flat edged screwdriver, pry the plastic lens from the housing. Remove the soft strings of glue from the edges of the lens while it is still warm using a sharp box cutter.
Advertisement -
3Wipe down the inside of the housing and the lens using a dry cloth.
-
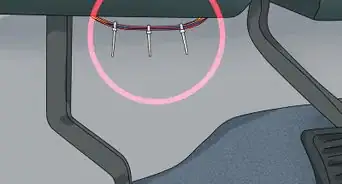
4Sand the edges of the crack using #200 fine grit sandpaper to give the adhesive a rough surface to cling to.[3]
-
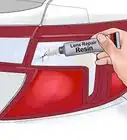
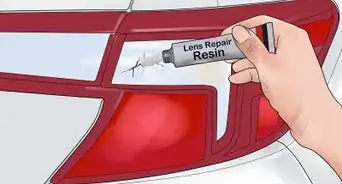
5Apply a fine line of plastic glue along the crack, holding the pieces together with your hands for a minute to allow the glue to set up. If necessary, apply a second line of glue when the first one dries. You want the crack to be totally filled and even with the surface of the lens. If you apply too much glue, sand off the excess using #200 fine grit sandpaper.[4]
-
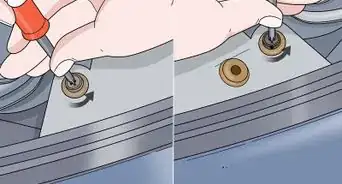
6Apply a line of plastic glue along the edges of the lens before replacing it in the housing and fastening down the screws.
-
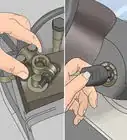
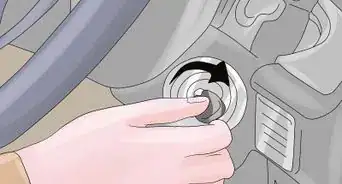
7Reattach the assembly to the car if necessary.[5]


Community Q&A
-
QuestionWhat kind of glue can I use to cover the cracks?
 Uglymug18Community AnswerGorilla Glue works best for the cracks. Be sure to get the clear glue, otherwise you will have yellow all over the lens.
Warnings
- Make sure the kitchen is well ventilated before placing plastic parts in the oven.⧼thumbs_response⧽
- Do not use a cyanoacrylate based adhesive to glue plastic taillights, as it will eventually eat through the plastic.⧼thumbs_response⧽
Things You'll Need
- Screwdriver
- Plastic glue
- #200 grit sandpaper
- Oven
- Baking sheet
- Foil
- Oven mitts
- Hair dryer

References
- ↑ https://shop.advanceautoparts.com/r/car-projects/how-to-replace-taillights
- ↑ https://www.youtube.com/watch?v=anN0vYBj6Uo
- ↑ https://www.youtube.com/watch?v=HsRjqchqWPY
- ↑ https://www.youtube.com/watch?v=ijCbyddKQfU
- ↑ https://carfromjapan.com/article/car-maintenance/guideline-tail-light-repair/
- http://priuschat.com/forums/gen-ii-prius-technical-discussion/52247-how-bake-headlight.html
- http://priuschat.com/forums/gen-iii-2010-prius-care-maintenance-troubleshooting/81714-broken-rear-taillight-lense-drivers-side.html