This article was co-authored by Kanika Khurana and by wikiHow staff writer, Janice Tieperman. Kanika Khurana is an Interior Designer and the Owner of Kanika Design. With over 12 years of experience, Kanika specializes in remodeling, refurnishing, and color consulting. Kanika holds a Bachelor’s Degree in Psychology from San Francisco State University, a Redesign and Home Staging Certification, and an Associate Degree in Business Administration from Cañada College.
This article has been viewed 9,684 times.
Woven baskets can add a stylish touch to your living space, but they may seem difficult to display properly. Thankfully, these pieces of decor can be hung easily as long as you have a design plan. To play around with your design options, try displaying your woven baskets based on size, color, or other creative factors. Once you have a sense of how you want to place your baskets, use nails, sticky tack, thumbtacks, or fishing line to secure your new decorations to the wall and liven up your living area!
Steps
Arranging the Woven Baskets
-
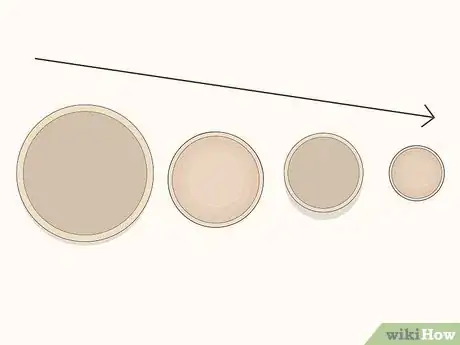
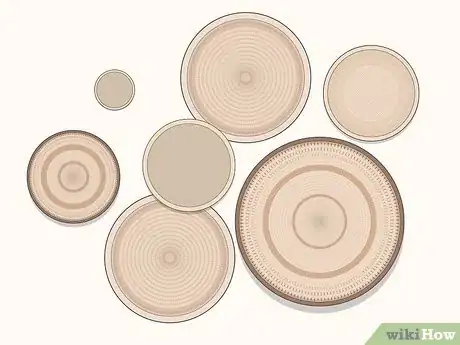
1Place your baskets on the wall based on size. Arrange your baskets on a flat surface, then sort them by their overall size and diameter. To create an engaging design, try placing your larger baskets on 1 side of the wall, then hang up baskets that gradually decrease in size.[1]
- As a simple design idea, place your woven baskets in a straight line on your wall, arranging them in descending order by size.
- Alternatively, arrange the baskets in a circle. Put the largest basket in the middle and group the others around it so they get smaller toward the edges.
-
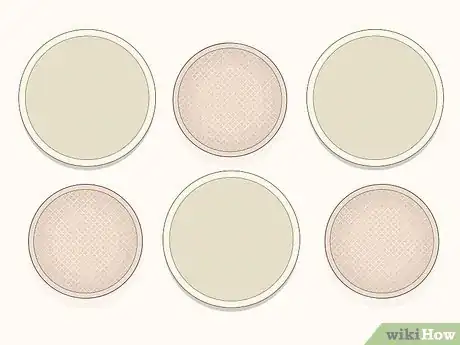
2Sort your baskets by color to create a dynamic design. Set out your baskets in 1 place, then begin creating piles based on color. If you have multicolored baskets, sort them by a specific shade or pattern. If your baskets aren’t painted or dyed, sort them by the color of the material. As you prepare to hang up your baskets, consider displaying baskets with multiple colors and shades.[2]
- For instance, you could hang up 3 cream-colored baskets along with 3 light brown baskets.
- As a potential design plan, try alternating light and dark baskets to create an ovular or rectangular shape on your wall!
Advertisement -
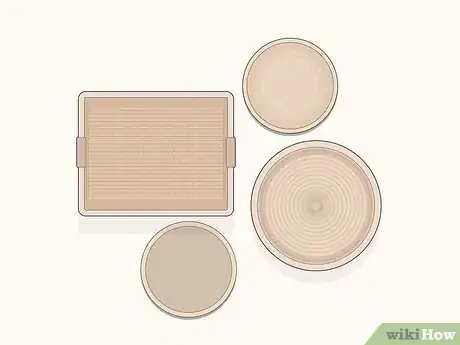
3Mix and match basket shapes and textures to create unique shapes. Choose multiple baskets that have different designs and weaving patterns, then overlap them together as a creative piece of wall art. Try combining rectangular, square, and circular items together, as well as tightly and loosely woven baskets. As an extra touch, thread fake flowers or another decoration through your overlapping baskets to create a fun, vibrant design![3]
- For instance, pair a tightly woven circular basket with a loosely woven rectangular basket, along with 2 smaller pieces of decorum. Overlap these baskets as you see fit to create a unique piece of wall art.
-
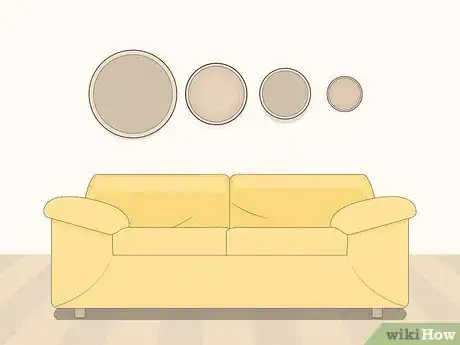
4Arrange your baskets above pieces of furniture to serve as a decoration. Find a piece of furniture that serves as the focal point of your living space, like a sofa or table. Choose a section of wall space above these furnishings to serve as the backdrop for your wall decor. You can create a close-knit piece of wall art by overlapping the baskets, or you can arrange them side-by-side to place special emphasis on the individual designs.[4]
- For instance, you could place a tightly woven basket tray next to a loosely woven basket.
- Feel free to mix and match with different basket shapes as you create your own unique wall art!
-
5Group at least 5 baskets together to create a cohesive design. While it may be tempting to feature a single basket, select multiple baskets to feature on your wall. Choose your favorite baskets to display, then set them aside so you can use them as wall decorations. If you have a large wall, you want to make a larger design with your baskets, select 9-10 baskets to hang up.[5]
- For example, you could choose 2 large baskets, 3 medium-sized baskets, and 4 small baskets to create an expansive, cohesive section of wall art.
- As a fun design plan, try placing a square or hexagonal basket in between 2 circle baskets.
Displaying Your Baskets
-
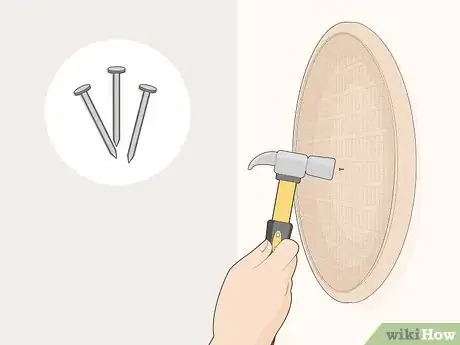
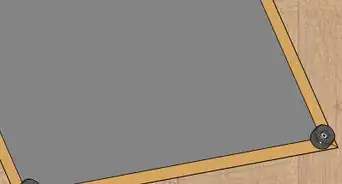
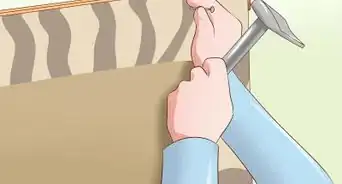
1Hammer a finishing nail into the center of the basket. Hold the rim of the basket in place with 1 hand, then use your opposite hand to place a finishing nail into the center or upper portion of the basket. Use 1 hand to secure the nail in place, then gently tap the nail with a hammer to force it into the wall. Once the nail is in place, you can remove both your hands from the basket.[6]
- Finishing nails are only 1 in (2.5 cm) or so long, and don’t take up as much space as traditional nails. You can find them online, or at your local hardware or home improvement store.
-
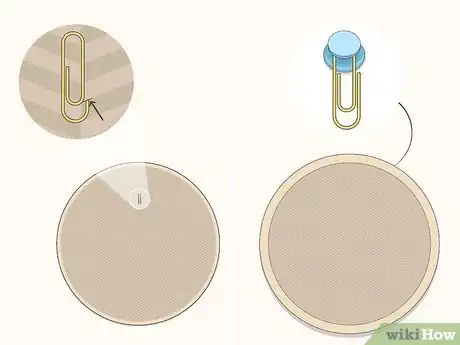
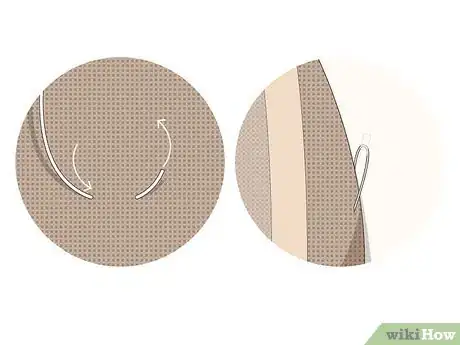
2Use paper clips and thumbtacks if you don’t want to damage your baskets. Thread a paper clip through 1 woven strand of material on the back of your basket. Stick a thumbtack into the wall to signify where the basket should go. All you have to do is loop the paper clip over the thumbtack to hang up your basket![7]
-
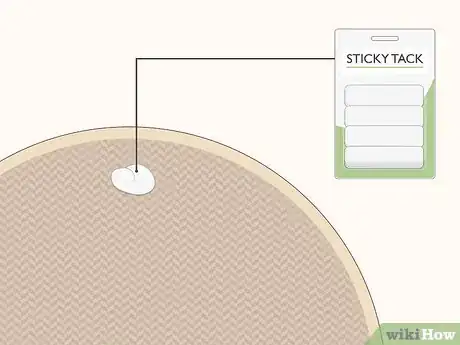
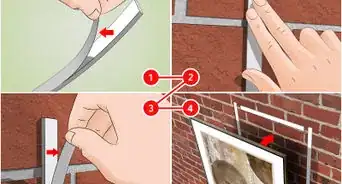
3Place sticky tack on your baskets if you don’t want to damage your walls. If you don’t want to create any nail holes or pinpricks, consider securing 2 pieces of sticky tack to the back of your basket instead. Press along the edges of the basket for several seconds to secure it to the wall. If you want to rearrange or remove the item later on, pull on the edges of the basket to remove it.[8]
-
4Use fishing wire and adhesive tabs to remove your baskets easily. String a 1 ft (30 cm) section of fishing line through a sewing needle, then thread both ends of the line through the central back portion of the basket. Knot the 2 ends of the line together, then trim off any extra material to create a small loop. To arrange your baskets on the wall, stick the fishing line loop onto a small adhesive tab to secure it into place.[9]
- You can find adhesive tabs in packages of adhesive hooks. If you don’t have these items on hand, you can try using masking tape instead.
Expert Q&A
-
QuestionWhat can you do with old baskets?
 Kanika KhuranaKanika Khurana is an Interior Designer and the Owner of Kanika Design. With over 12 years of experience, Kanika specializes in remodeling, refurnishing, and color consulting. Kanika holds a Bachelor’s Degree in Psychology from San Francisco State University, a Redesign and Home Staging Certification, and an Associate Degree in Business Administration from Cañada College.
Interior Designer Well, you can use them for all sorts of things! You can use them as planters, that's always pretty nice. You can also use them in your bathroom to store some rolled towels in it or use them as laundry baskets.
Things You’ll Need
Displaying Your Baskets
- Finishing nail
- Hammer
- Thumbtacks
- Paper clips
- Sticky tack
- Fishing line
- Scissors
- Adhesive tabs
- Masking tape (optional)
References
- ↑ https://thehoneycombhome.com/how-to-easily-hang-wall-baskets/
- ↑ https://thehoneycombhome.com/how-to-easily-hang-wall-baskets/
- ↑ https://youtube.com/watch?v=kFAHoph6TEs&t=0m34s
- ↑ https://m.youtube.com/watch?v=kFAHoph6TEs&t=2m43s
- ↑ https://thehoneycombhome.com/how-to-easily-hang-wall-baskets/
- ↑ https://www.youtube.com/watch?v=kFAHoph6TEs&t=3m5s
- ↑ https://www.youtube.com/watch?v=7FpJ1qbRhSQ&t=3m12s
- ↑ https://thehoneycombhome.com/how-to-easily-hang-wall-baskets/
- ↑ https://listinprogress.com/how-to-create-a-basket-wall/
