This article was co-authored by wikiHow Staff. Our trained team of editors and researchers validate articles for accuracy and comprehensiveness. wikiHow's Content Management Team carefully monitors the work from our editorial staff to ensure that each article is backed by trusted research and meets our high quality standards.
There are 14 references cited in this article, which can be found at the bottom of the page.
This article has been viewed 21,147 times.
Learn more...
Hanging a wall scroll is a little less intuitive than hanging ordinary framed pictures and posters due to their unique shape, but it couldn’t be easier. Most pieces of traditional Asian scroll art come with a small ribbon attached, which is used to bind the rolled scroll. The quickest and easiest way to get your scroll up is to simply drive a nail into the wall and loop this ribbon over the top. If you’d prefer not to damage your display wall, you can also pick up a package of adhesive wall hooks or strips or some inexpensive magnets, which will allow you to mount your piece without leaving behind any unsightly holes.
Steps
Hanging Your Wall Scroll on a Nail
-
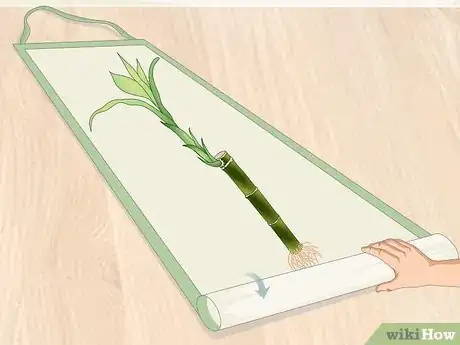
1Unroll your wall scroll if you haven’t done so already. Loosen the ribbon or string tied around the middle of the scroll, being careful not to damage either of its attachment sites. You’ll be using this handy little ribbon to suspend the scroll on your display wall.[1]
- If your wall scroll didn’t come bound with a ribbon or string, it may be easier to hang it using some form of adhesive wall hanger.
-
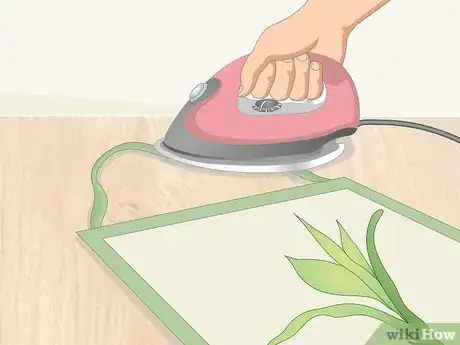
2Iron your scroll's hanging ribbon to eliminate wrinkles if necessary. Upon unrolling your scroll, you may find that the ribbon used to hold it together shows signs of wrinkling, creasing, or kinking. Fortunately, this is an easy fix. Simply lay the ribbon flat against an ironing board and smooth it out with a clothes iron set to the lowest heat setting. When you're done, it will look brand new.[2]
- If you're worried about damaging the ribbon, cover it with a thin layer of fabric, such as a small towel, t-shirt, or pillowcase, before running your iron over it.
- Mounting your scroll without first removing heavy wrinkles or creases in the ribbon could cause it to hang unevenly, or at the very least look sloppy.
Advertisement -
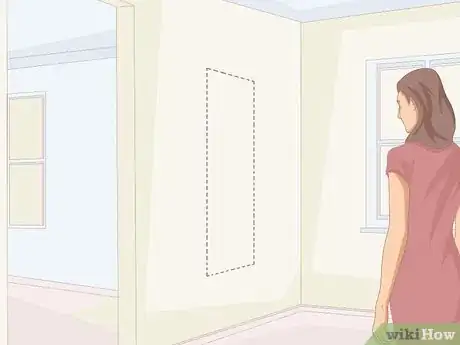
3Pick out an eye-catching spot to mount your wall scroll. Ideally, your piece should hang at around eye level so that you and your guests’ gaze will fall on it naturally and easily. While it’s not necessary to measure your scroll, doing so can help you nail its placement (no pun intended).[3]
- Be sure to take into account the extra height added by the hanging ribbon when it’s pulled taut. A couple of inches may not seem like much, but it could end up making your scroll look a bit low.
- Horizontal scrolls will be suspended a little closer to their actual midpoint.[4]
Tip: If you want to measure your scroll, find it’s overall length from top to bottom in inches or centimeters, then use this number to locate its exact midpoint. Hang the scroll with the midpoint right at or just below eye level.
-
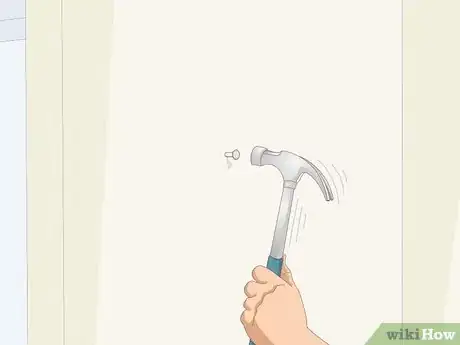
4Drive a small nail into the wall. Tap the nail in gently to avoid damaging the paint or drywall surrounding the hole any more than necessary. Leave at least 1⁄2 inch (1.3 cm) protruding from the wall to ensure that the hanging ribbon has plenty of room to sit comfortably.[5]
- Hammering the nail in at a slight downward angle will make the ribbon less likely to slip off.
- The smaller the nail, the less damage it will do, and the less noticeable it will be. Something like a 4D or 6D finishing nail will be your best bet.[6]
- Another option is to use a thumbtack rather than a nail. The spikes on most thumbtacks are more slender than even the smallest finishing nail, and you'll be barely be able to notice the holes they leave behind.
-
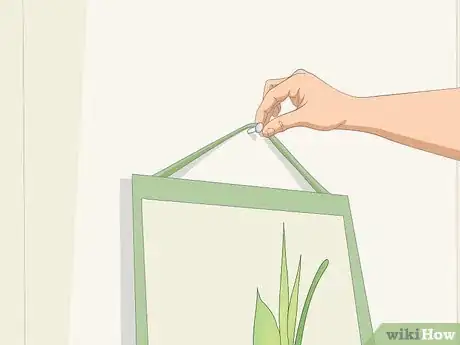
5Slip the hanging ribbon over the nail. Once you’ve got the scroll in place, adjust the length of the ribbon on either side of the nail until it’s hanging perfectly level. Then, step back and admire your handiwork. It’s that simple![7]
- Unroll and lower the bottom part of the scroll gently rather than letting it drop. This could tear delicate paper pieces.
- If you’re a perfectionist, you can use a spirit level to confirm that your wall scroll is nice and straight.
Mounting Your Scroll with Adhesive Wall Hooks or Strips
-
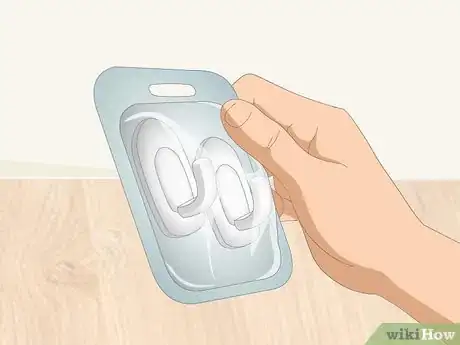
1Pick up a package of adhesive wall hooks or strips. Adhesive wall-hanging solutions come in a couple basic designs: molded plastic hooks or sticky-backed Velcro strips. Either one will provide more than enough gripping power to support the weight of a standard sized wall scroll.[8]
- At $5-7 per package of 8-16, strips are considerably more affordable than hooks, which tend to run $2-3 per hook.
Tip: A package of adhesive wall hooks costs more than driving a nail, but they’ll essentially pay for themselves since you won’t have to go to the trouble and expense of patching a hole later on.
-
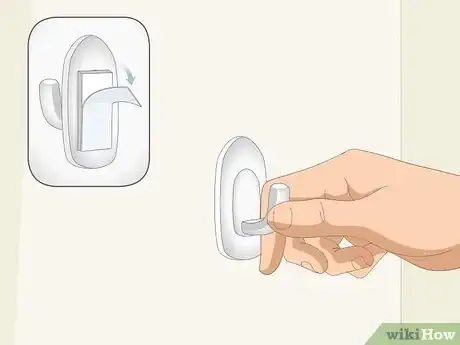
2Peel the backing off of adhesive hooks and stick them directly to the wall. Press the hook into the wall for 20-30 seconds to establish a firm connection. Do your best to stick the hook on straight the first time. Adhesive hanging hooks are quite grippy, but they may lose some of their tackiness if they’re applied and removed repeatedly.[9]
- Some hooks come in 2 pull-apart Velcro halves, which you’ll need to apply separately.[10]
-
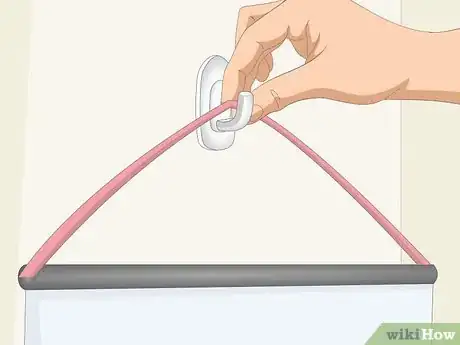
3Drape the hanging ribbon on your scroll over the hook. Adjust the ribbon on either side of the hook so that the scroll hangs as straight and level as possible. If your piece’s positioning needs to be perfect, a level can be an indispensable aid for getting it aligned just right.
- You may need to tie a thin string or length of fishing line around the ends of the rod at the top of your scroll if it doesn’t include its own hanging ribbon.[11]
-
4Place a pair of adhesive strips at the top and bottom of your scroll. If you're using strips as opposed to hooks, take 2 pairs out of the package and tear them apart to separate each individual strip. Apply your first set to the backside of the rods framing the top and bottom of the scroll. Then, attach the Velcro face of the second set to the first set before you peel the backings off. That way, all you have to do is slap the scroll onto the wall and smooth the strips down.[12]
- You may even be able to get away with using only a single pair of strips at the top of an especially lightweight piece.
- As long as you wrap the strips neatly around the curved backside of the rods, they should be completely invisible once the scroll is on the wall.
Securing Your Scroll Using Magnets
-
1Decide where you want your piece to go on the wall. Run through a couple quick mock hangings to see where your wall scroll will look best. Remember, you want the center or most striking element of the piece to hang right around eye level.
- If possible, have a helper hold and adjust the scroll for you while you stand back and observe its placement.
-
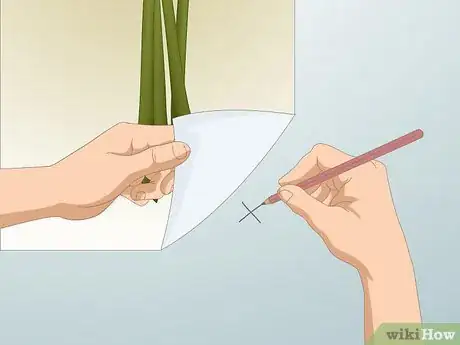
2Mark the point below each of the scroll’s 4 corners. While holding the piece steady on the wall, peel back each corner one at a time and draw a faint line or “X” with a pencil. This will make it possible to line the scroll up in your chosen location effortlessly once the time comes to actually mount it.[13]
- Be careful not to make a mark so dark that you can’t easily erase it. Your marks will be visible when you remove the scroll.
- You could also throw up some guide brackets for the corners of your piece by sticking a few strips of tape together at 90-degree angles.[14]
-
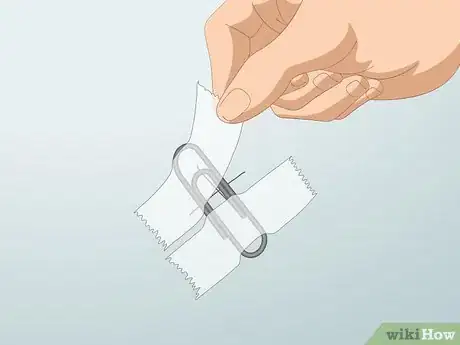
3Tape a paper clip to the wall where each corner of the scroll will go. Place a large paperclip over the first of your 4 corner markings and affix it to the wall with a small strip of low-hold masking tape. Do the same for the remaining 3 marks. You’re almost done already![15]
- Avoid particularly thick or sticky types of tape, like duct or electrical tapes. Not only could these weaken the attraction between your metal pieces and the magnets you’ll be using, they could also strip the paint from your display wall, if you’re not careful.
- You can also use another sort of thin metal object if you don’t have any paper clips handy, such as small coins. Just be sure to use 4 identical pieces to prevent inconsistencies in size or hold.
Alternative: Some companies make adhesive magnet backings that are designed to be stuck straight to the wall for exactly this purpose.[16]
-
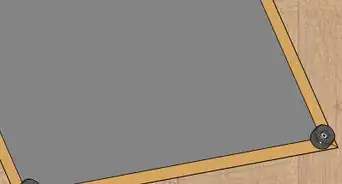
4Use small magnets to secure the scroll to the wall. The magnets will keep the scroll pinned to the paper clips underneath, with no need for any nailing, sticking, or piercing. When you want to take the scroll down or move it to another location, simply pull off the magnets one-by-one and gently remove the taped paper clips.[17]
- You’ll find magnets in various sizes, shapes, and colors at any craft store, hardware shop, or home improvement center. Choose a set of magnets that are small and inconspicuous to avoid drawing unnecessary attention to them.
- The only downside of this method is that the pressure exerted by the paper clips could result in minor wrinkling or creasing on paper scrolls. If you’re worried about keeping your scroll pristine, you may be better off trying a different method.[18]
Warnings
- Always handle paper scrolls with great care. All it takes is one wrong move to tear a priceless piece of art!⧼thumbs_response⧽
Things You’ll Need
Using a Nail
- Hammer
- Small nail (preferably 4D or 6D finishing nail)
- Ruler (optional)
- Level (optional)
Using Adhesive Wall Strips
- Adhesive wall strips or hook
- Thin string or fishing line (optional)
Using Magnets
- Pencil
- Low-hold masking tape
- 4 paper clips
- 4 craft magnets
- 4 other identical thin metal objects (optional)
References
- ↑ https://www.orientaloutpost.com/wall-scrolls/
- ↑ https://www.orientaloutpost.com/wall-scrolls/
- ↑ https://www.orientaloutpost.com/wall-scrolls/
- ↑ https://www.inkdancechinesepaintings.com/knowledge/how-to-hang-horizontal-chinese-scroll-painting-on-the-wall.html
- ↑ https://www.architecturaldigest.com/story/wall-hanging-myths-busted
- ↑ https://www.familyhandyman.com/tools/the-letter-d-in-nail-sizes/
- ↑ https://www.orientaloutpost.com/wall-scrolls/
- ↑ https://www.apartmenttherapy.com/10-temporary-removable-products-all-renters-should-know-about-206028
- ↑ https://www.youtube.com/watch?v=sl8-7MbrW4w&feature=youtu.be&t=14
- ↑ https://www.youtube.com/watch?v=PuaECYj84FA&feature=youtu.be&t=51
- ↑ https://www.youtube.com/watch?v=oq913-lCsPU&feature=youtu.be&t=107
- ↑ https://www.youtube.com/watch?v=rq4BEP39qwM&feature=youtu.be&t=84
- ↑ https://www.todayshomeowner.com/video/how-to-mark-the-location-for-a-picture-hanger/
- ↑ https://www.familyhandyman.com/walls/13-hanging-hacks-for-picture-perfect-walls/
- ↑ https://soranews24.com/2017/10/02/anime-fan-shares-ingenious-lifehack-to-hang-posters-without-putting-holes-in-your-walls/
- ↑ https://www.architecturaldigest.com/story/good-hangups-amazon
- ↑ https://lifehacker.com/a-clever-trick-for-hanging-posters-on-your-wall-without-1819187556
- ↑ https://soranews24.com/2017/10/02/anime-fan-shares-ingenious-lifehack-to-hang-posters-without-putting-holes-in-your-walls/
