This article was co-authored by Andrew Carberry, MPH. Andrew Carberry is a Food Systems Expert and the Senior Program Associate at the Wallace Centere at Winrock International in Little Rock, Arkansas. He has worked in food systems since 2008 and has experience working on farm-to-school projects, food safety programs, and working with local and state coalitions in Arkansas. He is a graduate of the College of William and Mary and holds a Masters degree in public health and nutrition from the University of Tennessee.
This article has been viewed 206,529 times.
Corn husks are made of several leaves and countless silken strands, which might make removing all of them seem like a lengthy task. However, it really is quite easy to get rid of most if not all of them in just one go with the right technique. Using a microwave to loosen everything first can also make things easier with particularly stubborn husks (or even the easy ones, if you’re so inclined). With these tricks up your sleeve, plus a few pointers about which corn to buy, adding fresh corn to your meal will be a cinch!
Steps
Shucking Corn by Hand
-
1Set up an easy-to-clean workspace. Expect shucking corn to get a little messy. At the very least, have a bag handy to throw away the husk’s leaves and silken strands as you work. To make life even easier, line a trashcan or similar container with a bag so you can work over that, or even inside of it.[1]
- Alternatively, you can also line your kitchen counter with paper or other compostable material if you want to compost the leaves and silk. This way you can easily ball up the whole bundle when you’re done.
-
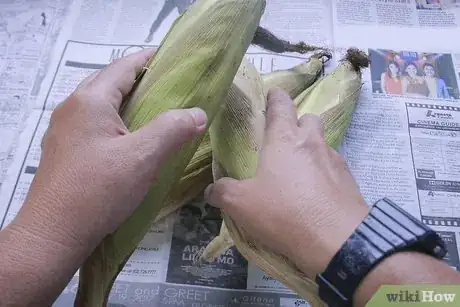
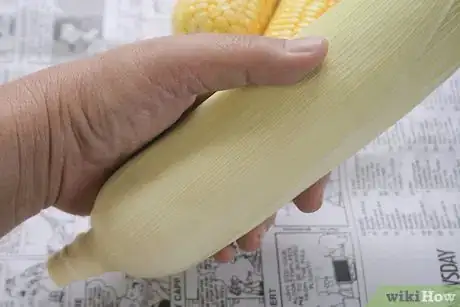
2Start with the outer leaves. Give the husk a quick look-over and find whichever leaf seems to be the outermost. Strip that off and continue peeling away the outer leaves as you work your way inward. Stop once the ear seems to be covered by only one layer of remaining leaves.[2]
- The last layer should be a little translucent, so once you can see the kernels through the leaves, you should be there.
Advertisement -
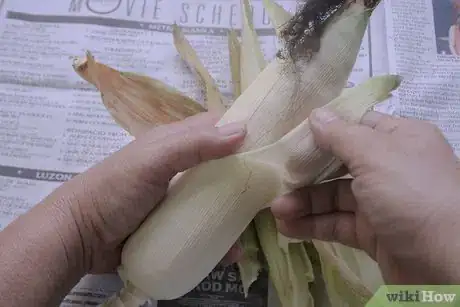
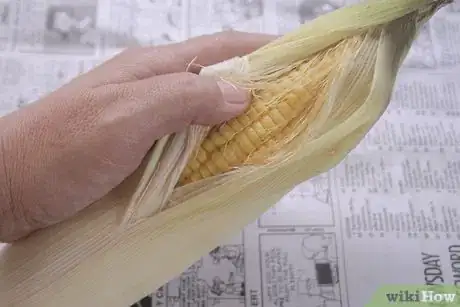
3Uncover the ear’s tip. Pull the tops of the remaining leaves away from the ear’s top. Stop peeling once you’ve exposed three or four rows of kernels. However, as you peel the leaves back, remember:[3]
- The aim is to rip off all the leaves at once, in one move. So don’t peel the tops away from the ear in a way that would make it difficult to hold them all in one hand.
-
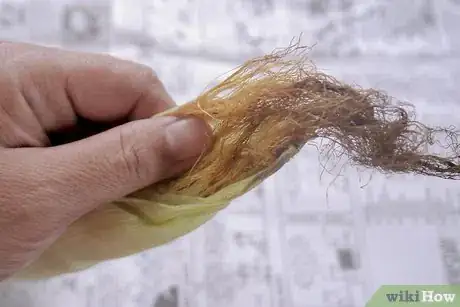
4Gather the tops and tassel in one hand. The “tassel” is the bunched-up ends of all the silken strands inside. Gather this as well as the tops of the inner leaves in your dominant hand. Use your other hand to clutch the ear by its bottom.[4]
- If you’re unable to grab them all in one hand, don’t worry. As long as you have most of the leaves and tassel in hand, the other leaf or leaves may still come off with them.
-
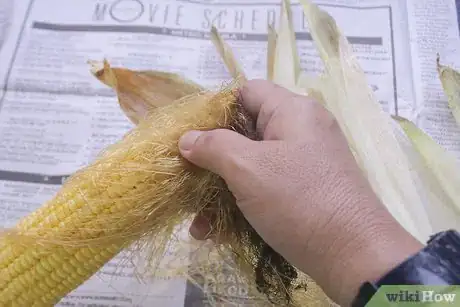
5Pull them down in one move. Hold the ear vertically with its tip at the top. Then, with the leaves’ tops and the silk tassel in one hand, give them a hard yank down the length of the ear to where your other hand is. This should strip the whole ear, but if you weren’t able to get all the leaves’ tops in one hand, just repeat with any leaf that didn’t come off with the others.[5]
- Your corn should now resemble a rocketship, with the ear as the rocket pointing in one direction, and the leaves and silk as its flames pointing the opposite way.
-
6Remove the leaves. Reorient your grip on the ear so you’re holding it by its exposed kernels. Gather the stripped leaves and silk in your dominant hand. Give them another hard yank, along with a twisting motion to easily rip them free of the ear’s bottom.[6]
- Or, if you find it easier to rip the leaves off one by one, go ahead and do that.
-
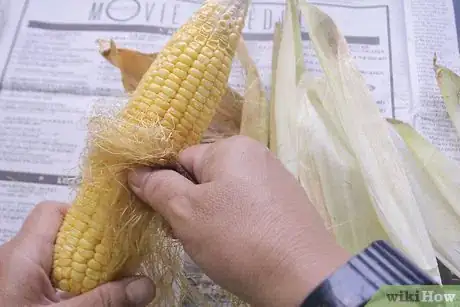
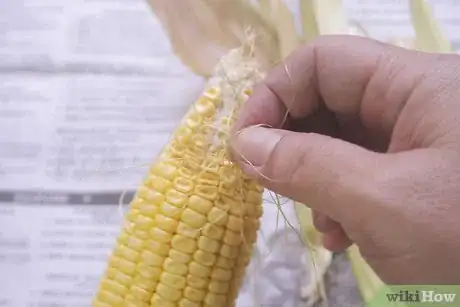
7Peel off any remaining silk. Expect most of the silk to have been stripped away with their tassel. At the same time, don’t count on this to remove all of them. Inspect the ear for any stragglers and peel them off one by one.[7]
Using the Microwave
-
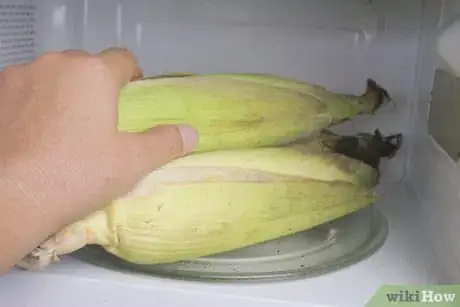
1Microwave the whole thing. Put your corn (husk and all) inside your microwave. Set the power to “high” and cook for two minutes. When the timer ends, turn the ear of corn over and repeat.[8]
- The kernels inside should be steaming through the husk by the end. If they aren’t, keep cooking for shorter intervals until the kernels are sufficiently heated.
-
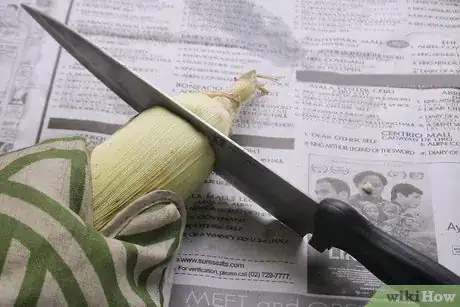
2Cut off the ear’s bottom. Remember: the ear should be pretty hot at this point, so use a pot holder, kitchen towel, or other safe means to remove it from the microwave. Set it on a cutting board. Slice off the bottom of the ear.[9]
- You want about a ¼- to a ½-inch (0.6 to 1.2 cm) of the ear’s kernels exposed after slicing off the bottom. If slicing the bottom off didn’t accomplish that on its own, use a knife to pry the leaves loose along your cut.
-
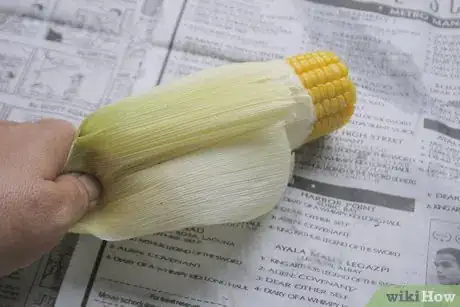
3Squeeze the ear out of its husk. Hold the ear over the cutting board (or, if you’re worried about it rolling off that, use a large bowl instead). Grip it by its top. Start squeezing the ear inside down along the husk so that it comes out of the opened bottom.[10]
- The corn’s silk should stay inside the husk as the ear itself comes out, but give the kernels a check anyway and peel away any strands that might have stuck.
Picking the Best Ears
-
1Check inside. Peel the tops of the leaves away from the ear’s tip. Stop once you can see the first couple rows of kernels. If they look nice and plump, you’re good to go. However, with this method, bear in mind that:[11]
- Once you expose the kernels, their sugars will start turning to starch much sooner, which means they’ll lose their freshness that much quicker.
- For that very reason, this practice is frowned upon in farmers’ market, since any ears that you discard can’t be re-husked to retain freshness.
-
2Look for evidence of worms. Inspect the husk’s leaves. Pay particular attention towards the ear’s top. Check for any holes that have been created by worms.[12]
- Holes may be tiny and hard to spot, but the leaves should have begun turning brown around them, which makes spotting them easier.
-
3Judge its freshness by sight. Look over both the husk’s outer leaves and the silken tassel poking out from its tip. Favor husks with bright green leaves. Go for tassels that are still brownish in color, as opposed to black.[13]
- The leaves’ and tassel’s coloring both indicate how moist the corn is. The more moisture it has, the fresher it is.
-
4Judge by feel, too. If you’re not sure about coloring, feel each ear in your hand. Avoid husks with leaves that feel loose. Favor tassels that still feel sticky, which indicates moisture.[14]
- Depending on how thick the husk is, you may also be able to feel the shape of the kernels through the leaves. If you can, also feel for any gaps that may indicate missing or shrivelled kernels.
Community Q&A
Did you know you can get answers researched by wikiHow Staff?
Unlock staff-researched answers by supporting wikiHow
-
QuestionHow can I get the corn silk off easily? I hate it!
 wikiHow Staff EditorThis answer was written by one of our trained team of researchers who validated it for accuracy and comprehensiveness.
Staff Answer wikiHow Staff EditorStaff Answer
 -
QuestionHow many ears of corn can I micowave at one time?
 NinoxTop AnswererIt depends on the size of the ears. You can microwave 2 big ears or 3 small ones at one time.
Things You’ll Need
Stripping Corn by Hand
- Bag for garbage or compost
- Trashcan or similar container (optional)
- Paper (optional)
Using a Microwave
- Microwave
- Cutting board
- Knife
- Pot holder or kitchen towel
- Bag for garbage or compost
References
- ↑ https://www.thekitchn.com/how-to-husk-corn-quickly-cleanly-cooking-lessons-from-the-kitchn-192664
- ↑ https://www.thekitchn.com/how-to-husk-corn-quickly-cleanly-cooking-lessons-from-the-kitchn-192664
- ↑ https://www.thekitchn.com/how-to-husk-corn-quickly-cleanly-cooking-lessons-from-the-kitchn-192664
- ↑ https://www.thekitchn.com/how-to-husk-corn-quickly-cleanly-cooking-lessons-from-the-kitchn-192664
- ↑ https://www.thekitchn.com/how-to-husk-corn-quickly-cleanly-cooking-lessons-from-the-kitchn-192664
- ↑ https://www.thekitchn.com/how-to-husk-corn-quickly-cleanly-cooking-lessons-from-the-kitchn-192664
- ↑ https://www.thekitchn.com/how-to-husk-corn-quickly-cleanly-cooking-lessons-from-the-kitchn-192664
- ↑ http://allrecipes.com/recipe/222856/corn-on-the-cob-easy-cleaning-and-shucking/
- ↑ http://allrecipes.com/recipe/222856/corn-on-the-cob-easy-cleaning-and-shucking/
- ↑ http://allrecipes.com/recipe/222856/corn-on-the-cob-easy-cleaning-and-shucking/
- ↑ https://food52.com/blog/7700-how-to-choose-an-ear-of-corn-without-peeking
- ↑ https://food52.com/blog/7700-how-to-choose-an-ear-of-corn-without-peeking
- ↑ https://food52.com/blog/7700-how-to-choose-an-ear-of-corn-without-peeking
- ↑ https://food52.com/blog/7700-how-to-choose-an-ear-of-corn-without-peeking
About This Article
To husk corn by hand, pull away the outer leaves until there is only one layer of leaves remaining on the ear. Then, pull back the last layer of leaves to expose the tip of the corn, and gather them all in one hand to pull them to the bottom of the ear. Once you can see the kernels, gather all of the silky tassel remaining on the corn, and pull them down the corn in one movement. Remove the leaves and the tassels by firmly grasping them at the bottom of the ear and breaking them away from the cob. To learn more from our Food Systems Expert co-author, like how to use your microwave to husk your corn, keep reading the article!
