This article was co-authored by wikiHow Staff. Our trained team of editors and researchers validate articles for accuracy and comprehensiveness. wikiHow's Content Management Team carefully monitors the work from our editorial staff to ensure that each article is backed by trusted research and meets our high quality standards.
This article has been viewed 16,415 times.
Learn more...
This wikiHow article shows you how to install War Thunder on your PC or Mac. War Thunder is a free-to-play online multiplayer game for Mac, PC, and other platforms. It’s a military game that lets players use aviation, naval, and other vehicles from World War II and the Cold War. This is a simple guide for installing the game on your computer.
Steps
Downloading War Thunder for PC
-
1Go to the War Thunder website. The website can be found at https://warthunder.com/.
-
2Click the green Download Now button on the right side of the screen. It will be located right beneath the red “Register Now!” button. This will open a pop-up window with another download button.Advertisement
-
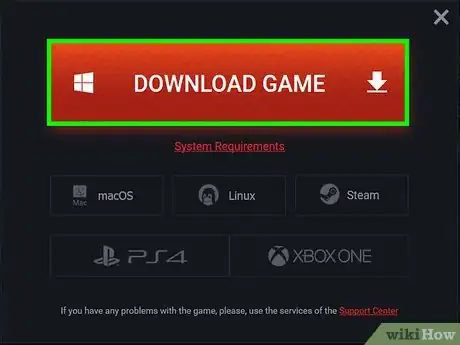
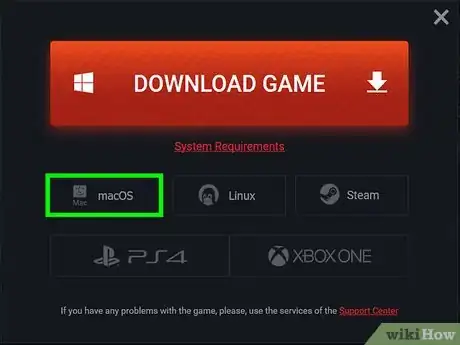
3Click the large red Download Game button. The button will also have a Windows logo and a download icon on it.
-
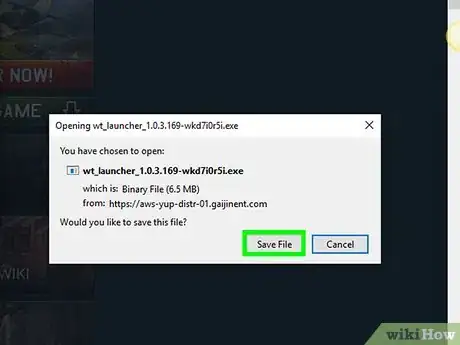
4Download the file to your PC. A window will pop up, giving you the option to choose a folder to download the installer to. You can go with the default “Downloads” folder or select another location. Once you have selected where you want the download to go, click “Save” in the bottom right corner of the window.
-
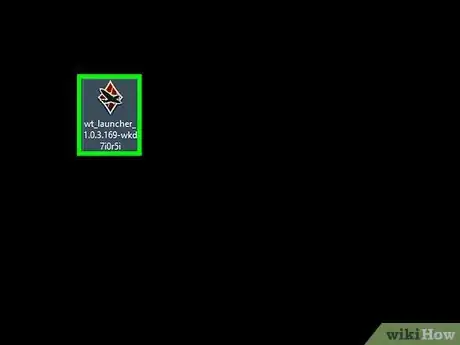
5Double click the file to launch the installer. Locate the file in the folder you downloaded it to and open it.
-
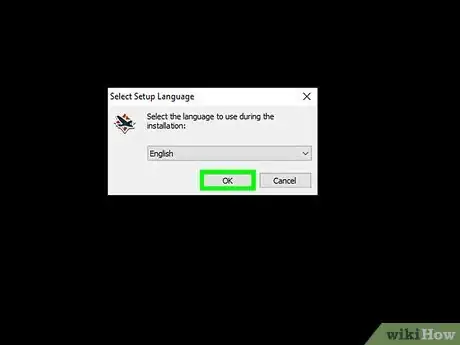
6Choose the setup language. A small window will pop up asking you to choose your language. The default is English, but click on the drop-down if you wish to select something different. Click “Ok” to proceed.
-
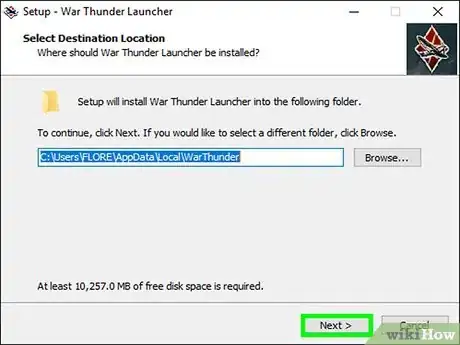
7Choose where to install the game. The installation window will have you choose a location for the War Thunder game. A default folder is selected, but you can change it if desired.
- You will also be given the option to create a desktop icon for the game. The box is checked by default, so uncheck it if you don’t want a shortcut on your desktop.
-
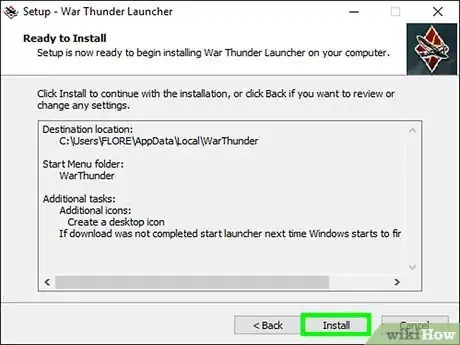
8Click Install. You are now ready to install War Thunder to your PC. The “Install” button can be found at the bottom of the installation window.
-
9Wait for the game to install. You will see a green bar that indicates the installation’s progress. It should only take a minute to completely install.
-
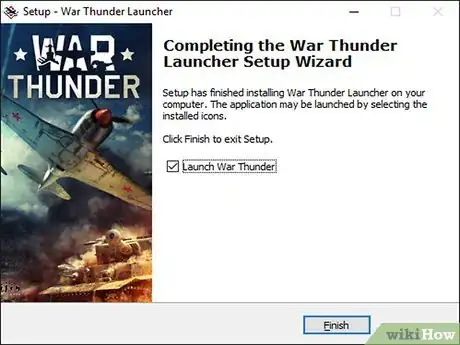
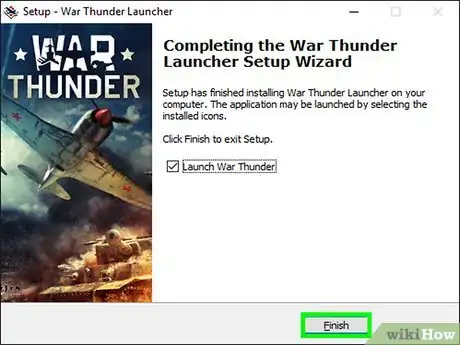
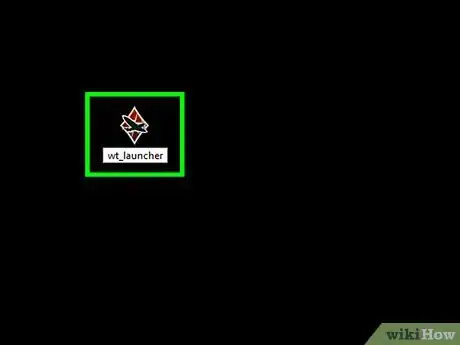
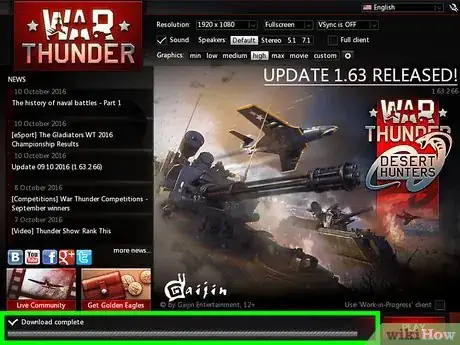
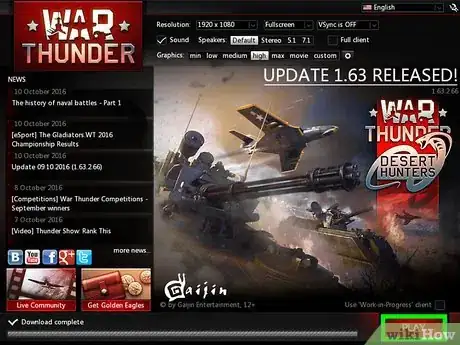
10Click Finish. Clicking “Finish” will automatically launch War Thunder.
Downloading War Thunder for Mac
-
1Download the War Thunder Installer for Mac. This is a direct link that will immediately prompt you to download the game: https://warthunder.com/download/launcherOSX/
-
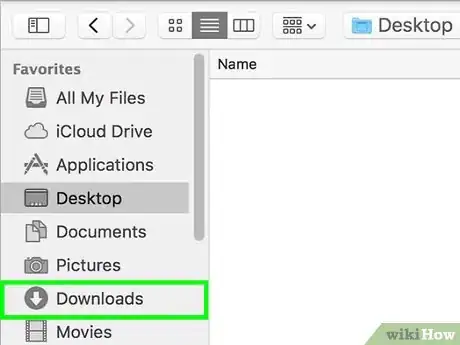
2Open the Downloads folder on your desktop. Once the installer has finished downloading, you will be able to find it in the “Downloads” folder on your desktop.
-
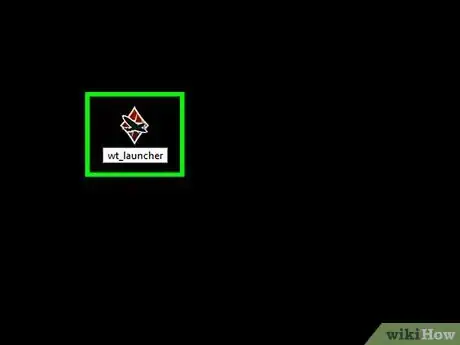
3Double click on WarThunderLauncher. Doing this will open up a window with a shortcut to “Applications” and the War Thunder launcher.
-
4Drag WarThunderLauncher to your Applications folder. Don’t try to open the launcher immediately, or it won’t work. Instead, click on the War Thunder launcher and drag it into the “Applications” shortcut.
-
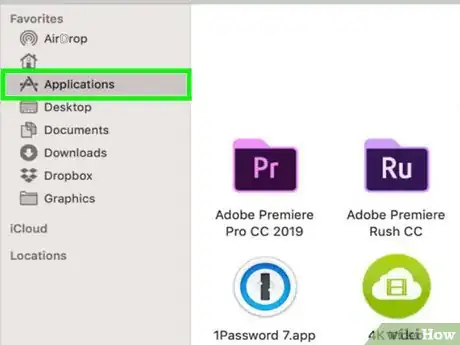
5Double click on WarThunderLauncher in the Applications folder. Go to your “Applications” folder and find the launcher again. Double click on it to begin installation. You will be asked if you want to open this application. Click “Open” to give permission.
-
6Wait for installation to finish. Installation should only take a minute. When it’s finished, you will see the message “Done” over the progress bar.
-
7Click on the red Run game button. At this point, a red “Run game” button will appear. Click on it to open War Thunder.
About This Article
1. Go to the War Thunder website.
2. Click the green Download Now button on the right side of the screen.
3. Click the large red Download Game button.
4. Open the War Thunder installer.
5. Choose where to install the game and click Install.
6. Wait for the game to install and then click Finish.


