This article was co-authored by wikiHow staff writer, Nicole Levine, MFA. Nicole Levine is a Technology Writer and Editor for wikiHow. She has more than 20 years of experience creating technical documentation and leading support teams at major web hosting and software companies. Nicole also holds an MFA in Creative Writing from Portland State University and teaches composition, fiction-writing, and zine-making at various institutions.
There are 14 references cited in this article, which can be found at the bottom of the page.
The wikiHow Tech Team also followed the article's instructions and verified that they work.
This article has been viewed 38,329 times.
Learn more...
If you're new to Linux, you might be a little confused about installing programs. Fortunately, it's easier than ever to install software packages on Linux, no matter which distribution you're using. Many Linux distributions come with graphical package managers you can use to install programs with a single click. You can also use easy commands in a terminal to install packages that come in the .DEB or .RPM package formats, or install an alternative package manager like Flatpak, Synaptic, or Snap. This wikiHow article will teach you how to install applications on any version of Linux, including Ubuntu, Fedora, Debian, and Linux Mint.
Things You Should Know
- A repository is a server that hosts software you can download. Each distribution has its own repositories, but you can also install software in other ways.
- Most distributions come with graphical software "stores" that make one-click installations a breeze.
- Use apt on Debian-based systems to find and install DEB packages, or dnf (and its predecessor yum) on RPM-based systems like RedHat and Fedora.
Steps
Using Apt
-
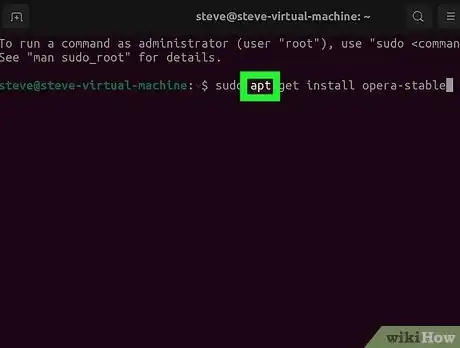
1Open a terminal window on your Ubuntu or Debian system. If you're using Ubuntu or Debian Linux, you can easily install software at the command line using the apt or apt-get commands. Start by clicking the Dash icon on the top-left and selecting the Terminal app to open a Terminal.
- Alternatively, press Ctrl+Alt+T to open a new terminal window.
- You can use apt or apt-get in any of the following commands interchangeably, as they do the same thing. apt-get is the older way of using the apt command, but it still works.
- Apt installs .DEB packages, which are the most common package format for Linux and Debian.
-
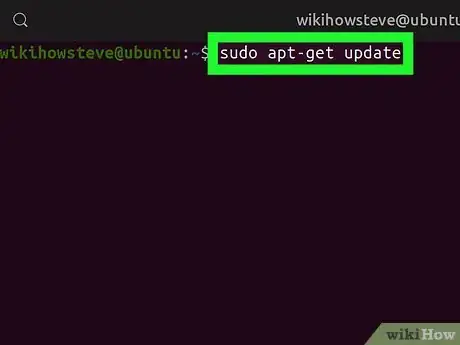
2Type sudo apt-get update and press ↵ Enter. This command will update your repositories, and make sure you have all the latest software packages for installation.
- If you're prompted, enter your user password to run the command.
- If there's a package you're looking for that's only available from a certain repository, you can add the repository using the add-apt-repository command. Check the instructions for the package you want to install for the repository name, public key, and other information.
- For example, if you want to install Steam, you can use sudo add-apt-repository multiverse to add the repository. Then, just update the repository list as you did earlier to ensure you can now search for and install software from that repository.
- If the repository is a PPA repository, such as Mozilla's repository, preface the repository name with "ppa:" like this: sudo add-apt-repository ppa:mozillateam/ppa.
-
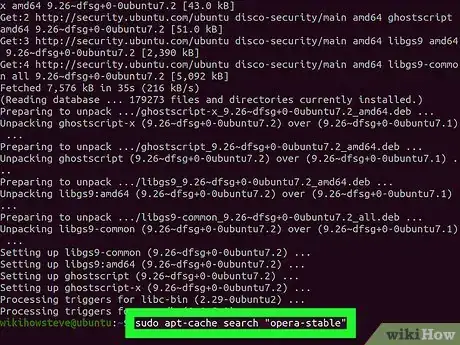
3Run sudo apt-cache search [package name] to search. You can use this command to search and find software to install.
- You will get a list of the matching packages below your search command.
- For example, you can run sudo apt-cache search "opera-stable" to find the latest stable version of the Opera browser available for install.
-
4Run sudo apt-cache show "package name" to see details. This command will show the details for any available software package, including its version, architecture, and installation size.
- For example, run sudo apt-cache show opera-stable to see the package details for the latest stable version of the Opera web browser.
-
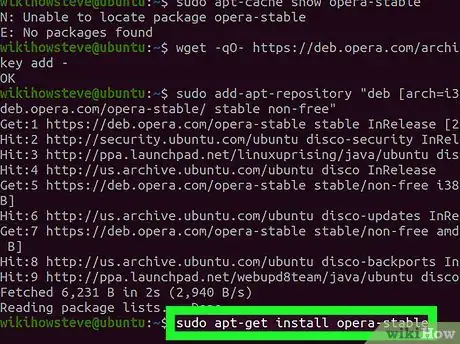
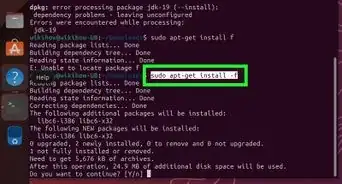
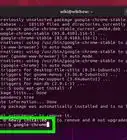
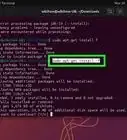
5Run sudo apt-get install "package name" to install. This command will install the selected software package on your system.
- For example, sudo apt-get install opera-stable will install the latest stable version of the Opera web browser.
-
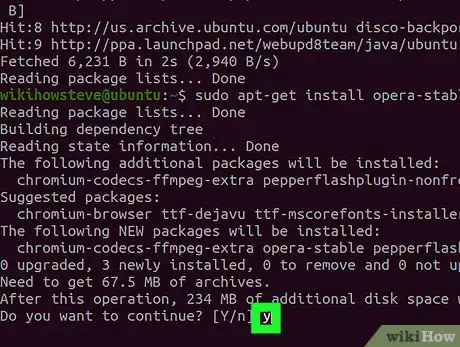
6Enter Y to proceed with the installation. When the terminal asks "Do you want to continue? [Y/n]," enter Y to continue, and install the software on your computer.
-
7Add --reinstall at the end of the install command to reinstall. If you're having issues with software you already have and want to reinstall it, run the standard installation command with this bit added at the end.
- For example, if you have the stable Opera browser and want to reinstall it, run the sudo apt-get install opera-stable --reinstall command.
-
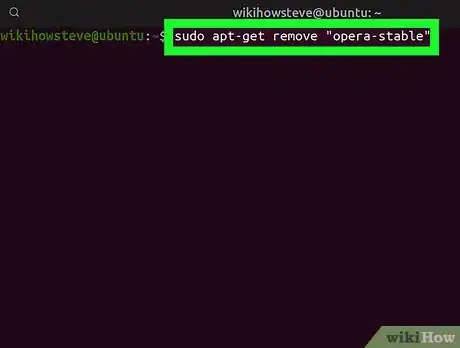
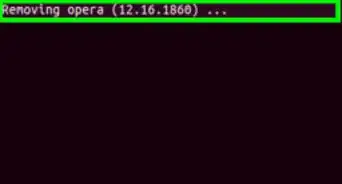
8Run sudo apt-get remove "package name" to uninstall. If you want to remove an app from your computer, run this command to uninstall it, and remove the software files from your computer.
- Alternatively, you can use the sudo apt-get purge "package name" command. This will remove all the configuration files and personal preferences of the specified app.
-
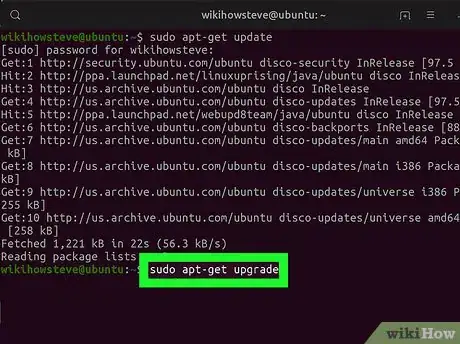
9Run sudo apt-get upgrade to update software packages. This command will upgrade all the installed software you've installed through Apt to the latest versions.
Using DNF or Yum
-
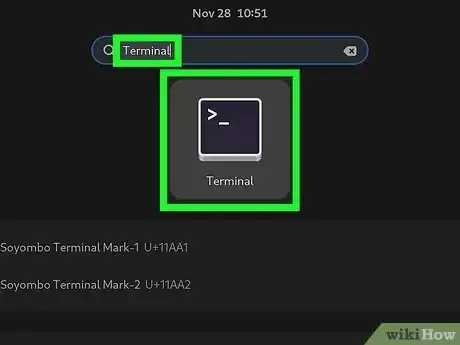
1Open a terminal window on Fedora, RedHat, or CentOS. If you're not using a Debian-based Linux installation, you can use the DNF package manager (or its predecessor Yum, which works the same way) to install software packages from the command line. DNF (and Yum) install .RPM packages, which are the standard package types on all of these Linux versions.
- Yum was the default package manager for RedHat Enterprise Linux, Fedora, and CentOS until the release of DNF.[5] The two package managers have identical syntax—typically, when you see instructions for using yum to install packages, you can simply swap out yum with dnf in your command.
- Because DNF is an improved version of Yum, you'll want to use DNF instead of Yum unless DNF isn't available on your older system.
- If you downloaded a .RPM package from the web, you can use DNF or Yum to install it. To do so, just use the command sudo dnf install packagename.rpm.
-
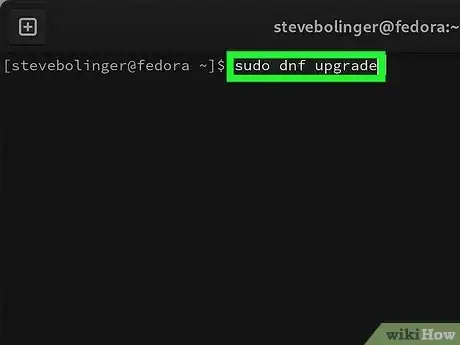
2Run sudo dnf upgrade to update your local package database. This command ensures that you have access to the latest versions of the software you need.
- If you want to check for updates to installed packages without actually installing the updates, you can use sudo dnf check-update instead.
- To update only one package, use dnf update packagename.
- sudo dnf upgrade and sudo dnf update work exactly the same in Linux, both updating all packages, including obsolete ones.
- If you're using a Linux version that only has yum, use yum update to update all packages with available updates, or yum upgrade to update all packages including those which are now obsolete.[6]
-
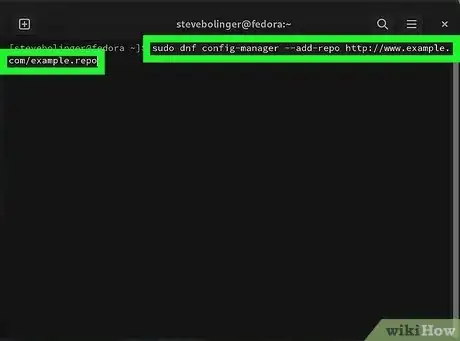
3Add a new repository (optional). All repositories you can download from are listed in /etc/dnf/dnf.conf. To view all repositories, use the command sudo dnf repolist. If there's a repository you need to add so you can get a particular package, you can add a new repository to the list easily:
- Get the URL of the repository, which will end in .repo. For example, http://www.example.com/example.repo
- Use the command dnf config-manager --add-repo http://www.example.com/example.repo to add the repository.
- To enable a repository, use {{{1}}}, where reponame is the name of the depository before the .repo extension.
-
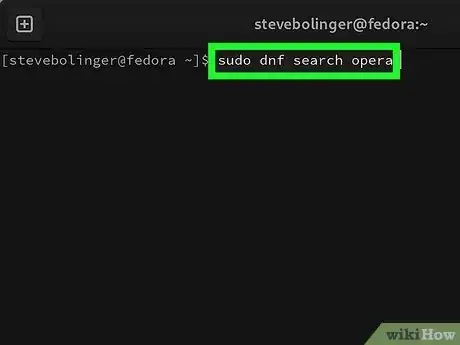
4Search for the software you need. You can search for a specific software title, package name, or type of software using the command sudo dnf search softwarename. The results will show all software packages that match your search terms.
- For example, if you want to install the Opera web browser, use sudo dnf search opera.
- To see all available packages in your repositories, use sudo dnf list available.
-
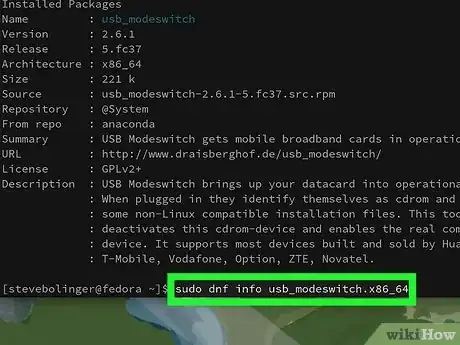
5Find out more information about a package. Once you find a package you want to install, you can learn more information about it, such as its size, the repository it comes from, and the release number. To do this, use the command sudo dnf info packagename.
- It will also be helpful to find out if the package you want to install has any required dependencies. Dependencies are other libraries and applications required by this package to run properly. Use the command dnf repoquery --requires packagename to do this.
- If there are any required dependencies that you don't already have, you'll want to install those first.
-
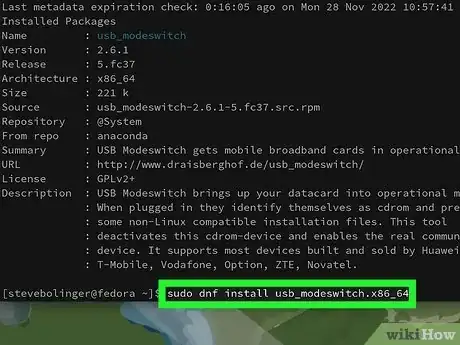
6Install the package. Once you've determined that you want to install the package, use sudo dnf install packagename to download and install the package.
-
7Remove a package. If you want to uninstall something you installed using DNF or Yum, use sudo dnf remove packagename.
- You can see a list of all installed packages using sudo dnf list installed.
Using Flatpak
-
1Install Flatpak. Flatpak is a great option for installing software on any version of Linux for many reasons. Unlike other repositories and package management tools, Flatpak allows you to install packages for any Linux distribution—software developers can release one Flatpak version of their software that can easily be installed no matter which version of Linux you're running. You also won't need root (sudo) access to install Flatpak software and run programs.[7]
- If you're using Fedora, Linux Mint, Pop!_OS, CentOS, Manjaro, you don't have to install Flatpak, as it's already installed. You'll just need to set up the Flathub repository, which we'll cover in the next step.
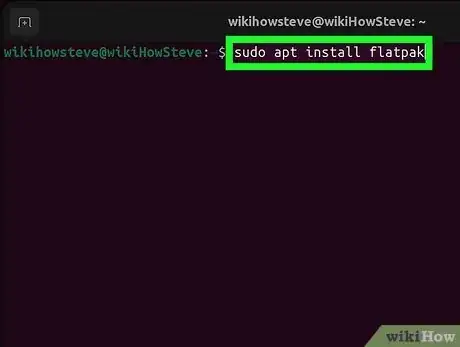
- On Ubuntu and Debian, use sudo apt install flatpak.
- On RedHat, run sudo yum install flatpak or sudo dnf install flatpak.
- On other distributions, go to https://flatpak.org/setup/ and select your Linux version for instructions.
-
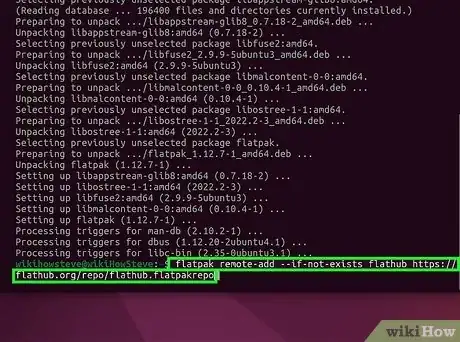
2Add the Flathub repository. This is the most common repository for Flatpak. To add it, use the command flatpak remote-add --if-not-exists flathub https://flathub.org/repo/flathub.flatpakrepo.[8]
-
3Browse apps to install. If you just want to see what's available, you have two simple options:
- In your web browser, go to https://flathub.org/apps. You can check out different categories or search for something in particular, just like your phone's app store.
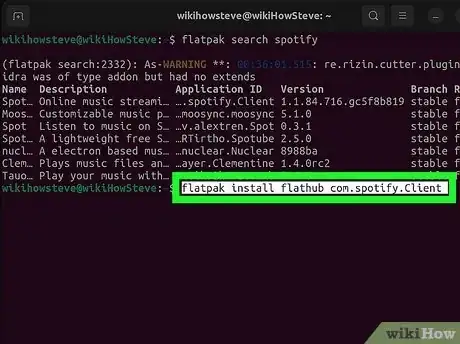
- Alternatively, you can use flatpak commands in a Terminal window. To search for a particular app (or type of app), open a Terminal and use the command flatpak search search-term.
- In the results, you'll see the app's ID, version, remote location, and a description.
- For example, to search for Spotify, you'd use flatpak search spotify.
- To search for music apps in general, you could use flatpak search music or flatpak search streaming.
-
4Install an app. Once you find an app you want, installing it is easy:
- If you're browsing on the web, click the 'Install button to install the app.
- If you're using the command line, you'll need to run a command that uses the app's ID (e.g., com.spotify.Client for Spotify) and remote server (e.g., flathub). The syntax is flatpak install remoteserver appid. For example, flatpak install flathub com.spotify.Client.[9]
- To uninstall an app, just replace install with uninstall, and leave out the remote server. For example, flatpak uninstall com.spotify.Client.
-
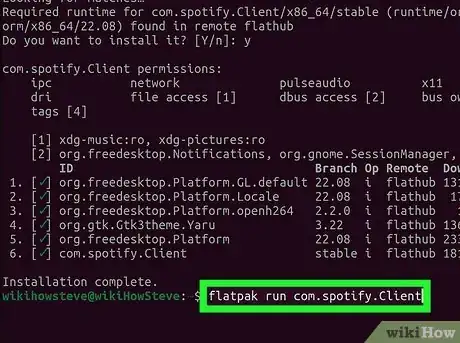
5Use the flatpak command to launch the installed app. Once you've installed an app, you can easily run it from the command prompt using flatpak run appid.
- For example, flatpak run com.spotify.Client would launch Spotify.
- To see which Flatpaks are installed, use the command flatpak list.
Using Synaptic
-
1Install Synaptic if you don't have it. Synaptic is a graphical interface for Apt that's great if you don't like to type commands but want more flexibility with updates than when using GNOME Software or Ubuntu Software. With Synaptic, you can easily browse and manage repositories, install and uninstall applications, and update packages.
- If you're using Debian, Synaptic is preinstalled. On Ubuntu, you can install it from Ubuntu Software or using sudo apt-get install synaptic in a Terminal window.
-
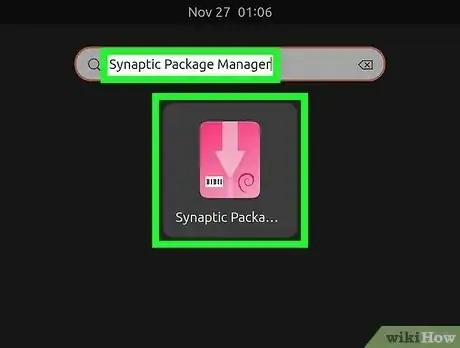
2Open Synaptic. Once Synaptic is installed, you'll find it in your Applications menu, or (on Ubuntu), in System > Administration > Synaptic Package Manager.[10]
-
3Search for the software you want to install. You'll see categories in the left panel, which you can click to view packages. You can also search for package names or types by keyword using the Search option at the top of the window, or by pressing Ctrl + F.
- If you need to add a repository to install a particular package, click Settings and select Repositories to edit your repository list.[11]
- The repositories in Synaptic are the same repositories available in Apt, which you can also view and edit in /etc/sources.list.
-
4See information about a package. Select a package and click Properties to view details, including required dependencies, a list of files to be installed, versions, and a description of the software.
-
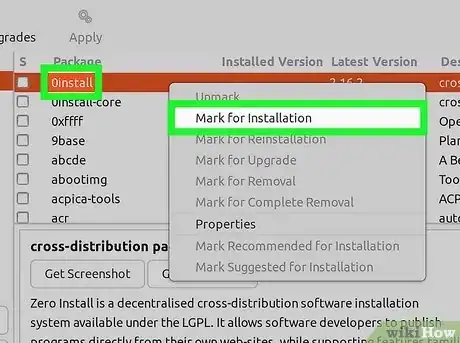
5Right-click a package and select Mark for Installation. This tells Synaptic that you want to install the selected package. You can now search for additional packages to install or just continue to the next step.
-
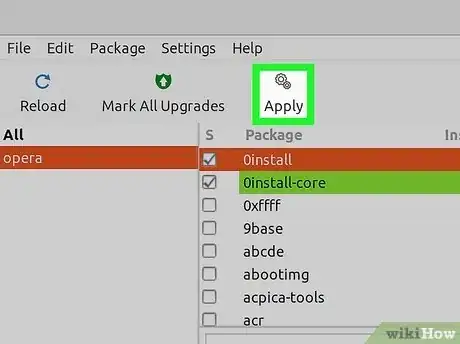
6Click Apply twice to confirm and install. All selected packages will now install.
-
7Update software. Updating packages is super easy with Synaptic:
- First, update the repository list by pressing Ctrl + R or clicking Reload.
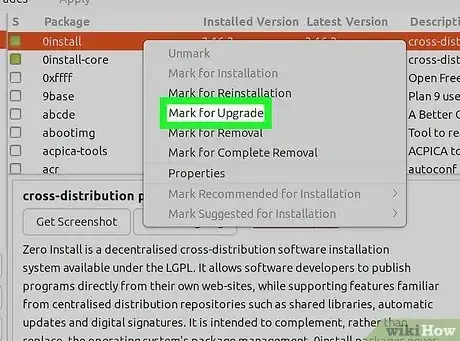
- Right-click a package and select Mark for Upgrade.
- Mark additional packages for upgrade if desired, then click Apply.
- Click Apply again to confirm.
-
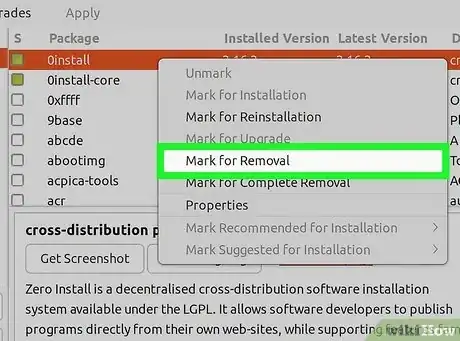
8Uninstall packages. Whether you installed a packaging using Apt or Synaptic, you can use Synaptic to easily remove a package. Just right-click an installed package, choose Mark for Removal, then click Apply twice to confirm.
Using Snapcraft
-
1Install or enable Snap if needed. Snapcraft is another graphical application "store" that's available for all versions of Linux. The Snap feature, which you'll use to install Snap packages, comes preinstalled on Ubuntu, Manjaro, Zorin OS, Solus, and any systems using KDE Neon.[12] If you're using another Linux distribution, including Debian, Arch Linux, and CentOS, you'll need to install or enable the feature.
- On Debian, KDE Neon, and Pop!_OS, use Apt by entering the commands sudo apt install snapd and then sudo snap install core.
- On Fedora, use the command sudo dnf install snapd.[13]
- On RedHat and CentOS, you can use DNF or YUM.
- Add the repository first using the command sudo dnf install epel-release.
- Install Snap using sudo dnf install snapd.
- Enable Snap using sudo systemctl enable --now snapd.socket.
-
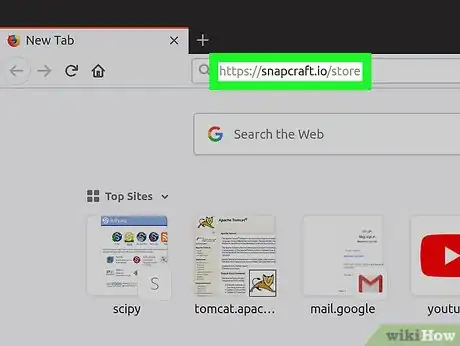
2Go to https://snapcraft.io/store in your web browser.
-
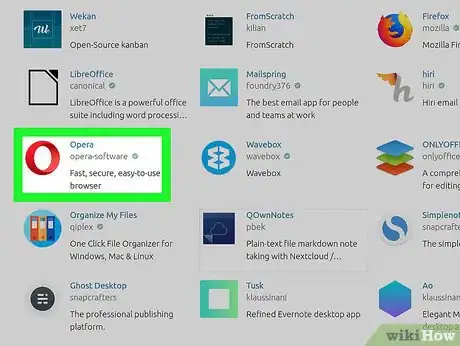
3Select the software you want to install. You can browse software by category or search for your favorite apps.
-
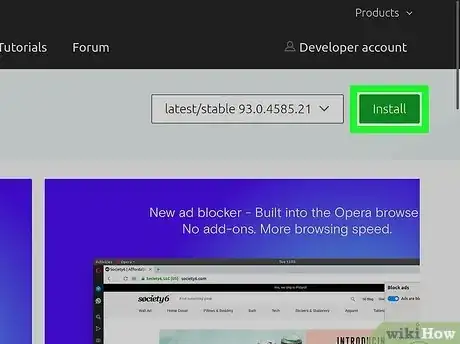
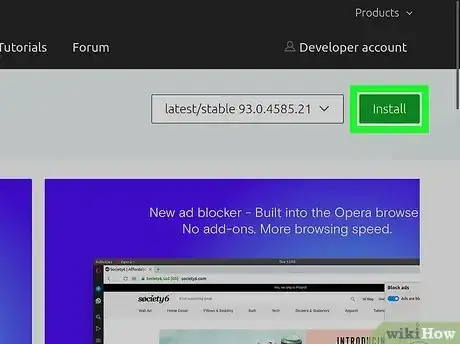
4Click the Install button. You'll see this at the top-right corner. As long as Snap is enabled, this should download and install the package and all required dependencies.
- If this doesn't work, continue with this method.
-
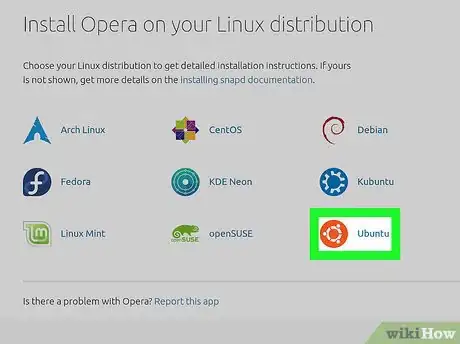
5Scroll down and select your Linux distribution. For example, if you're using openSUSE, click that icon.
-
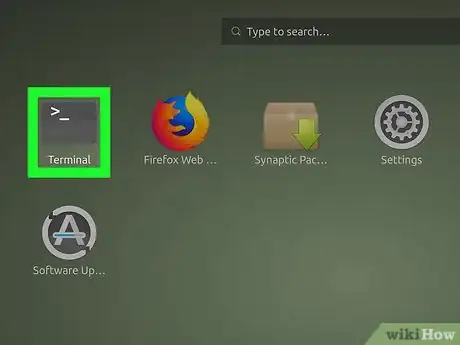
6Open a new Terminal window. If you used the existing terminal window to install Snap, be sure to open a new window instead of using the same one.
-
7Type and run the selected app's install command. For example, to install the Thunderbird email client, you'd use sudo snap install thunderbird.
- This will install the selected app on your computer.
Compiling Source Code
-
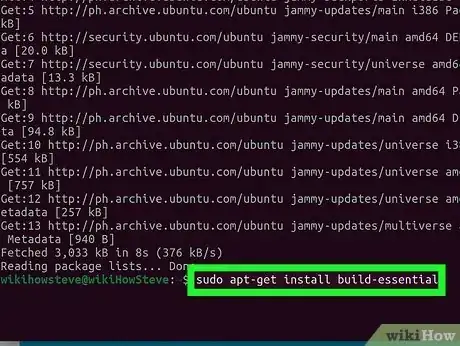
1Install GCC if you don't already have it. If you downloaded source code that needs to be compiled, you'll need to make sure you have a C compiler. Most Linux distributions come with GCC, but if you're using Ubuntu or Debian, you'll need to install the build-essential package first.[14] Here's how:
- Open a Terminal window.
- Run sudo apt-get update.
- Run sudo apt-get install build-essential to install.
-
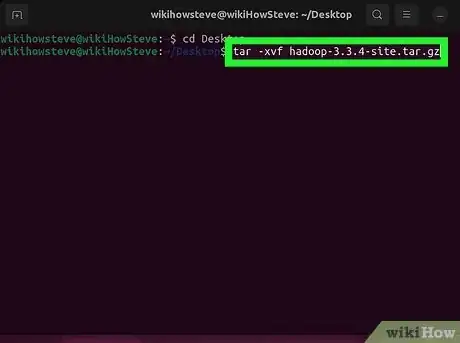
2Untar the source code. Usually source code is compressed into a tarball, which is a compressed file ending with the .tar.gz or .tar.bz2 file extension. In your Terminal window:
- cd to the directory in which you saved the file.
- If the file ends with .tgz or .tar.gz, run tar -xvf <filename>.
- If the file ends with .tar.bz2, use tar -xjvf <filename>.
- Run ls -al to view the extracted files and folders.
-
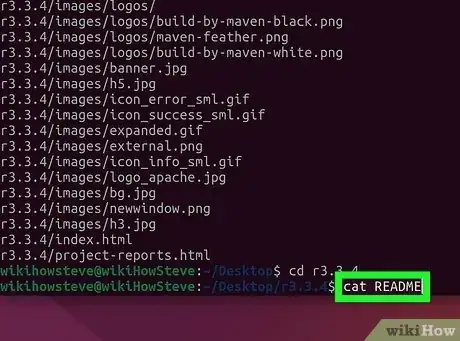
3Read the README and/or INSTALL file before you compile. Depending on the software you're compiling, you'll usually find a text file that contains helpful instructions for installation. In the directory that contains your decompressed files, run ls -a to look for such a file.
- To read the text file, use cat README (for a file called README) to view the whole file, or more README to read it page-by-page.
- If you have both files, be sure to read them both. They may both contain important instructions.
-
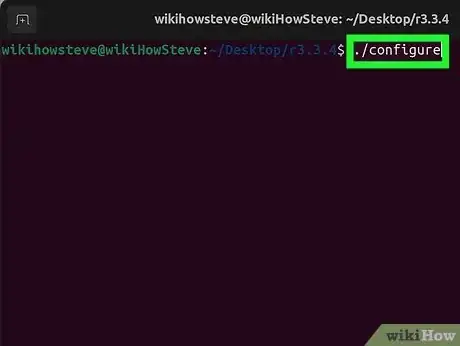
4Run the configure script. If the instructions tell you to use certain flags or to skip this step, stick to those instructions. If not, run the command ./configure to prepare your files for compilation.
- If there's no configure file, double-check the instructions to find out how to compile the program.
- You can also look for a script called install.sh in the directory. If this file exists, make it executable with chmod u+x install.sh, then run it using this command: ./install-sh
- If you see an error about missing dependencies or libraries, install whichever dependencies are required before you continue. It'll be easiest to do this using one of the above package installation methods. After installing the required files, run the configure or install script again.
-
5Type make and press ↵ Enter. This compiles the code into an executable program. Depending on the size of the file and the speed of your processor, this might take a while.
-
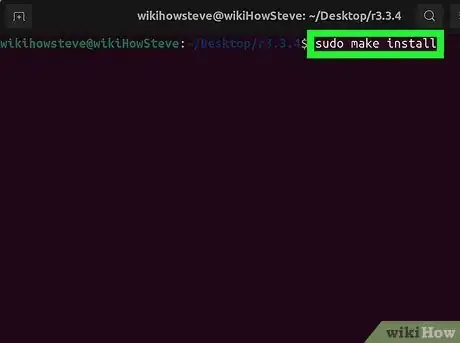
6Type sudo make install and press ↵ Enter. This adds the newly-compiled program to your system binary directory. However, if you're just compiling code for use in your own home directory, you can skip this step.
References
- ↑ https://help.ubuntu.com/stable/ubuntu-help/addremove-install.html.en
- ↑ https://userbase.kde.org/Discover
- ↑ https://apps.kde.org/discover/
- ↑ https://help.ubuntu.com/stable/ubuntu-help/addremove-ppa.html.en
- ↑ https://docs.fedoraproject.org/en-US/quick-docs/dnf/
- ↑ https://access.redhat.com/sites/default/files/attachments/rh_yum_cheatsheet_1214_jcs_print-1.pdf
- ↑ https://docs.flatpak.org/en/latest/introduction.html
- ↑ https://flatpak.org/setup/Fedora
- ↑ https://docs.flatpak.org/en/latest/using-flatpak.html
About This Article
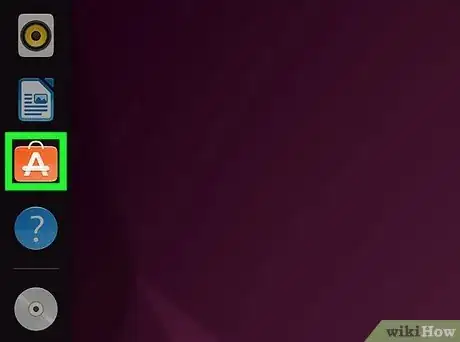
1. Open your applications or software menu.
2. Select the software center app of your system.
3. Find the app you want to install.
4. Click the INSTALL button.
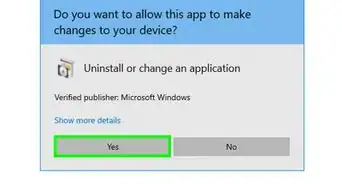
5. Enter your user password.
