This article was co-authored by Alberto DeJesus. Alberto DeJesus is a Construction Specialist and the CEO of DeJesus Industries. With more than four years of experience, he specializes in high-end real estate development and construction. Alberto and DeJesus Industries have been featured on NBC News and have worked with numerous well-known companies, including Mazda, Amazon, and CVS. Alberto holds a Bachelor’s degree from Boston University.
wikiHow marks an article as reader-approved once it receives enough positive feedback. In this case, 92% of readers who voted found the article helpful, earning it our reader-approved status.
This article has been viewed 148,937 times.
Installing a brick walkway is easy and can add beauty to your outdoor living. There are many different types and colors of brick to choose from. Brick walkways are not difficult to make, but they can be a time-consuming process, depending on the size and design of the walkway.
Steps
-
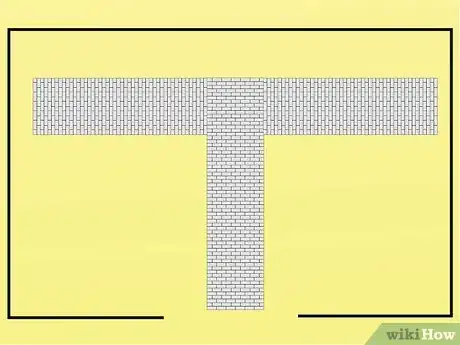
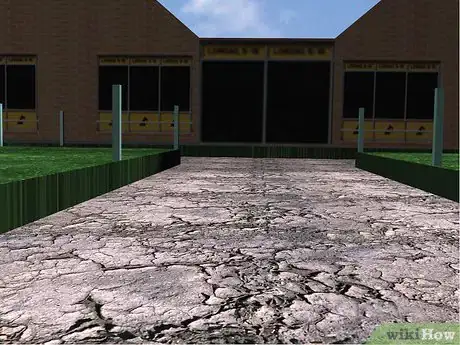
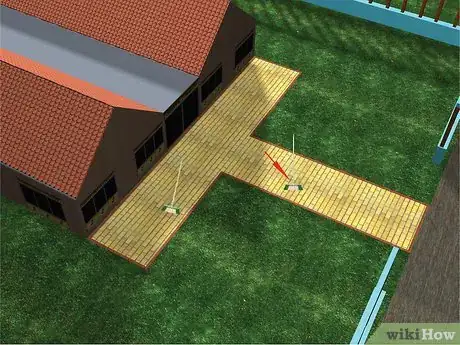
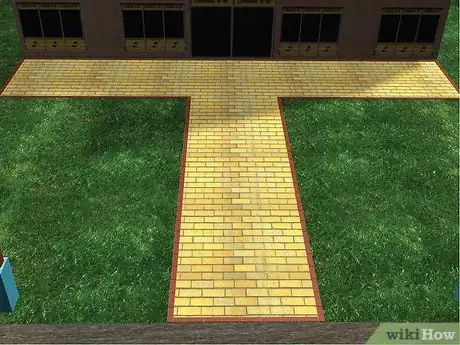
1Make some walkway sketches to get an idea of the design you like before doing anything else. Some people like straight walkways, while others like to get a little fancier with the design and use different bricks or sizes.[1]
-
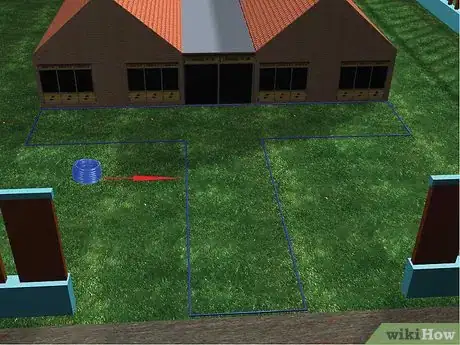
2Use a garden hose to lay out a rough design for your brick walkway. Garden hoses are long and flexible, making it easy to make changes.
- Make certain the walkway is straight, unless you have the talent necessary to cut the bricks to fit a curved design.
Advertisement -
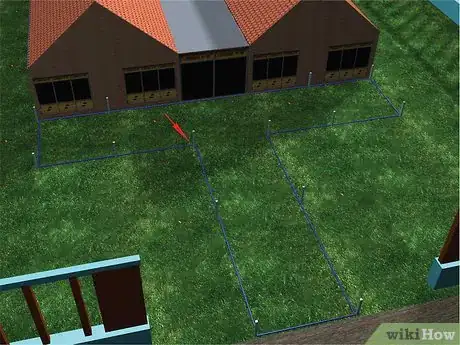
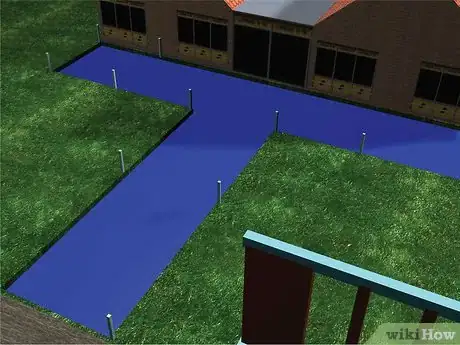
3Mark your walkway with stakes so you can work on the area without accidentally moving the original lines. You'll want to mark each side of the walkway with stakes.
- Tie colored string from stake to stake, making straight lines to use as a guide when digging.
-
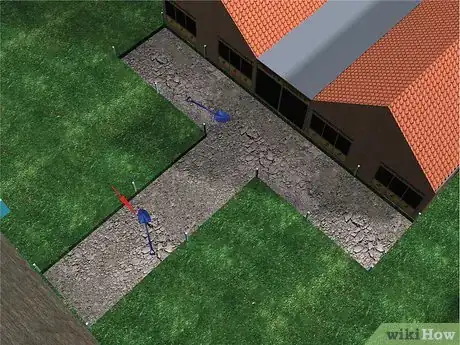
4Cut through the grass and dirt with a garden spade to create perfectly straight, vertical lines. Follow the walkway and dig down into the ground about 8 inches (20.3 cm).[2]
- The depth of your walkway must be consistent for the entire walkway.
-
5Remove the grass and dirt from the inside of your walkway with a rounded shovel. This type of shovel works great for digging through tough soil and grass.
-
6Level the ground appropriately for your walkway. While the walkway needs to be level, the ground should slope gently outward from the brick walkway to act as a runoff route for rain and snow.
-
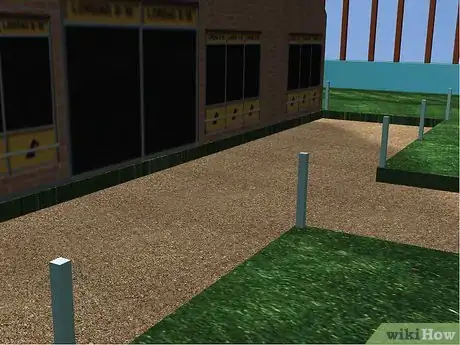
7Layer 4 inches (10.1 cm) of fine processed gravel inside the walkway bed and tamp it down. Be certain you evenly spread the gravel over your walkway.[3]
- If you are reinstalling an existing walkway, never try to reuse its old gravel base. Always take it out and put a new layer of gravel.
-
8Put plastic forms inside the walkway to define the edges. These stay in the ground and act as permanent support for your bricks. Your bricks should fit within the forms, which are flexible enough to compensate for any curves in your walkway border.[4]
-
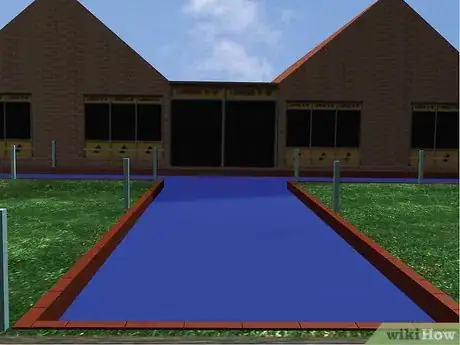
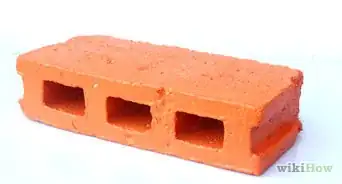
9Stand bricks or pavers on end, edge to edge, if you plan to border your walkway.
-
10Fill your brick walkway bed with approximately 1 inch (2.54 cm) of stone dust. This works great under your bricks and acts like concrete once you water it and allow it to dry.
-
11Tamp and level the stone dust. Check your walkway every few feet with a level to be certain you are maintaining the proper height and curve.[5]
-
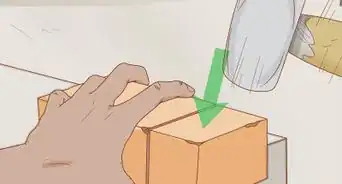
12Place your brick or pavers over the stone dust. Using a rubber mallet, tamp each brick as you place it.[6]
-
13Cover the brick with another layer of stone dust after laying all your bricks or pavers.
-
14Sweep the stone dust into all the cracks and in between each brick. Be sure to sweep stone dust along the brick edges with a soft broom.
-
15Hose some water over the brick walkway to seal or secure the bricks in the stone dust. The stone dust will become hard over time and hold the bricks in place.
Community Q&A
-
QuestionHow can I create a curved brick walkway?
 Community AnswerYou can get round bricks or paving stones, or you can cut or have the bricks cut to fit the curve.
 -
QuestionHow do I know how many bricks I will need to make my walkway?
 Community AnswerMeasure the length and width of your prospective walkway. Then measure the size of the bricks you plan to use.
 -
QuestionWhat do I fill cracks in with when removing moss from a brick sidewalk?
 Community AnswerUse kiln-dried sand. It pours down the joints far easier than any other sand.
Warnings
- Never use a regular hammer to tamp your stone when you install a brick walkway. It may cause your bricks to bruise, scar and chip easily.⧼thumbs_response⧽
Things You'll Need
- Garden hose
- Stakes
- Colored string
- Garden spade
- Rounded shovel
- Level
- Gravel
- Tamper
- Plastic forms
- Bricks
- Stone dust
- Rubber mallet
- Soft broom
- Water
References
- ↑ https://www.familyhandyman.com/masonry/build-a-brick-pathway-in-the-garden/
- ↑ https://www.thisoldhouse.com/how-to/how-to-lay-brick-path
- ↑ https://www.thisoldhouse.com/how-to/how-to-lay-brick-path
- ↑ https://www.bhg.com/home-improvement/outdoor/walkways/build-a-brick-path/
- ↑ https://www.bhg.com/home-improvement/outdoor/walkways/build-a-brick-path/
- ↑ https://www.familyhandyman.com/masonry/build-a-brick-pathway-in-the-garden/
