X
wikiHow is a “wiki,” similar to Wikipedia, which means that many of our articles are co-written by multiple authors. To create this article, 22 people, some anonymous, worked to edit and improve it over time.
There are 8 references cited in this article, which can be found at the bottom of the page.
This article has been viewed 251,749 times.
Learn more...
This is an article about how to install a multiple-component, high-end car audio/sound system.
Steps
Method 1
Method 1 of 6:
Connecting Multiple Amps
-
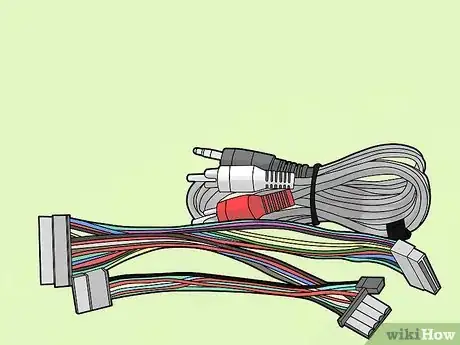
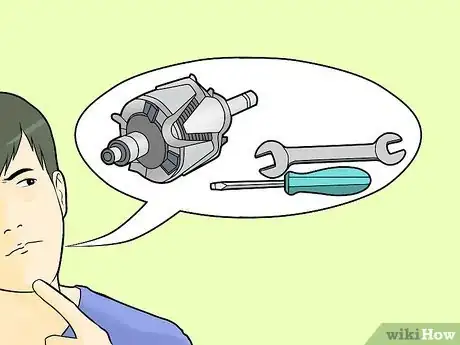
1Have all components, tools ready and checked. This includes drills, drill bits, island keys, and wrenches. But most importantly, make sure you have the correct wires for the job.
-
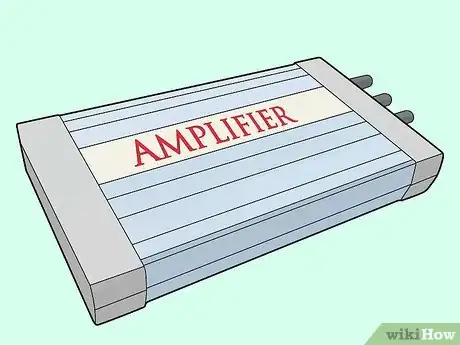
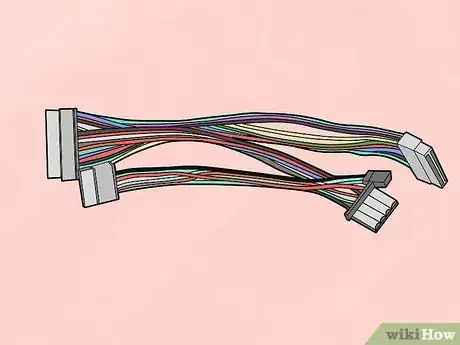
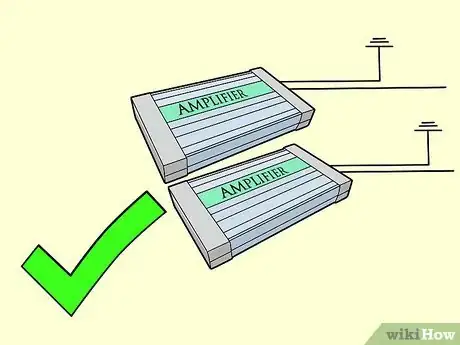
2Gather the necessary materials. Remember that each amp needs a power, a ground, and a REM (remote) wire going through them.Advertisement
-
3The best way to connect multiple amps when it comes to REM, is through one remote wire. Since the remote wire basically tells the amp when the radio is on, all amps can be connected to the same remote wire.
-
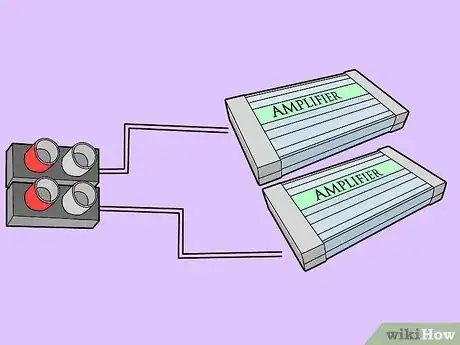
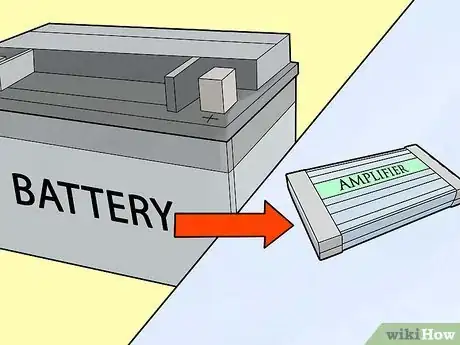
4Best thing to do is for power wire is connect each amp with a separate power using a distribution block, which is essentially a casing that allows one wire to supply power to multiple wires (one wire from the battery goes in and three wires can come out).[1]
-
5Connect one power wire (wire that connects from the battery to the amps) to your distribution block. Your thickest or lowest gauge wire should be your main one.[2]
-
6Have the the remaining wire go to each amp as a power wire.[3]
-
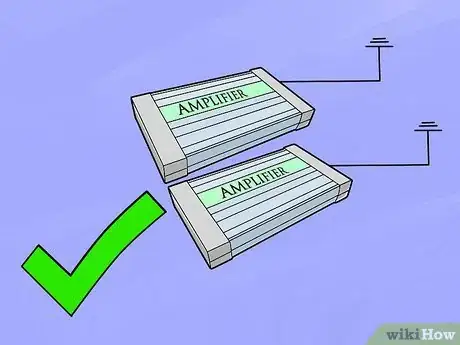
7Make sure each amp has its own separate ground. just ground it to any piece of metal. Wire can burn and melt if too much current is running through it so one wire is your best bet.
Advertisement
Method 2
Method 2 of 6:
Multiple Sub woofers
-
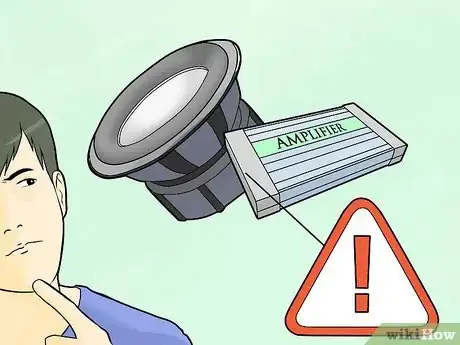
1Know your amps' and sub woofers' limits. This is crucial to achieve perfect precision with 4, 6, and 8 or more sub woofers.
- An amp that is rated at 1000w RMS (Root Mean Square, or the average watt the speaker is intended to receive and play with) set for 1 ohm can power two 2-ohm subs rated at 500w RMS.
- That same amp can power four 4ohm subs and so forth. But the more subs an amp is placed on, the less power it can give to each individual sub. This is not necessarily a bad thing if you have a 2000w RMS amp and two 600w RMS subs. In fact, you always want the power from the amp to be slightly higher than what the sub(s) requires; a 1000w amp will work well with a 7 or 800W RMS sub.
- Just make sure that the sub's peak power is rated above 1000w. If rated under, make sure your amp's level is not too high as you can damage the sub.
- If you have a really powerful amp that's 3000w RMS or higher, then you can really power multiple subs at once without any problem. Just make sure the subs don’t combine to read at 0.5 ohm (a dangerous level for an amp, unless it specifies that it can run at that low ohm level) and all your wires are properly connected and wired.
-
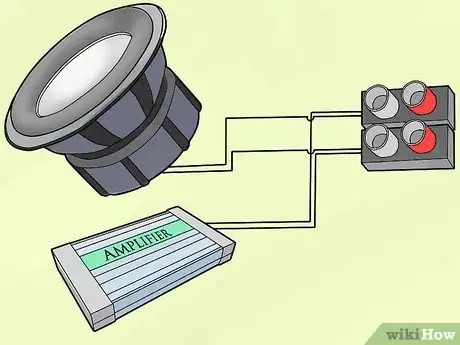
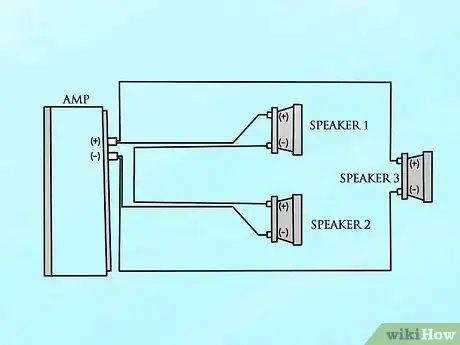
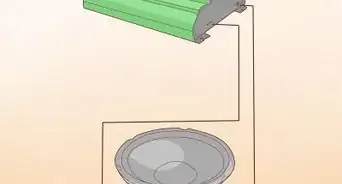
2Connect all subs to the same terminals in the amp. However, depending on whether you wish to connect them in series or parallel or bridge the amp, you may only use two terminals. Refer to your amp's diagram for more specifics.[4]
Advertisement
Method 3
Method 3 of 6:
Multiple Mids and Highs
-
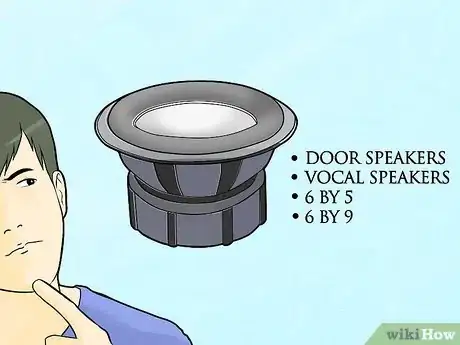
1These are also known as "door speakers", "vocal speakers", "6 by 5" or "6 by 9" and more. If you're trying to install more than what your car originally came with, the same rules should be applied to those of subs.
-
2Make sure your 4-channel amp can play them all without being so powerful that they damage the speakers. Because most speakers are rated to 8 ohms, you can generally connect many speaker to one amp without any problems.
-
3Connect all mids and highs with the same power and ground. All cars have pre-wired powers and grounds that go through the doors and the back dash. It would be foolish to run multiple wires through your door and dash to play multiple speakers with such low wattage.[5]
-
4Connect all speakers through the adjacent speakers that are pre-wired through the car. Just make sure the power and ground are positioned properly throughout the process.
Advertisement
Method 4
Method 4 of 6:
Multiple Wires
-
1Follow the general rule: for power, ground and speaker wires, the lower the number and thicker the wire, the better. (Remote and RCA wires are always small.) People tend to underestimate the amount and size of wires that they need when installing many components in a car audio systems.[6]
- If you have the chance of using 6-gauge wires as your power instead of 8, then do so. It may save you a lot of time and money.
-
2Always use the biggest but most appropriate wire in case you decide to upgrade your sound system.
- If you previously had a 1000W system, then that 8 gauge wire may work. But if you upgrade to more powerful amps and subs, say 3000w, that 8 gauge will burn and melt in no time at all. Then you will have to remove it, and rewire the car with 2 gauge wire.
- If you have a feeling that you may go bigger in the future, chose bigger wire.
- Multiple Wires can lead to ground noise. People with many components and wires running through their car can easily end up getting "ground noise," which is the whining sound that plays through your speakers and rises and falls with the rev of your engine.
- Although there are many products that claim to reduce ground noise, the best method is positioning the main power wire and RCAs/4-channel amps as far away from each other as possible.
- A large power wire can create massive amounts of electromagnetic interference that can be picked up by RCA's of a 4-channel, and subsequently relayed back through the radio and mids and highs as ground noise. Fix the problem by running the power wire to the left of the driver side seat and placing the amp and RCA's under the passenger seat.
-
3Make everything color coded and neat.
- If power is red wire, ground is black, and remote is blue, then you will have an easier time keeping track of your wires and what they connect to. Otherwise, if one amp fails, you may find yourself overwhelmed and needlessly tearing out wires.
Advertisement
Method 5
Method 5 of 6:
Multiple Batteries and Capacitors
-
1Determine whether you need multiple batteries and capacitors.
- If you have a 3000w amp playing three 1000w subs, but they really sound weak, then it's time to get more power.
- Alternatively, play the bass as loud as you can and see if your dome lights dim or not. If they barely flicker, then your power is manageable, but if they almost go dark with each bass note, then it's time for more power.
-
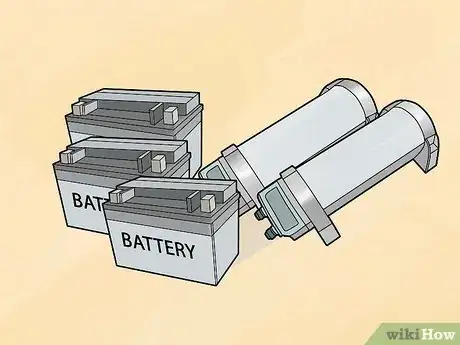
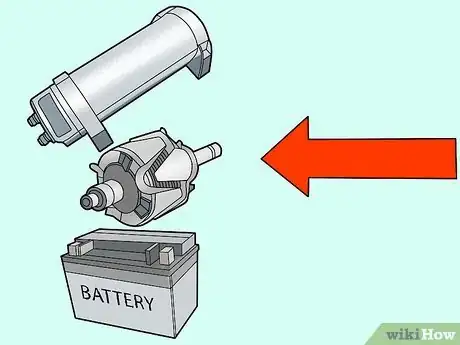
2There are three ways to go: capacitors, alternators, and batteries. Capacitors are usually small cylinders that come with a digital display showing your voltage in your car. They are rated by Farad's and the higher they are, the better the cap can store and release volts.
- Be warned: many capacitors are nothing more than expensive voltage meters. They are for very minor power problems and simply add a more sophisticated look to an audio system. A 1-farad capacitor could potentially cost hundreds of dollars and not solve any power problems.
- The ideal voltage for a car audio system varies. For a low-end system, 13.5-13.7 is just fine. For average systems, 13.8-14 is good, but for high-end audio systems, 14.4 and above is where you want to be.
- Your voltage should not drop below 12 volts, as that’s an indication of a big power problem. Anything below 9 is extremely bad and should not be used until more power is added. You may completely drain your existing car battery and render it useless.
-
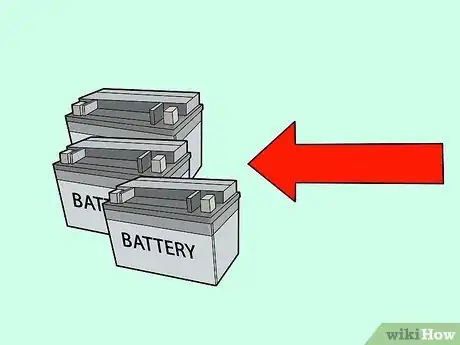
3The cheapest way to fix a major power problem is with more batteries. Although wet cells can be used, they could spill battery acid in your car if they leak. Dry cell batteries are a better choice if you can afford them. Dry cells have no battery acid and are extremely safe in a vehicle.
-
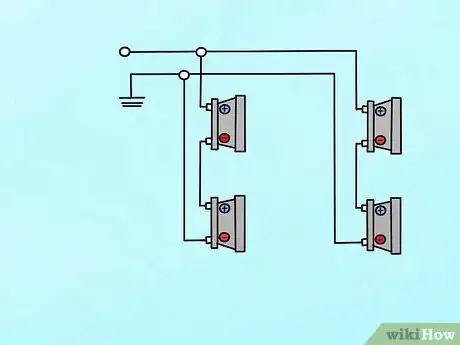
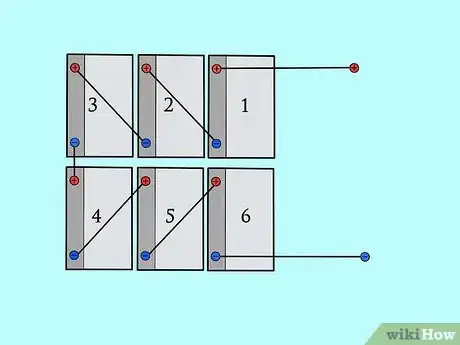
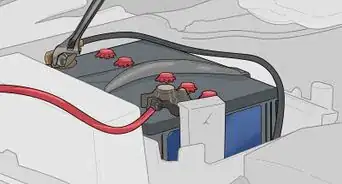
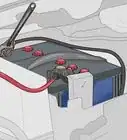
4To install multiple batteries (or capacitors), connect the main battery in the engine bay with the another one elsewhere in the car that has a large, low gauge wire (like a 4 or 2).[7]
-
5Systematically connect the next battery by running a wire from the first battery power, to the second battery power, and so on until you reach the last battery.[8]
-
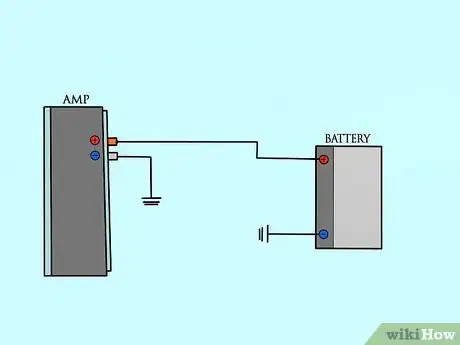
6Connect the last battery to the amp(s) with a separate wire. Connect the batteries in the car with a large ground wire and ground it in metal. You don’t have to run it into the engine bay; any good metal ground will do.
- Be sure to put them in a sequence: first battery connected to the main in engine bay and last battery connected to the amp(s).
-
7You can upgrade your alternator, if you don’t want numerous batteries or capacitors to take up space in your car.
- By getting a larger alternator that puts of more amperage, your battery will be continuously and quickly charged.
- Whenever massive amounts of power is needed, it's directed from the alternator much more than the battery, giving you more power.
- A good 220-amp alternator can really make a difference in sound quality and bass. You just have to find it for a good price and have it installed.
Advertisement
Method 6
Method 6 of 6:
Finishing Touches
-
1Check and double-check all connections. Before you turn on your car, make sure all connections are solid and correct.
-
2Make sure all amps are properly grounded and REMnd. Excess wire should not be sticking out and relatively close other wires of different charge. Use fuses for all battery to amp connections. If you blow a 60- or 80-amp fuse just by listening to music, then check specialty stores for 200- and 300-amp fuses.
-
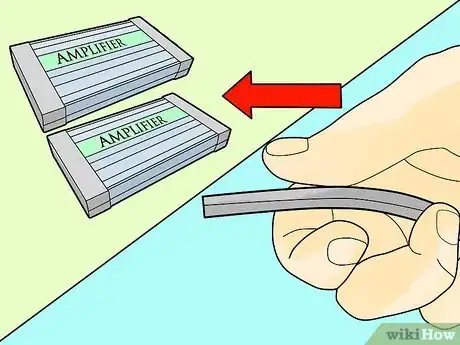
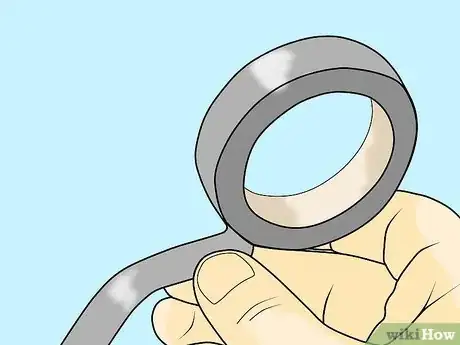
3Finally, use electrical tape (your best friend when dealing with wire) to cover up exposed wire. A thin strip can stop your entire system from being nothing but overpriced junk.
Advertisement
Community Q&A
-
QuestionHow do I remove the front dash and door side panels?
 Community AnswerIt all depends on what kind of car you have. Some dashboards have clips were you can pop your dash off and other cars have some screws you need to take off before you pop it off and it's the same with door panels. There will be some screws once you take them off lift up on the panel and pull it out.
Advertisement
Warnings
- The simplest, but ill-advised, method for connecting multiple amps is to connect the wire to the amp, and through the same terminal, have another wire extend out to the next amp. However, many complications can arise from using one wire to power many amps.⧼thumbs_response⧽
- Unless you really need to, do not get multiple batteries or capacitors. This is by far the most dangerous aspect of any high-end car audio system, as it can literally ruin equipment if not properly installed.⧼thumbs_response⧽
- Dry cell batteries are better than wet cell batteries because the latter could spill battery acid in your car if they leak. Dry cell batteries do not contain battery acid.⧼thumbs_response⧽
- Cars were never meant to hold 10 speakers (bass and vocal) and as such, cars are ill equipped to deal with the major power demands that come with thousands of watts of power. even with one or two batteries, caps, or even two alternators, you may not produce the amps/volts that your cars original electric system + sound system require to keep it running and major damage can occur to your original electrical equipment because of lack of power. wires may burn, existing batteries may die, alternator might be shot, and the car may have cranking problems or not crank at all. if you wish to go through with adding a serious sound system, get ready to shell out the money it takes to power it. "bass heads" may have 3 alternators, 5 batteries, and 5 caps all in one car just to keep it properly powered (and a professional car charger just it case it still dies). resulting in close to $2000 in power equipment just to keep the car on! the more components you put in a car, the more money you must spend on power to keep it running⧼thumbs_response⧽
- A big problem many people make is accidentally connecting the ground to the 12v power in the amp and vice versa. If your amp does not have a good protect system, it could easily blow because of a silly mistake.⧼thumbs_response⧽
Advertisement
References
- ↑ https://www.youtube.com/watch?v=vNi3oKO8yhE
- ↑ https://www.popularmechanics.com/cars/how-to/a10359/installing-a-diy-car-amplifier-16639127/
- ↑ https://www.youtube.com/watch?v=RCd9E_egd8I
- ↑ https://www.youtube.com/watch?v=nrTsc2XZcWE
- ↑ https://www.youtube.com/watch?v=o2gL7Yu4M40
- ↑ https://www.youtube.com/watch?v=RauswuTBOHU
- ↑ https://www.youtube.com/watch?v=3qZnMvek1vA
- ↑ https://www.youtube.com/watch?v=ks2El--S_kg
About This Article
Advertisement
