This article was co-authored by wikiHow Staff. Our trained team of editors and researchers validate articles for accuracy and comprehensiveness. wikiHow's Content Management Team carefully monitors the work from our editorial staff to ensure that each article is backed by trusted research and meets our high quality standards.
There are 12 references cited in this article, which can be found at the bottom of the page.
This article has been viewed 247,416 times.
Learn more...
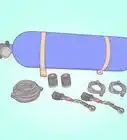
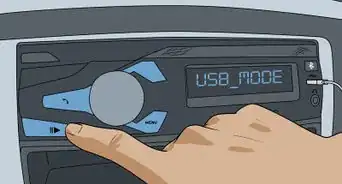
Most cars, especially ones manufactured ten or more years ago years ago, have crude and often unappealing sound systems. Some drivers are fine with this, but others need quality entertainment for the road. Some drivers just need to upgrade their head unit to play the media they want in a practical way, while other drivers prefer to increase the clarity and sound of their music with additional amps and speakers. Either method is fine, as long as it satisfies your needs. With a little time and cash, you can convert your car into a mobile entertainment center.
Steps
Upgrading Your Head Unit
-
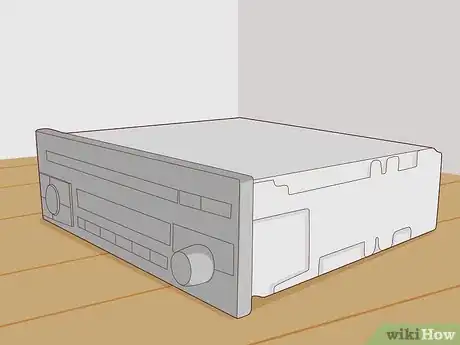
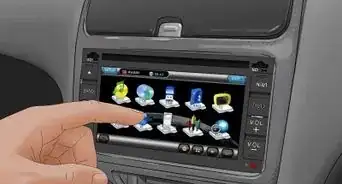
1Select a new head unit. There are many brands and options out there. Kenwood, Pioneer, JL audio, and Sony are top of the line in this category. Each of these brands offers an entire line of stereos that are suited to fit different needs and budgets.
-
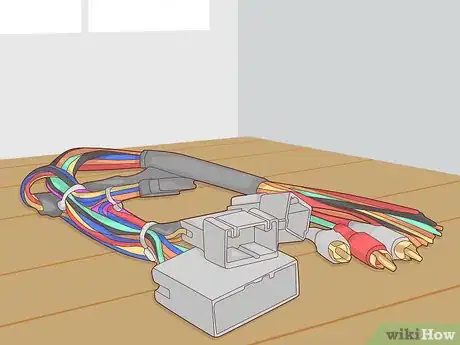
2Buy the wiring harnesses for your head unit and your vehicle. Match the colors on the harnesses or follow the included diagram. This makes it much easier to install and later remove the head-unit should you decide to take it to another car, and a wiring harness adapter usually only costs around $20 or less.[1]
- You may also need to purchase an antenna adaptor for your new head unit and vehicle.[2]
Advertisement -
3Purchase a service manual for your car. You will need a service manual such as Haynes, but any manual that provides details for your make and model should work. Every stereo is different, and sometimes it is required that you remove parts of the dash/console to remove the stereo. This is where the manual will be most helpful.[3] It can also be helpful to have a comprehensive guide on aftermarket stereo installation.
-
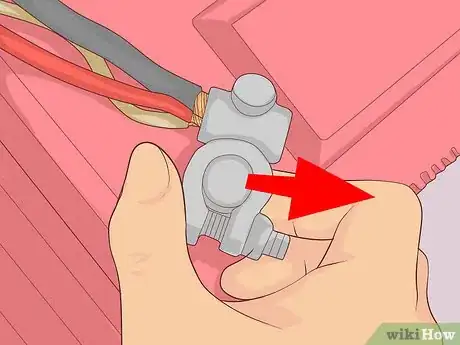
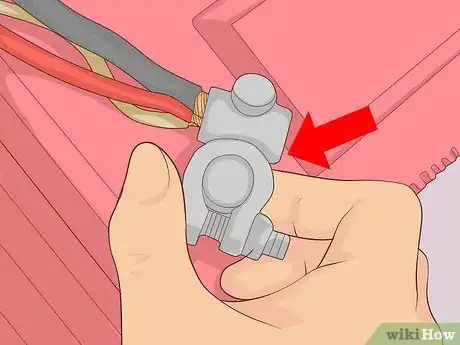
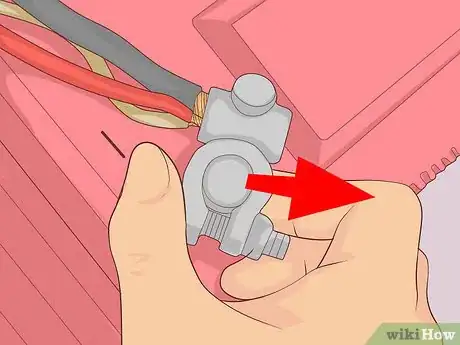
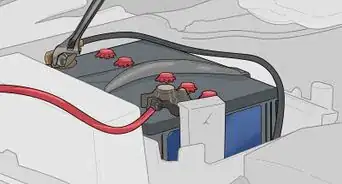
4Unhook your battery’s ground terminal. This will cut power to the car and allow you to safely work on the electrical components (like stereo wiring).
-
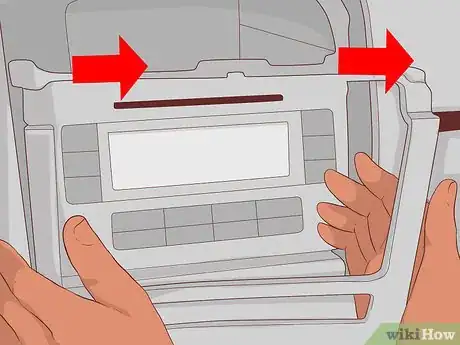
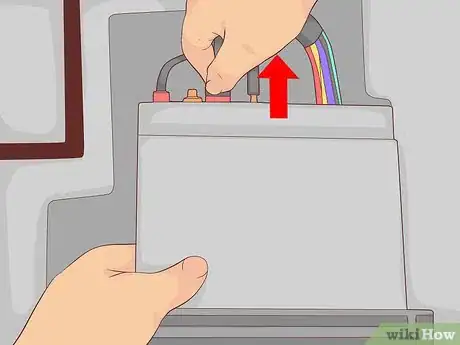
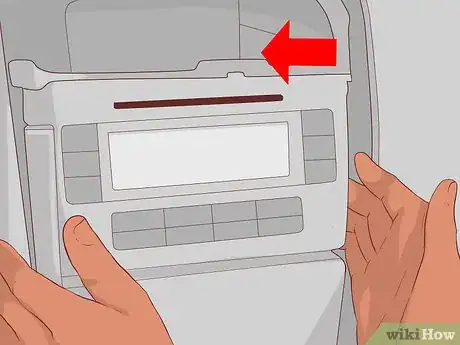
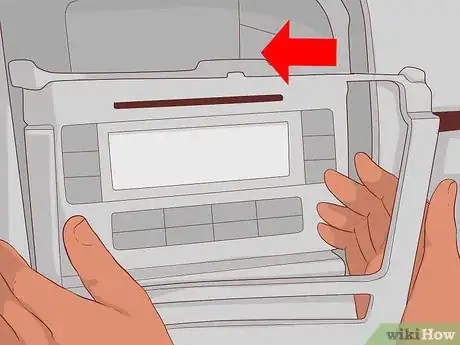
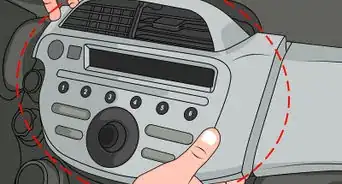
5Remove the original head unit. This will usually consist of taking off some portion of the dash and or faceplate (consult your service manual) and then taking out the mounting screws that hold in your head unit. Once you’ve done this, the unit will slide right out.[4]
-
6
-
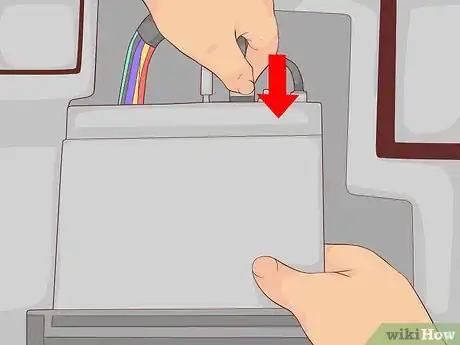
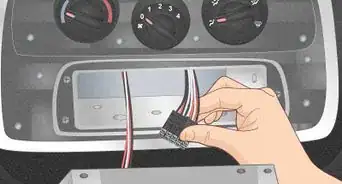
7Connect your wiring harness adaptor to your new head unit. The wires will be clearly marked, as the adaptor is designed to make your car and head unit fit together. Crimp the wires as instructed in the wiring harness adapter's instructions. After crimping (or soldering as some choose to do), twist on appropriate sized wire nuts and make sure to keep your wires as neat as possible.[7]
-
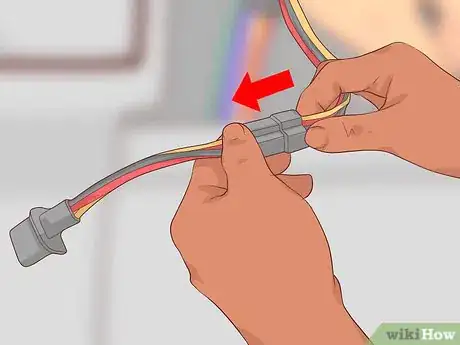
8Plug the wiring harness adaptor into the factory wiring harness. This part is even easier than connecting the adaptor to the head unit. It literally is designed to plug right into your factory wiring harness. Do that now.[8]
-
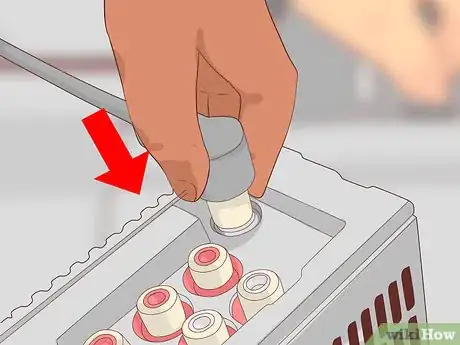
9Connect the head unit to the antenna. If you needed an antenna adaptor, you can plug it into the back of the head unit and plug the antenna lead into the adaptor. Otherwise, your antenna should plug directly into the back of the head unit.[9]
-
10Mount the new head unit. The size of your original and aftermarket head units may be different. They typically come in one of three sizes - Single DIN, DIN and a half, Double DIN. If your aftermarket head unit is a different size than the original, you may need an adaptor, or DIN cage, to mount it.[10]
- If they are the same size, the aftermarket stereo should bolt into the original mounting brackets for the head unit.[11]
-
11Replace any dash components. This is where your service manual will come in handy again. Now you need to put back together any pieces of the dash that were removed to get the stereo out.[12]
-
12Reconnect the battery ground terminal. This will restore power to your car, and by extension, your new head unit.
-
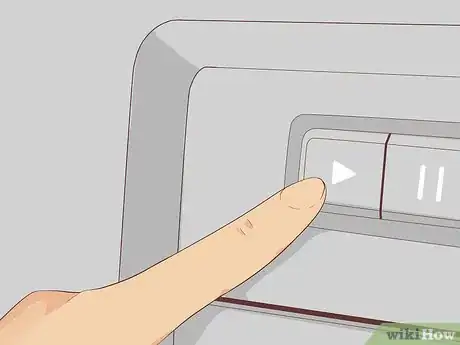
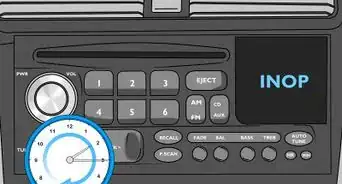
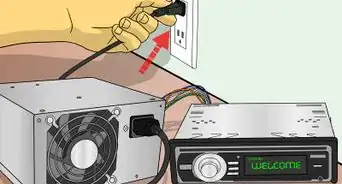
13Test your stereo. Now you should be able to turn on your stereo and enjoy a crisp, clean sound.
Upgrading by Installing an Amplifier
-
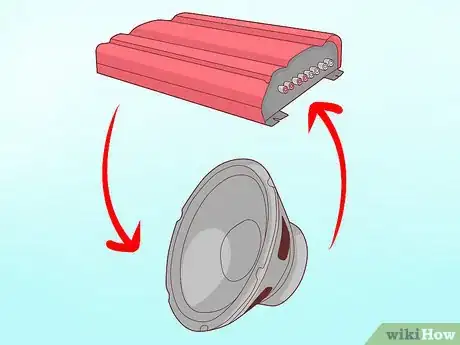
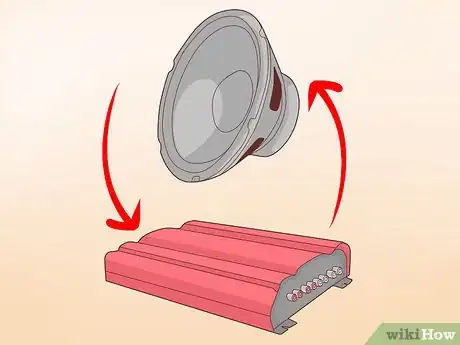
1Match your amplifier (amp) to the speaker load of your system. Amps have a designated power and impedance rating. This rating needs to match the load you put on your amp. A low quality or low power amp matched to high speakers would not take full advantage of the speakers quality. A too powerful amp will blow your speakers in a couple months.[13]
-
2Kill power to your car’s electrical system. This can be done by disconnecting the battery ground cable. This will prevent injury or damage to your vehicle while working with wiring within the car.
-
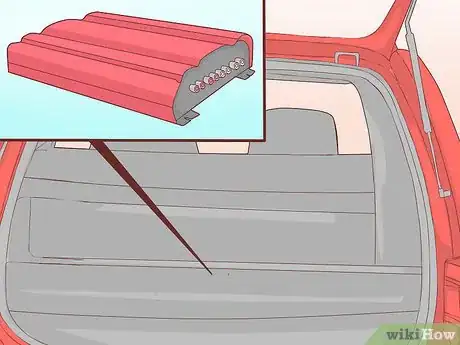
3Find a home for your amp. This is important to get right. You want the amp to be somewhere where it can safely disperse heat. Otherwise, it will burn up and potentially start a fire. If you have an open trunk space that is usually ideal. Sometimes, another alternative is to put the amp under or behind seats, but be sure there is enough room for the amp to vent.
-
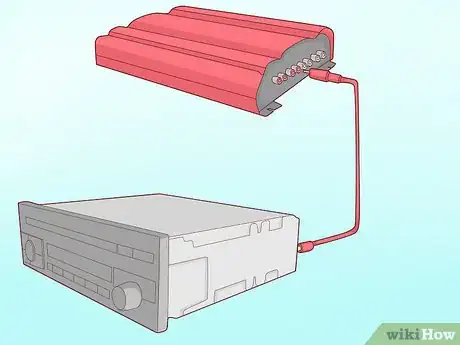
4Wire the amp to the head unit. Using RCA cables is recommended for connecting the amp to the head unit, as they insulate the wire and dampen any distortion of the signal. It is also recommended that the cables be run on the side of the car opposite of the amp’s power wire to avoid signal interruptions that negatively impact sound quality.[14] [15]
-
5Power your amp. The amp should be connected to a switched power supply. This way, power is only provided when the car is turned on. The power wire (also known as the remote turn on wire) will sometimes plug directly into your head unit. If not you will need to connect it to a switched power supply such as the head unit power supply or the ignition switch.[16]
-
6Ground the amp. You will need to connect the amp’s ground wire to another grounded wire or to any grounding point on the car. Grounding points are bare (clean, unpainted) metal surfaces. Be sure to do this somewhere that no one will incidentally touch it.[17]
-
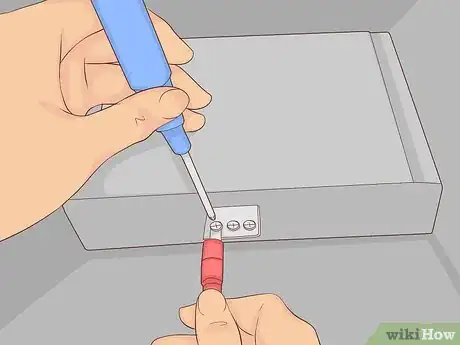
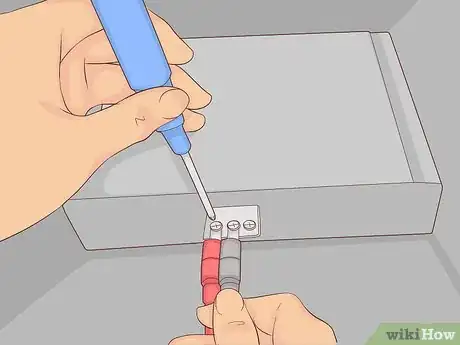
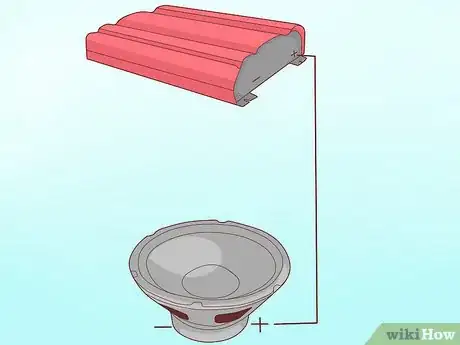
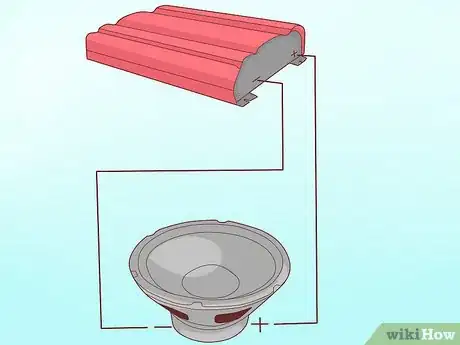
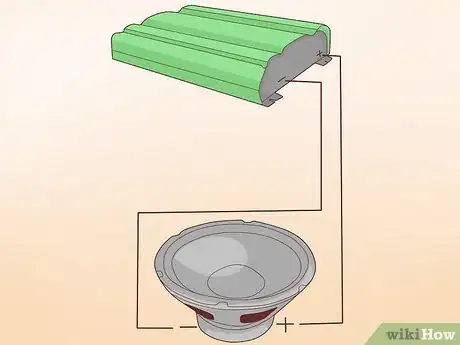
7Connect the positive terminal your amp to your speakers. There purpose of the amplifier is, after all, to amplify the signal coming from the head unit to fully utilize the speakers. You may have to cut the speaker wires from a spool of wire and strip enough insulation off of the end to fit into the amp’s terminals. Each wire should then be run to its corresponding speaker and connected to the speaker’s positive terminal.[18]
-
8Connect the negative terminal of your amp to your speakers. For all speakers wired in series, connect only the last speaker’s negative wire to the amp’s negative terminal. For all speakers wired in parallel, connect the negative wire of each speaker to the amp’s negative terminal.[19]
Upgrading Your Speakers
-
1
-
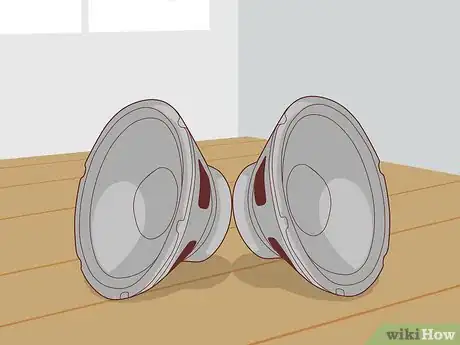
2Purchase the best quality speakers in your budget. No matter how much you are spending on an amp or a head unit, if you have low quality speakers, you will get low quality sound. Speakers come from 1" tweeters to 15"+ subwoofers. Generally, a smaller speaker gives clearer highs and bigger speakers give deeper lows. Mid-range speakers come in 2 way (plays high and low) and 3 way (plays highs mid and lows).[22]
-
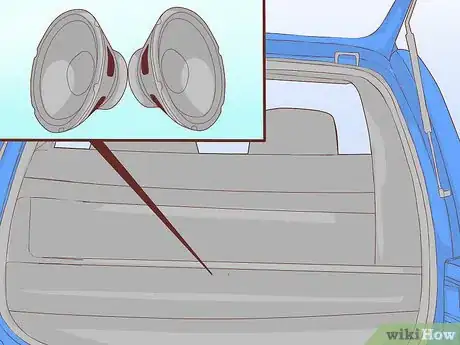
3Find a home for your speakers. Speaker placement is important to consider. The difference in distance between the listener and one speaker as opposed to the others will change the perceived sound. It is recommended that speakers go in the kick panel when possible.[23] However, it is sometimes necessary to put them in other locations, such as the trunk, for space purposes.
-
4Wire the speakers to the amp. As described in the “Upgrading by Installing an Amp” section, you will need a spool of wire to run from the speakers to the amp (unless you are replacing a pre-existing speaker and the wire is already there). Your wiring will differ depending on whether you are wiring in series or in parallel.[24] [25]
Warnings
- Your grounding is possibly the most critical connection in your installation. Make sure you properly secure your grounding cable and use bare metal.⧼thumbs_response⧽
- On the headunit, turn down the volume before you turn off the car so you don't blow out your speakers and your eardrums when you turn it on.⧼thumbs_response⧽
- Make sure you use properly insulated and gauged wiring for amps. Refer to the AWG wiring standards guide for which gauge wire should be used for your application. Using a smaller wire than necessary can result in electrical fire.⧼thumbs_response⧽
- Ground your amp and fuse your power cable. The fuse should never be more than 12" away from the battery. You should ALWAYS use the same gauge ground wire as your power wire. Never use different size wires.⧼thumbs_response⧽
References
- ↑ http://www.popularmechanics.com/technology/audio/how-to/a770/3380301/
- ↑ http://www.carstereohelp.com/aftermarket.htm
- ↑ http://www.haynes.com/
- ↑ http://www.popularmechanics.com/technology/audio/how-to/a770/3380301/
- ↑ http://www.popularmechanics.com/technology/audio/how-to/a770/3380301/
- ↑ http://www.theautomotiveindia.com/forums/accessories-modifications/10596-does-adding-aftermarket-accessories-void-warranty.html
- ↑ http://ncstereoman.com/info/1279/
- ↑ http://ncstereoman.com/info/1279/
- ↑ http://www.carstereohelp.com/aftermarket.htm
- ↑ http://www.carstereohelp.com/aftermarket.htm
- ↑ http://www.carstereohelp.com/aftermarket.htm
- ↑ http://www.popularmechanics.com/technology/audio/how-to/a770/3380301/
- ↑ http://www.gollihurmusic.com/faq/31-OHMS_AND_IMPEDANCE_FROM_THE_OUTPUT_SPEAKER_PERSPECTIVE.html
- ↑ http://www.bcae1.com/rcacable.htm
- ↑ http://www.caraudiohelp.com/how_to_install_a_car_amp.html
- ↑ http://www.popularmechanics.com/cars/how-to/a10359/installing-a-diy-car-amplifier-16639127/
- ↑ http://www.popularmechanics.com/cars/how-to/a10359/installing-a-diy-car-amplifier-16639127/
- ↑ http://www.popularmechanics.com/cars/how-to/a10359/installing-a-diy-car-amplifier-16639127/
- ↑ http://cie-wc.edu/Series_Parallel_9_14.pdf
- ↑ http://www.gollihurmusic.com/faq/31-OHMS_AND_IMPEDANCE_FROM_THE_OUTPUT_SPEAKER_PERSPECTIVE.html
- ↑ http://cie-wc.edu/Series_Parallel_9_14.pdf
- ↑ http://www.ramelectronics.net/Woofers-Tweeters-Crossovers.aspx
- ↑ http://www.caraudiohelp.com/car_speaker_placement.html
- ↑ http://www.gollihurmusic.com/faq/31-OHMS_AND_IMPEDANCE_FROM_THE_OUTPUT_SPEAKER_PERSPECTIVE.html
- ↑ http://cie-wc.edu/Series_Parallel_9_14.pdf


-Step-18.webp)


-Step-18.webp)

