wikiHow is a “wiki,” similar to Wikipedia, which means that many of our articles are co-written by multiple authors. To create this article, volunteer authors worked to edit and improve it over time.
The wikiHow Video Team also followed the article's instructions and verified that they work.
This article has been viewed 213,784 times.
Learn more...
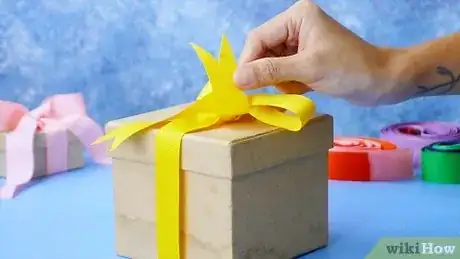
Synthetic and natural fabric ribbons tend to fray and separate at the edges. You can extend the life of your ribbon by cutting it at a diagonal and applying heat, nail polish or glue to the edges.
Steps
Nail Polish
-
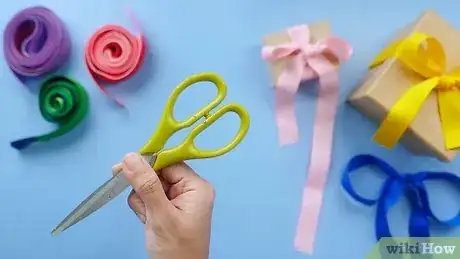
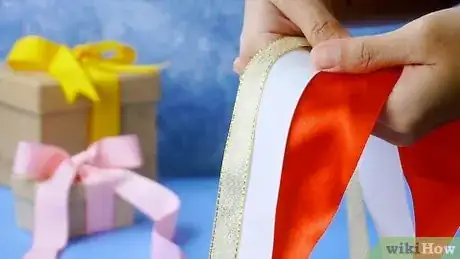
1Find extremely sharp fabric scissors. The sharper the scissors, the better the edge of the ribbon will be.
-
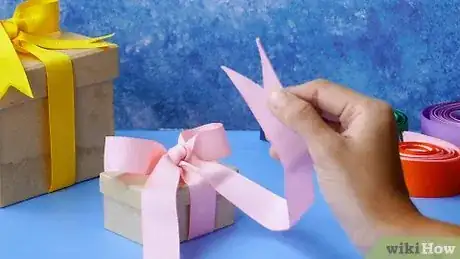
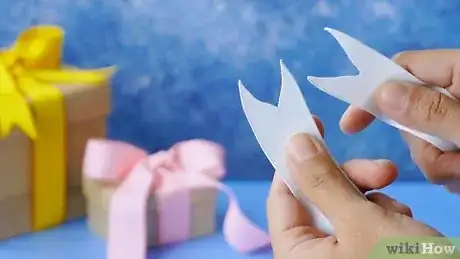
2Measure the length of your ribbon. Snip the edge at a 45-degree angle, or cut it in an inverted “v” shape to discourage fraying.Advertisement
-
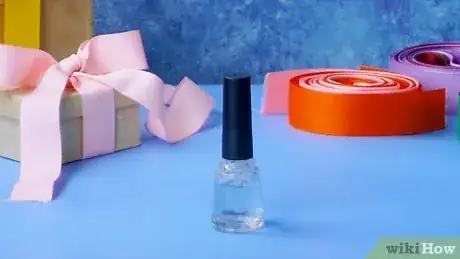
3Purchase clear nail polish. Use a good quality, trusted brand that you know encourages long wear.
-
4Dip the nail polish brush into the nail polish. Wipe the brush on the top of the bottle to remove excess polish.
-
5Apply a thin layer to the edges of the ribbon. You can either hold the ribbon in your hand and paint it at the very edge or lay it flat and paint one side, and then flip it and paint the other side.
-
6Pick it up and hold it to ensure it doesn’t adhere to a surface.
-
7Repeat an additional time for extra hold. Try not to apply it in a thick coat or past the edge. It can make the ribbon look dark and wet if applied too heavily.
- For best results test a piece of ribbon before you start to make sure it doesn’t ruin the surface.
Craft Glue/Spray
-
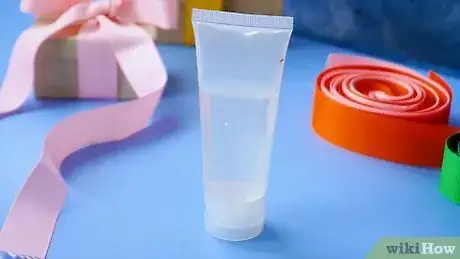
1Purchase an anti-fraying spray or liquid at a craft store or online. If you plan to wash your ribbons frequently, this is the best option. Opt for clear craft glue if you can’t find anti-fray liquid.
-
2Cut your ribbon at a 45-degree angle or in an inverted “v” shape if possible.[1]
-
3Squeeze a small amount of strong, clear glue or anti-fraying liquid out of the bottle.[2]
-
4Dab it with a cotton swab. Swirl the tip against a paper towel to remove excess liquid.
-
5Drag the cotton swab against the very edge of the ribbon on either side.
-
6Hold it aloft until it is fairly dry or hang it from a clothesline to ensure it doesn’t stick to a surface.
Heat Sealing
-
1Ensure that the ribbon you want to seal is synthetic. Most satin and grosgrain ribbons sold at craft stores are synthetic. Burlap and cotton ribbons can’t be heat-sealed.
-
2Light a candle near a sink or bucket of water. Throw the ribbon in the water if it catches fire. Open a window.
-
3Cut your ribbon with fabric scissors at a 45-degree angle to discourage fraying.[3]
-
4Hold the edge of the ribbon between your thumb and forefinger. Your fingers should be as far away as possible, while allowing the ribbon to be stiff on its side.
-
5Drag the very edge of the ribbon next to the flame. In most cases it does not need to be inside the edge of the flame to burn the edge. Move quickly and steadily across the edge.[4]
-
6Hold it between your fingers to let it cool. Swipe your finger along the edge after 30 seconds. It should feel hard where it has sealed.
- Repeat the process again, moving the ribbon closer to the flame if the edge does not feel different.
Community Q&A
-
QuestionI have an e-commerce business and ship some items gift-wrapped. I am using organza ribbon, and when I cut it the ends fray. How can I seal the ends easily? I ship about 15 gift-wrapped packages a day, so the solution needs to be fast and simple (not with a flame, clear nail polish or fabric glue).
 Charl KoenCommunity AnswerCut ribbon with a hot blade or a hot wire. The heat will melt the edges as it cuts to prevent fraying in future.
Things You'll Need
- Ribbon
- Fabric scissors
- Nail polish-re
- Anti-fray liquid/spray
- Clear craft glue
- Cotton swab
- Clothesline
- Candle
- Water
References
About This Article
Fabric ribbons tend to fray and separate at the edges, but you can keep your ribbon from fraying by cutting it at a diagonal and applying nail polish or glue at the edges. Snip the edge of your ribbon at a 45-degree angle or cut it in an inverted “v” shape, which will help with the fraying. Apply a thin layer of clear nail polish to the edges of the ribbon to help the fabric stay together. You can also apply an anti-fraying spray or clear craft glue to the tip of your ribbon to keep the threads together. To learn how to heat seal your ribbon, keep reading!
